


 My Orders




EHS342-OF (EHS3420OF) Caloric Cooktop - Overview
Diagrams for EHS342-OF
See every part. Know exactly what you need.


Enter a part description. DIY Heroes keep it simple, eg. "belt" or "pump".
Search filter:
Clear Filter
Your search term must have 3 or more characters.

$8.55
In Stock
Drip Bowl - 6 Inch
Part #WPW10196406
This drip bowl is used for electric cooktops and ranges, it is designed to sit under a 6-inch surface burner. It catches the drips and spills coming from the cookware on the surface burner. This drip bowl is chrome, and it has a diameter of 8 inches. You need to remove the burner element to replace this part. Line the hole up with the ele...Read morement terminal blocks, and ensure the new bowl is flush with the surface of the cooktop before replacing the burner element. Drip bowls need to be replaced when they are lost, damaged, or you are no longer able to clean them adequately. This replacement part is sold individually.
Read less

$16.07
In Stock
Range Surface Burner Plug-In Block Kit
Part #330031
The surface burner plug-in block kit features a newer-style terminal block. This kit is designed for use with ranges and cooktops. This terminal block is how the coil element on your stove connects to the inner wiring of your appliance. Without this connection your burner element would not get the electrical current it needs to heat up. W...Read morehen your element will not heat at all, or if it is not heating properly it is likely an issue with the terminal block. You need to remove the element to replace this part. While you have the element out, inspect the element and the terminal for any corrosion, arcing, or discoloration. If you notice any damage to the element or the terminals we recommend you replace this part as well. This kit includes two metal brackets, two pre-crimped high-temperature wire leads, two ceramic wire nuts, two heat-shrinking insulators, and a mounting screw. Before you begin this repair, make sure you have unplugged your appliance.
Read less

$30.53
In Stock
Bake Element
Part #WP77001094
Please note: This is a substitute from the original part. It may physically look different, but will still function the same. This bake element is found on the bottom of the oven.

$103.24
In Stock
Range Surface Element
Part #WPW10259865
This is a surface element for the stove top on your range. It supplies heat to the top of the range cooking area. This model is 2100 watts and is eight inches in diameter. It has looped terminal ends, and five turns. The most common reason for needing to replace this part is if your current element is not retaining heat. The first step to...Read more this repair is to make sure the burner control is set to off, and that the element is cool to the touch.
Read less

$49.50
In Stock
2 Piece Broiler Pan
Part #4396923
This broiler pan and roasting rack set is designed to help reduce mess while cooking by allowing grease to drain away from food. Its durable porcelain-coated construction stands up to high temperatures and makes cleanup simple. With approximate dimensions of 16 3/4 inches long, 12 3/4 inches wide, and 1 3/4 inches high, it offers a convenient size for everyday broiling and roasting.

$54.95
On Order
Wire Oven Rack
Part #WP314763J
This wire oven rack is used on some ovens and ranges. It is twenty-three inches long and it is made of metal.

$89.21
In Stock
Surface Element - 6 Inch
Part #WPW10259868
Get your cooktop working like new with this 6-inch coil burner. It heats up with 1500 watts of power—great for boiling, simmering, or everyday cooking. Easy to install with looped ends that connect quickly, and it even has a sleek black center for a polished look. If your old burner stopped heating, this is a simple fix to get back to cooking.

$74.98
Special Order
Range Broil Element
Part #WPY0063532
This broil element is found on the roof of the oven and allows for an even heat when cooking food. The element may have shorted out and not be heating the oven, which might indicate it will need to be replaced. Before beginning the repair make sure your oven has been unplugged. Open the oven door and pull the old racks out. You will need ...Read moreto remove the screws holding the old broiler in place at the top of the stove. This is an OEM part that comes right from the manufacturer.
Read less

No Longer Available
Hinge Kit - Right Side
Part #R0706011
The hinge kit, or oven door hinge, is used in ranges and wall ovens. The hinge attaches to the right side of the door and controls how fast the door opens. At a specific angle, it allows the door to remain open. If you are having trouble opening and closing your door, or it does not close at all, replacing the hinge could solve your probl...Read moreem. The hinge is made from metal and the kit comes with the hardware needed for this installation. You will need a screwdriver to perform this repair. *Please note: This part is only for the right side of your appliance. The left side is sold separately.
Read less

No Longer Available
Hinge Kit - Left Side
Part #R0706010

No Longer Available
Receptacle Mounting Bracket
Part #W10116809
This terminal block mounting bracket is a little over two inches long. It is made of metal.

No Longer Available
KNOB, TOP ELEMENT
Part #Y0060235
This surface burner knob is two inches in diameter. It is black in color and has white lettering denoting the temperature range. This knob also has a metallic trim around its perimeter. Plus, this knob is made of plastic and it will accept a 'D' shaped shaft.
Common Symptoms of the EHS342-OF
How this model fails, and the parts that fix it.
Element will not heat
Fixed by
these parts
these parts


Show All
Little to no heat when baking
Fixed by
these parts
these parts

Show All
Little to no heat when broiling
Fixed by
these parts
these parts
Show All
Door won’t close
Fixed by
these parts
these parts


Show All
Oven not heating evenly
Fixed by
these parts
these parts
Show All
Will Not Start
Fixed by
these parts
these parts
Show All
Watch our pros, then fix it yourself.
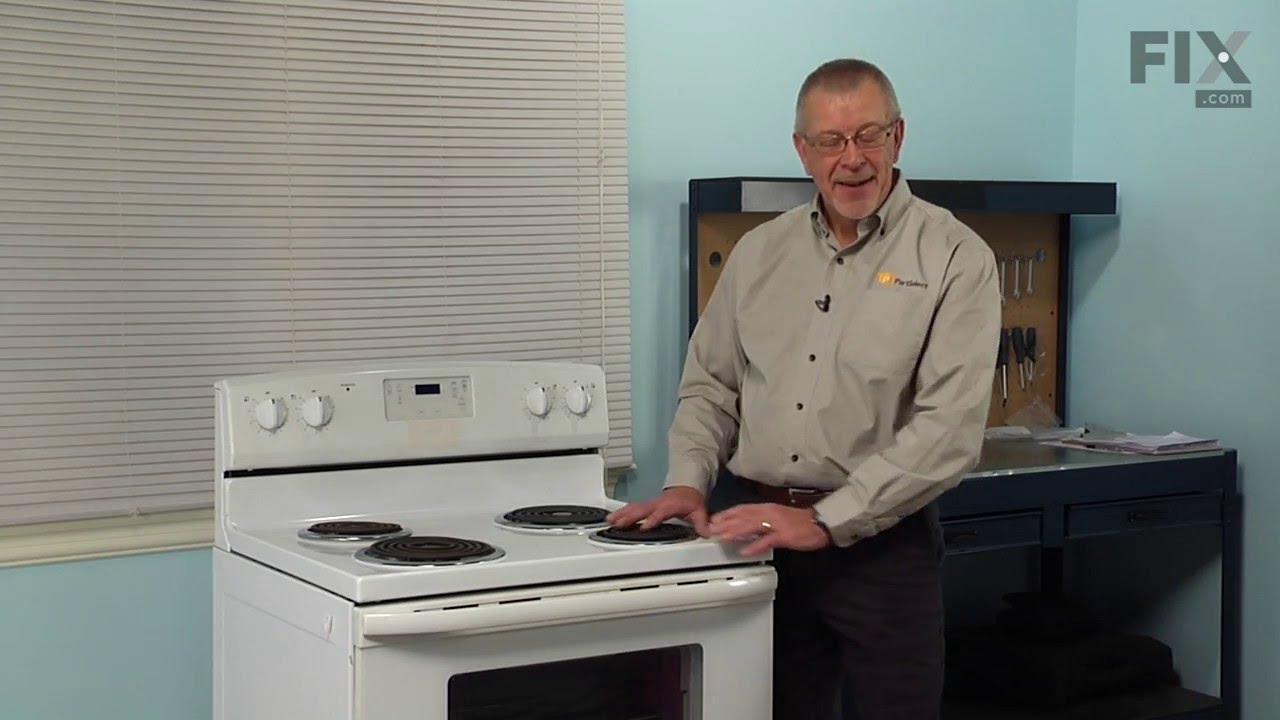
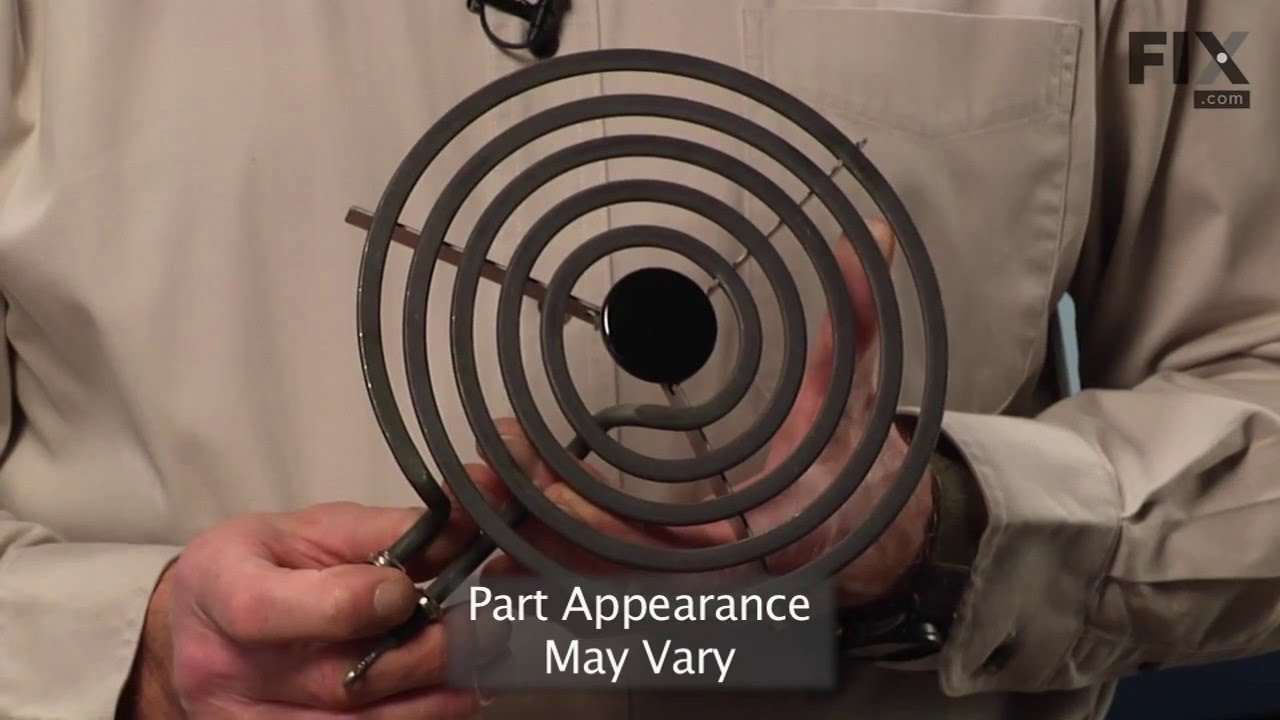
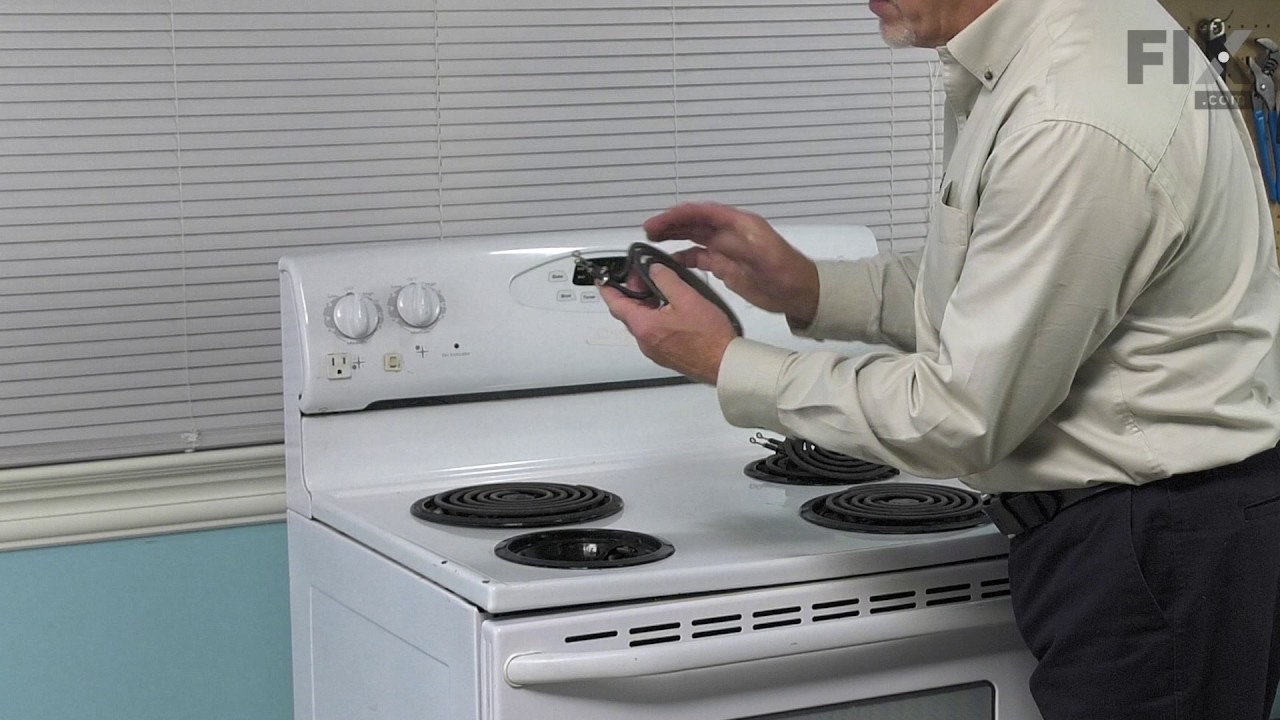

See how others fixed this model. Time, tools, difficulty, and steps that lead to victory!
View More