


 My Orders




E30WD75GPS2 Electrolux Warming Drawer - Overview
Diagrams for E30WD75GPS2
See every part. Know exactly what you need.


Enter a part description. DIY Heroes keep it simple, eg. "belt" or "pump".
Search filter:
Clear Filter
Your search term must have 3 or more characters.

$62.65
In Stock
Temperature Sensor
Part #316217002
The oven temperature sensor for your range may also be called a probe. The quick connect on this part may differ than your original piece. If the temperature sensor does not fit you will have to cut off the quick connect, and then wire together with porcelain wire nuts. The function of the oven temperature sensor is to measure the tempera...Read moreture in the oven and signal the other heating components. Before you begin this repair make sure to disconnect the power to the range. The tools required for this installation include a number two Phillips screwdriver or a number two square head screwdriver, and maybe a pair of wire strippers and crimpers.
Read less

$71.45
In Stock

$25.25
In Stock
SCREW
Part #5303300265

$25.25
Special Order
SCREW
Part #5303211311

$24.67
In Stock
SCREW
Part #08002868

$11.98
Special Order
SCREW
Part #5300803416

$80.25
Special Order
Warming Drawer Heating Element
Part #318255301

$53.28
Special Order
SPACER
Part #316247900

$25.25
Special Order
Screw & Washer,6-32 x 3/4 ,(2)
Part #5304447555
No Longer Available
BRACKET
Part #318247402
No Longer Available
NUT
Part #318303500
$176.02
Special Order
BOARD
Part #316517900
Manuals & Care Guides for E30WD75GPS2
Click to downloadInstall
Installation Instructions
(0.39MB)
Manual
Owner's Manuals
(3.5MB)
Wiring
Wiring Diagram
(0.04MB)
Common Symptoms of the E30WD75GPS2
How this model fails, and the parts that fix it.
Little to no heat when baking
Fixed by
these parts
these parts

Show All
Oven is too hot
Fixed by
these parts
these parts
Show All
Oven not heating evenly
Fixed by
these parts
these parts
Show All
Element will not heat
Fixed by
these parts
these parts
Show All
Will Not Start
Fixed by
these parts
these parts
Show All
Little to no heat when broiling
Fixed by
these parts
these parts
Show All
Watch our pros, then fix it yourself.
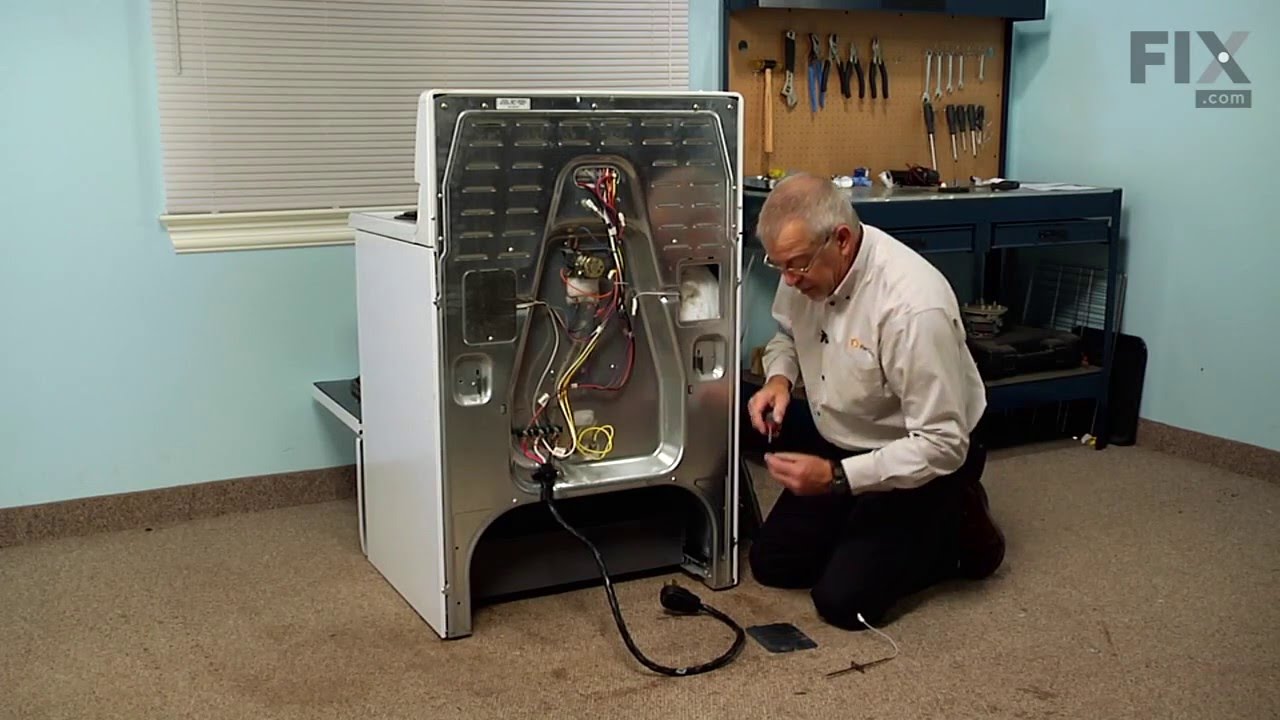
See how others fixed this model. Time, tools, difficulty, and steps that lead to victory!
View More