


 My Orders




E30EC65ESS3 Electrolux Cooktop - Overview
Diagrams for E30EC65ESS3
See every part. Know exactly what you need.


Enter a part description. DIY Heroes keep it simple, eg. "belt" or "pump".
Search filter:
Clear Filter
Your search term must have 3 or more characters.

$40.60
In Stock
Main Terminal Block Kit
Part #5304409888
Terminal block kits are also known as terminal boards, or terminal strips, and they are found in a wide variety of household appliances. Most often in ranges, wall ovens, and dryers. This kit attaches the power cord to the inner wiring of your appliance. If the terminal block is faulty, your appliance will not get the power it needs to op...Read moreerate properly. When removing the old block pay close attention to the wire placement, this will make installing your new part much easier. If you notice any of the wires or wire terminals are corroded or damaged they will also need to be replaced.
Read less

$96.75
In Stock
Radiant Element with Limiter - 1200W
Part #318178110
This is a six-inch radiant element with limiter. It works in conjunction with your stove top range. The purpose of this part is to heat up the cooking area that is located on top of the range, also known as your stove top. If you suspect that your surface element is not properly heating then you may want to test the element for continuity...Read more. This model is sold individually and is 1200 watts. The tools you will need for this installation include a Phillips screwdriver and a 14-inch nut driver.
Read less

$28.68
Special Order
NUT
Part #316247700
This part is made of stainless steel and is approximately half an inch in diameter. This nut is known as a control mounting hex nut. It is metallic in color. This is an OEM part sourced directly from the manufacturer. This part is sold individually. This nut screws in as opposed to other nuts which can be snapped into place. Many of our c...Read moreustomers have rated this repair as easy. This product is designed mainly for use in a range/cooktop/oven.
Read less

$16.95
Special Order

$25.25
In Stock
SCREW
Part #5303300265

$183.46
On Order
Element - Right Rear
Part #318198952
With this element, you can adjust the size of the burner you want to use to match your pots/pans.

$1923.06
Special Order
SCREW,(2),COUNTERTOP Mounting
Part #UC5300807270

$25.25
Special Order
SCREW
Part #5303211311

No Longer Available
Range Screw
Part #316519700

$11.98
Special Order
SCREW
Part #5300803416

No Longer Available
Dual Element Electronic Control with Potentiometer
Part #316441831
This part does NOT include the element. The dual element is sold separately.

$26.35
Special Order
SCREW
Part #5303307980
Manuals & Care Guides for E30EC65ESS3
Click to downloadInstall
Installation Instructions
(0.7MB)
Install
Installation Instructions
(4.26MB)
Manual
Owner's Manuals
(2.1MB)
Manual
Owner's Manuals
(13.02MB)
Wiring
Wiring Diagram
(0.03MB)
Common Symptoms of the E30EC65ESS3
How this model fails, and the parts that fix it.
Element will not heat
Fixed by
these parts
these parts


Show All
Little to no heat when baking
Fixed by
these parts
these parts
Show All
Will Not Start
Fixed by
these parts
these parts
Show All
Oven not heating evenly
Fixed by
these parts
these parts
Show All
Little to no heat when broiling
Fixed by
these parts
these parts
Show All
Watch our pros, then fix it yourself.
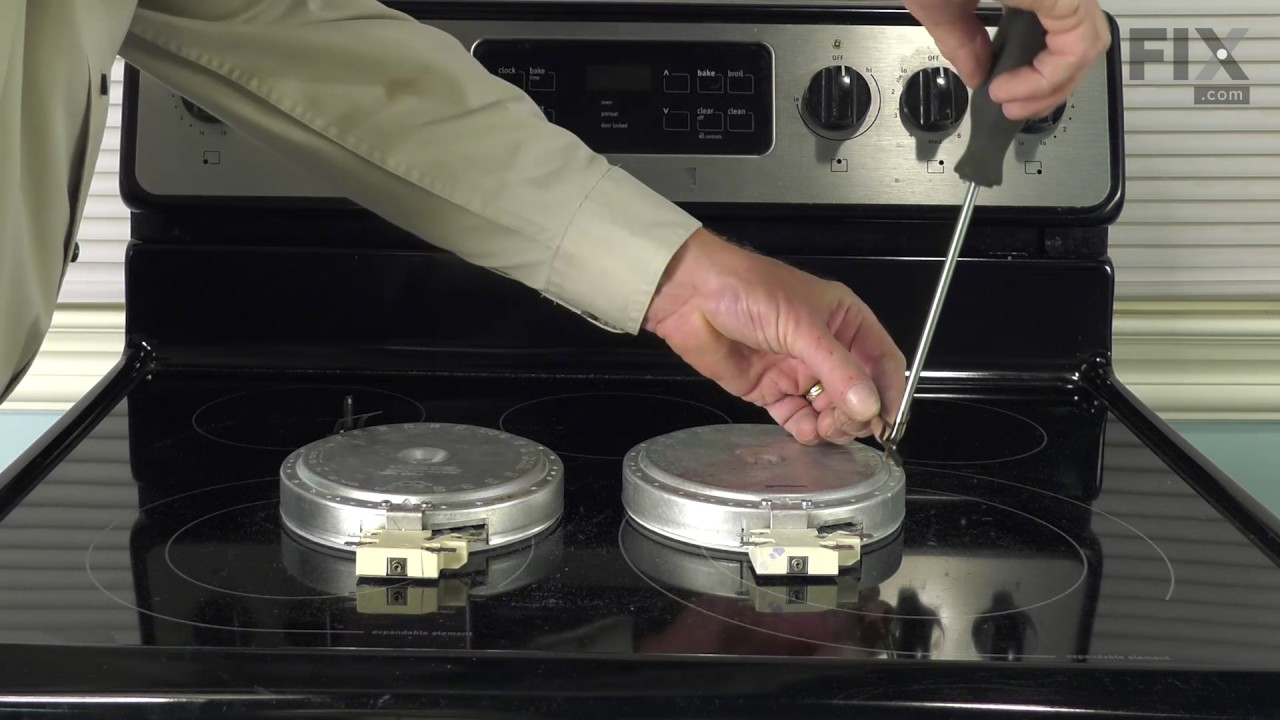

See how others fixed this model. Time, tools, difficulty, and steps that lead to victory!
View More