


 My Orders




E23BC68JPSDA Electrolux Refrigerator - Overview
Diagrams for E23BC68JPSDA
See every part. Know exactly what you need.


Enter a part description. DIY Heroes keep it simple, eg. "belt" or "pump".
Search filter:
Clear Filter
Your search term must have 3 or more characters.

$68.15
In Stock
Refrigerator Water Inlet Valve
Part #242252702
The function of the Refrigerator Water Inlet Valve (Triple Solenoid Water-Valve, Water Valve, Water Inlet Valve, Refrigerator Water Inlet Valve Assembly) is to release water from the supply line when activated, and send it through to your water dispenser or ice maker in your refrigerator. The water inlet valve is located at the back of th...Read moree refrigerator, and connects to the water supply. The valve can break from material fatigue or normal use. If your water inlet valve is malfunctioning, you could be getting a lack of water to the inside of your refrigerator. Your ice maker may not produce cubes or your water dispenser may not work. The water inlet valve must be replaced if the solenoids no longer have continuity or the valve has internal blockage. This valve measures approximately 7 inches long and 4.5 inches wide, and is constructed of plastic and metal. It comes in blue, and includes the valve and mounting bracket.
Read less

$37.91
In Stock
Air Filter
Part #EAFCBF
This manufacturer-approved air filter system for refrigerators eliminates odors and any impurities. It does this by neutralizing and removing odor-causing molecules. For best results, it is important to change the filter every 6 months to ensure that food is kept fresh, and the humidity is controlled. This part measures about 7 inches wid...Read moree and 5 inches deep. Follow installation instructions provided by the manufacturer when installing this part to ensure accurate results and further guidance. Remember to unplug the refrigerator from the power source before starting this project. The air filter may be located in different places depending on your appliance, but is usually on the inner right or left side. See your manual for exact location. Our customers rated this as a very easy repair that takes only a few minutes; just locate and remove the old air filter and insert the new one to complete the repair, which requires no tools.
Read less

$17.17
In Stock
Screw - Kit of Four
Part #5304515677
This screw is used in refrigerators. The screw can be loosened or tightened with a Phillips-head or square-head screwdriver. This screw is used to secure the refrigerator handle to the refrigerator door. This is an OEM part sourced directly from the manufacturer.

$30.70
In Stock
Upper or Lower Mullion Hinge Pin
Part #241779401
This mullion hinge pin is a genuine OEM replacement part, measuring 1.5 inches by 1.25 inches by 0.85 inches. It is specially designed to secure the mullion in refrigerators, allowing it to pivot and ensure smooth door movement. The mullion acts as a barrier between the refrigerator and freezer to maintain the desired temperatures for eac...Read moreh section. A damaged or loose hinge pin will result in temperature fluctuations, frost buildup along the door edges, and difficulties opening and closing the door. Therefore, it is important that you replace the pin as soon as it is no longer functioning. Note that your appliance may require two hinge pins, one near the top of the mullion and one near the bottom. Remove the mullion cover, detach the hinge pin, and install a the new one into the hinge assembly. Place the cover back on and verify that the hinge assembly is working by carefully opening and closing the refrigerator doors to check that they are moving smoothly. Each sold individually.
Read less

$83.79
In Stock
GASKET-DR,MAGNETIC FF GREY 36
Part #241778315
This GREY magnetic door gasket is designed for 36-inch French-door refrigerators and helps maintain a tight seal between the doors and the cabinet. Made from durable white material, it plays a critical role in keeping cold air inside and warm air out, helping preserve food freshness and improve energy efficiency. Over time, a worn or dama...Read moreged gasket can lead to temperature fluctuations and increased energy use. This replacement part is compatible with select refrigerator models and installs easily to restore proper sealing performance.
Read less

$53.85
In Stock
Evaporator Fan Blade
Part #5308000010
This evaporator fan blade is a genuine OEM part that is sourced directly from the manufacturer. The evaporator fan blade circulates air through the refrigerator to control the amount of cold air goes that goes to internal compartments of the unit. It may need to be replaced if the fridge is noisy or not cold enough. This part is made of p...Read morelastic and is sold individually. It will be necessary to disconnect power to the refrigerator and empty the freezer compartment of the refrigerator. The tools needed to complete this repair are a 1/4 inch nut driver and a pair of needle nose pliers.
Read less

$25.25
In Stock
Screw
Part #218755504
Sold individually.
This is a genuine part. The handle mounting shoulder screw (no.10 ab) is made for use with many refrigerators. The metal screw helps to fasten the handle assembly to the outer door panel. The handle mounting shoulder screw is sold individually. For the repair, you will need a pair of pliers.

$71.20
In Stock
GASKET,FREEZER DRAWER,GREY
Part #5304537408
This light gray freezer drawer gasket is designed to create a secure, airtight seal around the freezer drawer, helping to maintain consistent internal temperatures and prevent warm air from entering. Compatible with select refrigerator models, it plays a vital role in preserving food quality and improving energy efficiency. If the origina...Read morel gasket is cracked, worn, or has lost its flexibility, replacement is recommended. Common signs of a faulty gasket include frost buildup, excess condensation, and increased appliance run time.
Read less

$39.94
Special Order
Adjustable Leveling Foot - Black
Part #216396900
This part could be found underneath a fridge, dryer, or freezer. The original foot may be cracked, broken, or perhaps missing altogether. If you notice the appliance is uneven to the floor or wobbling, it may indicate that the levelling foot needs to be replaced. You will need pliers and a block of wood to perform this task. There will be...Read more one adjustable foot found in the package. Lift the dryer and place the wood to keep it propped up. You may need to use the pliers to remove the old foot. Screw the new foot into place using your hand. Once the new leveling foot is in place, lift the appliance and remove the block. Test the machine out to ensure it is now sitting level.
Read less

$25.25
In Stock

$33.29
Special Order

$25.25
In Stock
Mounting Screw
Part #5304453707
Manuals & Care Guides for E23BC68JPSDA
Click to downloadInstall
Installation Instructions
(1.82MB)
Manual
Owner's Manuals
(3.59MB)
Specs
Product Specifications Sheet
(1.82MB)
Wiring
Wiring Diagram
(1.82MB)
Common Symptoms of the E23BC68JPSDA
How this model fails, and the parts that fix it.
Leaking
Fixed by
these parts
these parts


Show All
Ice maker not making ice
Fixed by
these parts
these parts

Show All
Not dispensing water
Fixed by
these parts
these parts
Show All
Fridge too warm
Fixed by
these parts
these parts


Show All
Door won’t open or close
Fixed by
these parts
these parts


Show All
Noisy
Fixed by
these parts
these parts


Show All
Door Sweating
Fixed by
these parts
these parts

Show All
Ice maker won’t dispense ice
Fixed by
these parts
these parts
Show All
Frost buildup
Fixed by
these parts
these parts
Show All
Fridge and Freezer are too warm
Fixed by
these parts
these parts
Show All
Freezer not defrosting
Fixed by
these parts
these parts

Show All
Fridge too cold
Fixed by
these parts
these parts
Show All
Freezer section too warm
Fixed by
these parts
these parts
Show All
Ice maker dispenses too little ice
Fixed by
these parts
these parts
Show All
Too warm
Fixed by
these parts
these parts
Show All
Leaks water
Fixed by
these parts
these parts
Show All
Watch our pros, then fix it yourself.
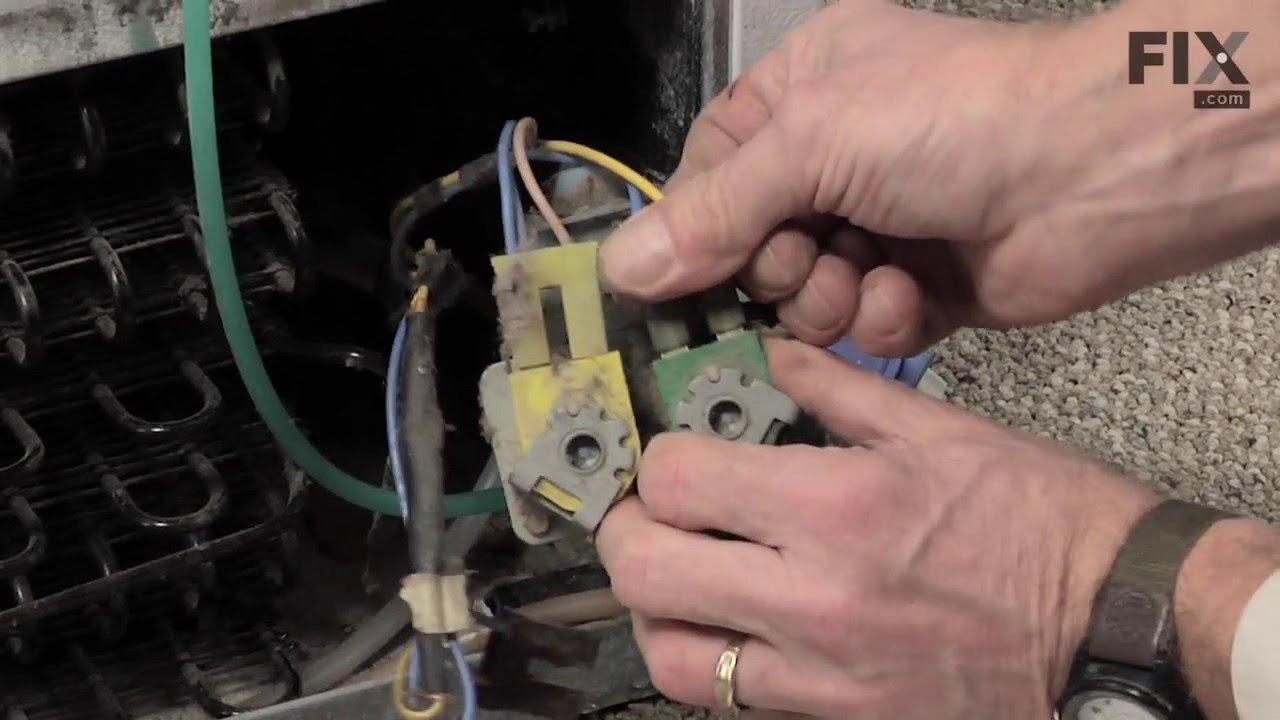


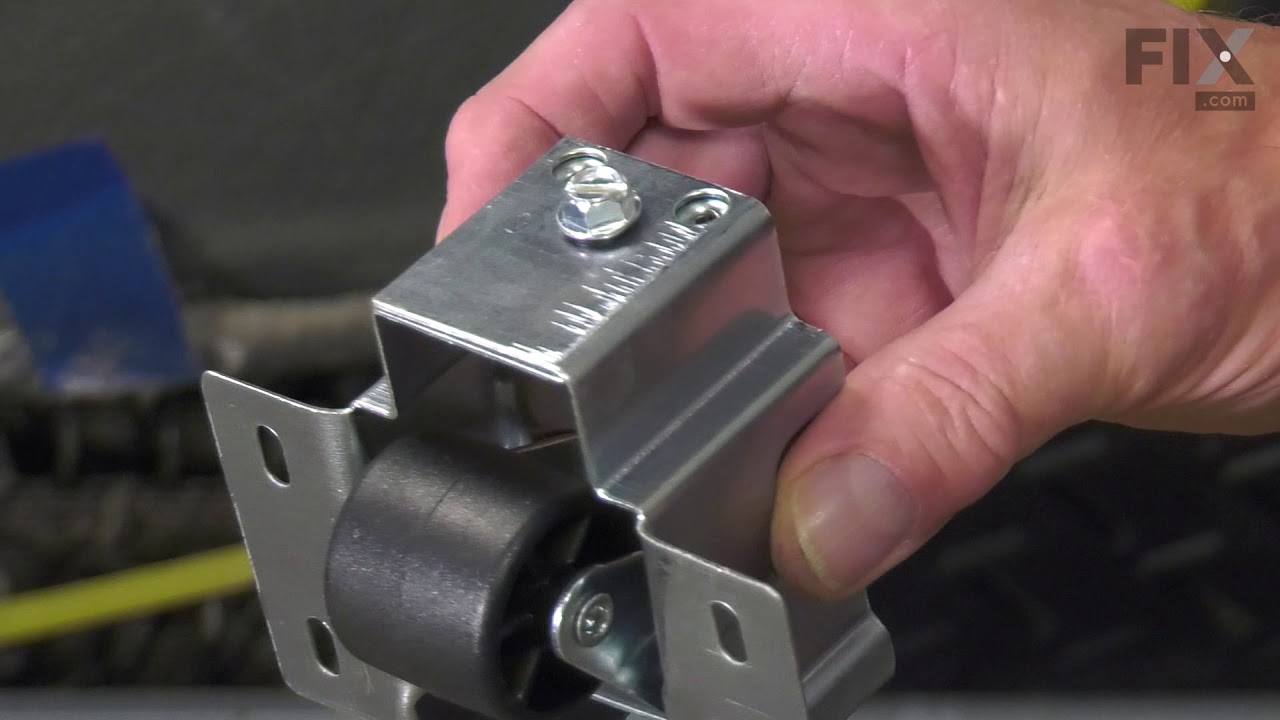
See how others fixed this model. Time, tools, difficulty, and steps that lead to victory!
View More