













DYF48BNDI00 Dacor Refrigerator - Overview
Sections of the DYF48BNDI00
[Viewing 12 of 12]


Keep searches simple, eg. "belt" or "pump".

Water Filter Cap - Black
PartSelect #: PS11739970
Manufacturer #: WP2260518B
This black cap covers the water filter.
$35.80
In Stock

Refrigerator Door Switch
PartSelect #: PS12728638
Manufacturer #: W11384469
Door switch turns the light off when you close the door.
$30.53
In Stock

Light Bulb - 120V 25W
PartSelect #: PS11747806
Manufacturer #: WPA3073101
This light bulb is a 120 volt, 25 watt incandescent appliance light bulb with a small base screw-in that fits in a variety of appliances such as microwaves, refrigerators, freezers, cooktops, or stove...
$13.95
In Stock

Screw
PartSelect #: PS11742721
Manufacturer #: WP488729
Metallic screw that is less than an inch long. Does not include the plastic washer.
$7.47
In Stock

Evaporator Fan Blade
PartSelect #: PS11738973
Manufacturer #: WP2169142
If your refrigerator or freezer is too warm, or making noises, you may need to replace the fan blade. The fan blade attaches to the evaporator motor, which is in the freezer section, to help circulate...
$28.42
In Stock

Refrigerator Armshut
PartSelect #: PS12712096
Manufacturer #: W11342242
This ice level arm, also known as an ice shutoff arm, is designed to detect the level of ice within the ice bin of your ice maker or refrigerator and turn it off when enough ice has been made. When th...
$45.29
In Stock

Icemaker Motor Kit
PartSelect #: PS733947
Manufacturer #: 8201515
This kit includes the module motor, ejector arm, and ice stripper arm. The complete icemaker is sold separately.
$98.81
In Stock

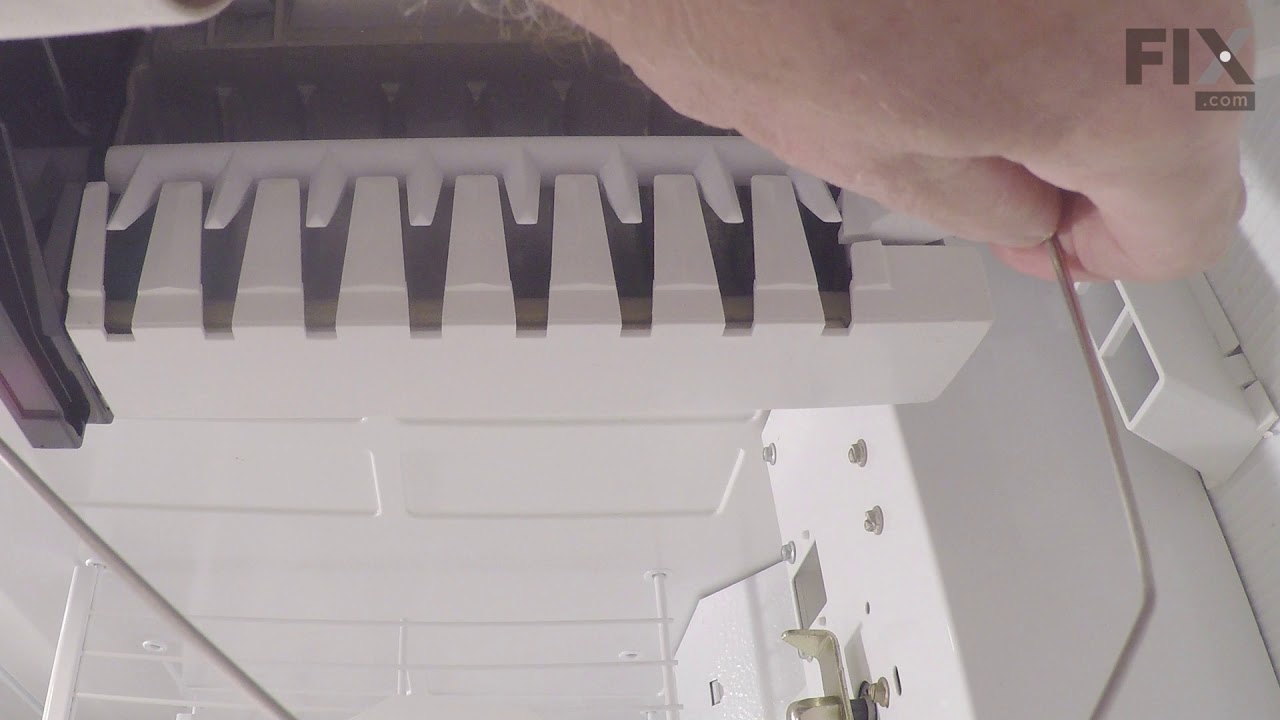
Refrigerator Ice Mold
PartSelect #: PS11749915
Manufacturer #: WPW10190929
This is an ice maker mold and heater assembly for a refrigerator ice maker. It is used with modular style icemakers and is located in the freezer section of the refrigerator. This ice mold is flake re...
$162.26
In Stock

Cycling thermostat
PartSelect #: PS11743313
Manufacturer #: WP627985
The ice maker thermostat, also known as the cycling thermostat, controls and regulates the ice maker ejection cycle by monitoring the temperature inside the freezer to determine when to release the ic...
$60.51
In Stock

Refrigerator Screw
PartSelect #: PS11745619
Manufacturer #: WP8281164
Sold individually.
$11.77
In Stock


Refrigerator Socket
PartSelect #: PS11749929
Manufacturer #: WPW10191429
This light socket is a genuine OEM part for your refrigerator. The light socket powers the bulb that lights your fridge. To repair this part, you will need to remove the screws holding the control pan...
$7.47
In Stock
Common Symptoms of the DYF48BNDI00
[Viewing 13 of 13]Light not working
Fixed by
these parts
these parts


Show All
Ice maker not making ice
Fixed by
these parts
these parts


Show All
Noisy
Fixed by
these parts
these parts


Show All
Fridge too warm
Fixed by
these parts
these parts
Show All
Leaking
Fixed by
these parts
these parts


Show All
Ice maker won’t dispense ice
Fixed by
these parts
these parts

Show All
Ice maker dispenses too much ice
Fixed by
these parts
these parts

Show All
Will Not Start
Fixed by
these parts
these parts

Show All
Fridge and Freezer are too warm
Fixed by
these parts
these parts
Show All
Not dispensing water
Fixed by
these parts
these parts

Show All
Too warm
Fixed by
these parts
these parts
Show All
Fridge too cold
Fixed by
these parts
these parts

Show All
Freezer section too warm
Fixed by
these parts
these parts
Show All


Keep searches simple. Use keywords, e.g. "leaking", "pump", "broken" or "fit".
Lights inside refrigerator not working
I used a flat-head screwdriver to pop out the old light rocker switch. Then, I unplugged the wires, plugged them into the new light rocker switch, and then popped the new switch into the hole. That's it! Lights began working again.
Parts Used:
-
Clint from Rayville, MO
-
Difficulty Level:Really Easy
-
Total Repair Time:Less than 15 mins
-
Tools:Screw drivers
136 of 253 people
found this instruction helpful.
Was this instruction helpful to you?
Thank you for voting!
No ice in ice trey
The easiest thing to do was pull the ice make off. After taking the 3 screws out of the wall of the freezer, take a screwdriver (flathead) and push on the tab for the electrical plug and wiggle the cord out. Then you can take 3 screws out for the main cover and another 2 screws on the next cover. There's the part, pop it out and replace h
... Read more
olding pins and start the process of putting back together the opposite way you took it apart.
Read less
Parts Used:
-
Wayne from Leesburg, FL
-
Difficulty Level:Really Easy
-
Total Repair Time:15 - 30 mins
-
Tools:Screw drivers, Socket set
79 of 104 people
found this instruction helpful.
Was this instruction helpful to you?
Thank you for voting!
Missing the cap on the water filter, made it really hard to replace the filter
Removed the filter and put the cap on the new filter and inserted it as instructed on the filter box. Really easy now that we have the new cap.
Parts Used:
-
Pamela from Sacramento, CA
-
Difficulty Level:Really Easy
-
Total Repair Time:Less than 15 mins
66 of 79 people
found this instruction helpful.
Was this instruction helpful to you?
Thank you for voting!