



 My Orders




DYF42BIWS00 Dacor Refrigerator - Overview
Diagrams for DYF42BIWS00
See every part. Know exactly what you need.


Enter a part description. DIY Heroes keep it simple, eg. "belt" or "pump".
Search filter:
Clear Filter
Your search term must have 3 or more characters.

$35.80
In Stock

$30.53
In Stock

$19.69
In Stock
Light Bulb - 120V 25W
Part #WPA3073101
This light bulb is a 120 volt, 25 watt incandescent appliance light bulb with a small base screw-in that fits in a variety of appliances such as microwaves, refrigerators, freezers, cooktops, or stoves. Its purpose is to light up the appliance when the door is open. This is a genuine OEM part. You may need to replace the light bulb if the...Read more existing bulb is burnt out or broken. This light bulb is sold individually and is a common wear part, it is recommended to order a spare.
Read less

$265.04
In Stock
Electronic Control Board
Part #W11629974
This set of two electronic control boards includes both the emitter and receiver modules, which work together to manage ice production and dispensing in compatible refrigerator models. The emitter sends a signal to detect ice levels, while the receiver interprets that signal to determine when the ice bin is full and when to initiate dumpi...Read moreng or refilling. These boards are essential for maintaining proper ice maker functionality, ensuring efficient operation and preventing overfilling or underproduction. Installation should be performed with the appliance unplugged, and compatibility must be confirmed using the refrigerator’s model number.
Read less

$7.47
In Stock
Screw
Part #WP488729
Metallic screw that is less than an inch long. Does not include the plastic washer.

$28.42
In Stock
Evaporator Fan Blade
Part #WP2169142
If your refrigerator or freezer is too warm, or making noises, you may need to replace the fan blade. The fan blade attaches to the evaporator motor, which is in the freezer section, to help circulate the cold air into the refrigerator and freezer sections. The fan blade is white in color and made from plastic. This is a genuine OEM part...Read more. Please be sure to disconnect the power to your refrigerator before starting your repair.
Read less

$12.85
In Stock
Refrigerator Seal
Part #WP2198628
This part is a replacement refrigerator drive shaft seal for your refrigerator. The drive shaft seal protects the auger motor from water and condensation that may leak down the drive shaft from the ice bucket. If the seal is broken, water and condensation can get in, causing the ice maker to fail. To replace the seal, first remove the ice...Read more bucket from your freezer. Then remove the two screws on the drive shaft holder, and use a pair of pliers to remove the drive shaft. At this point you can remove the seal from the drive shaft. Be sure to clean the area that the seal sits in before you reinstall the drive shaft. This part is white in color and is about an inch in diameter. The seal is sold individually.
Read less

$32.63
In Stock
Refrigerator Flipper
Part #WP2198633
This part is a replacement flipper or emitter cover for your refrigerator. It is made of white plastic and is approximately 3 inches by 2 inches. The flipper shields the emitter control board and houses the flipper cover for the emitter board. If your flipper is broken or missing, your ice maker may not make or dispense ice, and will need...Read more to be replaced. This part is sold individually and is an authentic OEM part sourced directly from the manufacturer.
Read less

$98.81
In Stock
Icemaker Motor Kit
Part #8201515
This kit includes the module motor, ejector arm, and ice stripper arm. The complete icemaker is sold separately.

$162.26
In Stock
Refrigerator Ice Mold
Part #WPW10190929
This is an ice maker mold and heater assembly for a refrigerator ice maker. It is used with modular style icemakers and is located in the freezer section of the refrigerator. This ice mold is flake resistant which prevents the coating on the mold from flaking into the ice cubes when the ice mold begins to wear. The ice mold forms the ice ...Read morecubes and the heater allows the ice cubes to fall from the ice mold to drop them into the ice bucket. You will need to remove the ice maker from the refrigerator to access the mold and heater assembly. This is a genuine replacement part.
Read less

$60.51
In Stock
Cycling thermostat
Part #WP627985
The ice maker thermostat, also known as the cycling thermostat, controls and regulates the ice maker ejection cycle by monitoring the temperature inside the freezer to determine when to release the ice into the bin and start the ice making cycle again. If your ice maker is making unusual noises, or if the ice maker is not making or dispen...Read moresing ice, there could be an issue with the thermostat. Before you begin this repair, make sure the power is disconnected from your refrigerator, and that any food that may spoil is safely stored. This is an OEM part and is sourced directly from the manufacturer. This thermostat is sold individually, and comes with two attachment clips.
Read less

$7.47
In Stock
Common Symptoms of the DYF42BIWS00
How this model fails, and the parts that fix it.
Light not working
Fixed by
these parts
these parts


Show All
Ice maker not making ice
Fixed by
these parts
these parts


Show All
Ice maker won’t dispense ice
Fixed by
these parts
these parts


Show All
Leaking
Fixed by
these parts
these parts


Show All
Noisy
Fixed by
these parts
these parts


Show All
Fridge too warm
Fixed by
these parts
these parts
Show All
Will Not Start
Fixed by
these parts
these parts

Show All
Not dispensing water
Fixed by
these parts
these parts


Show All
Ice maker dispenses too much ice
Fixed by
these parts
these parts
Show All
Fridge and Freezer are too warm
Fixed by
these parts
these parts
Show All
Too warm
Fixed by
these parts
these parts
Show All
Fridge too cold
Fixed by
these parts
these parts

Show All
Freezer section too warm
Fixed by
these parts
these parts
Show All
Watch our pros, then fix it yourself.

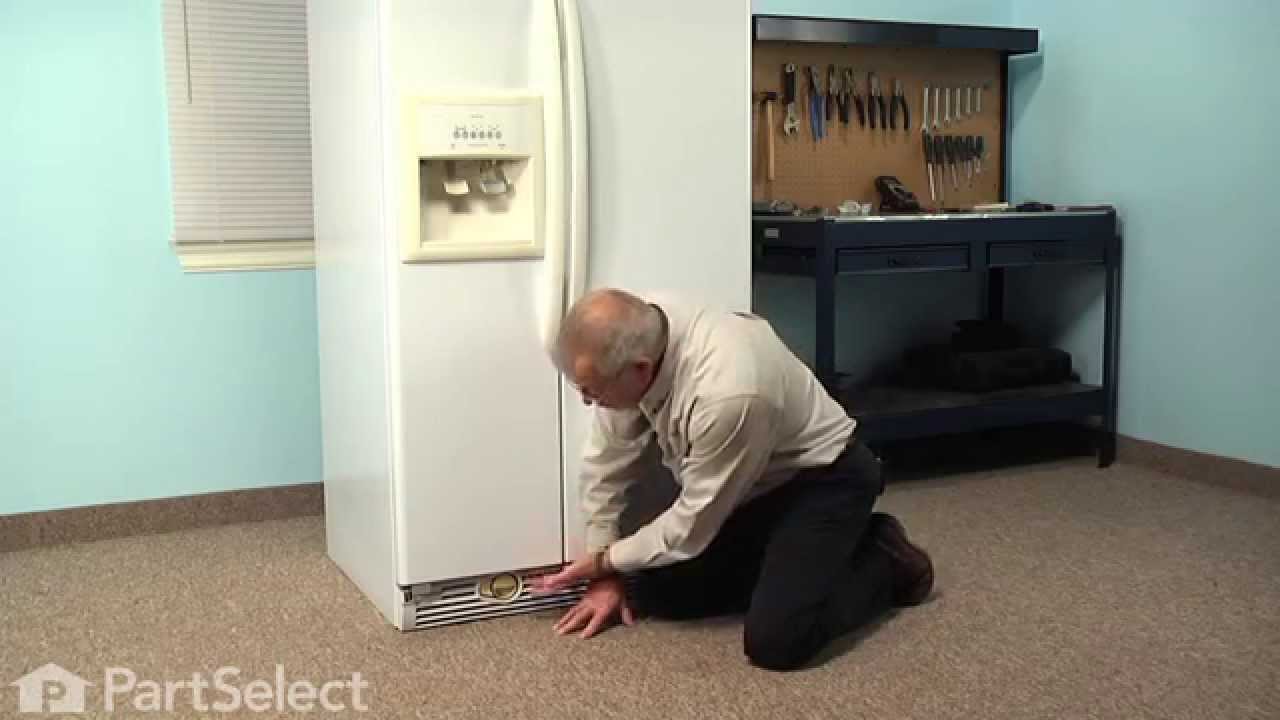

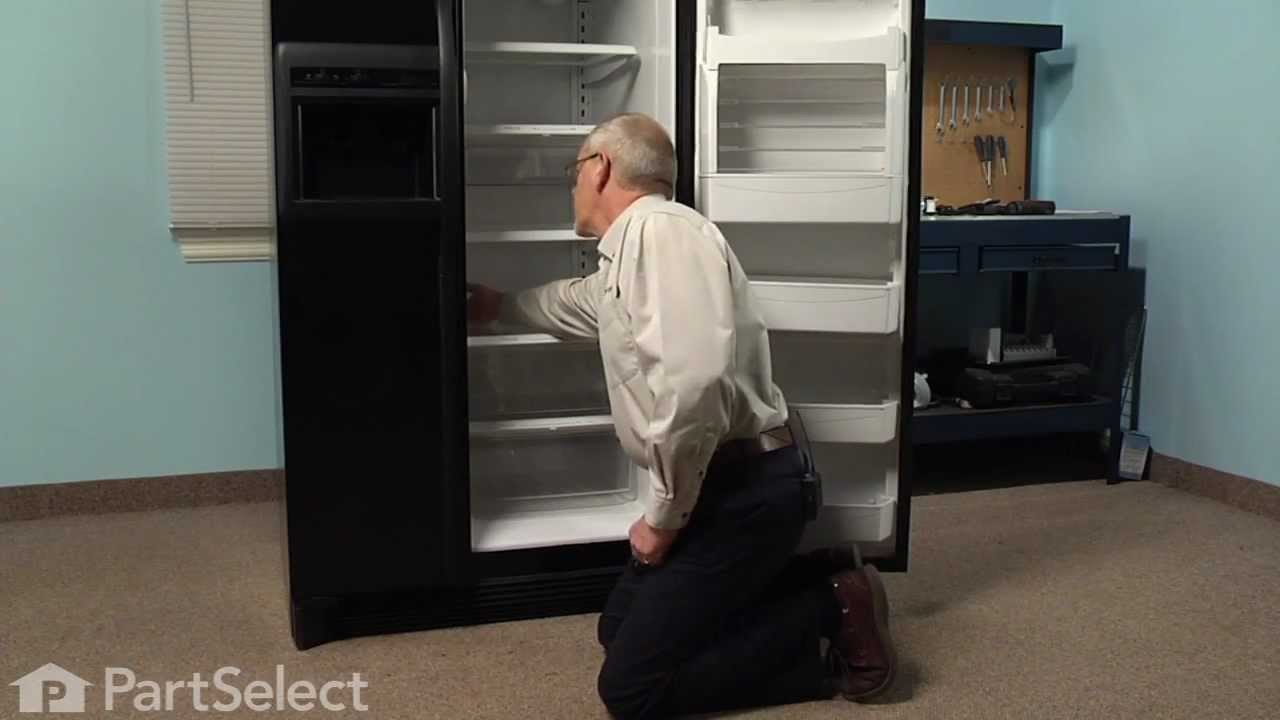
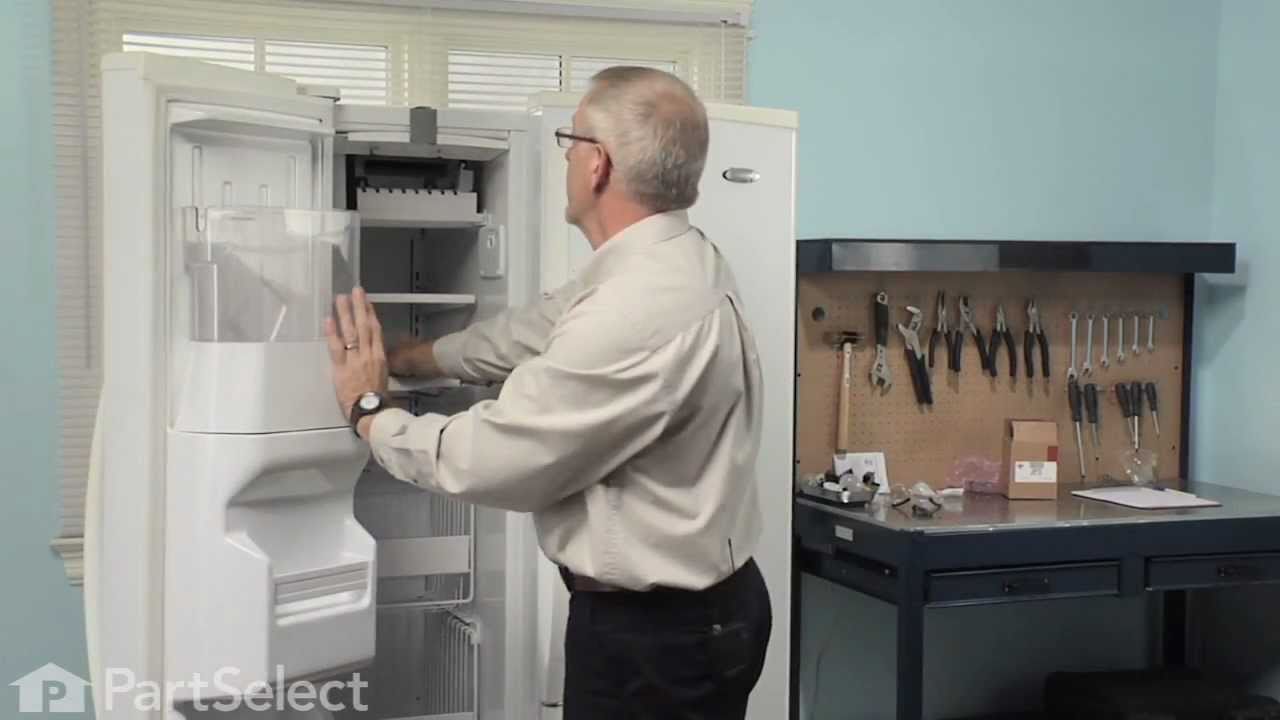
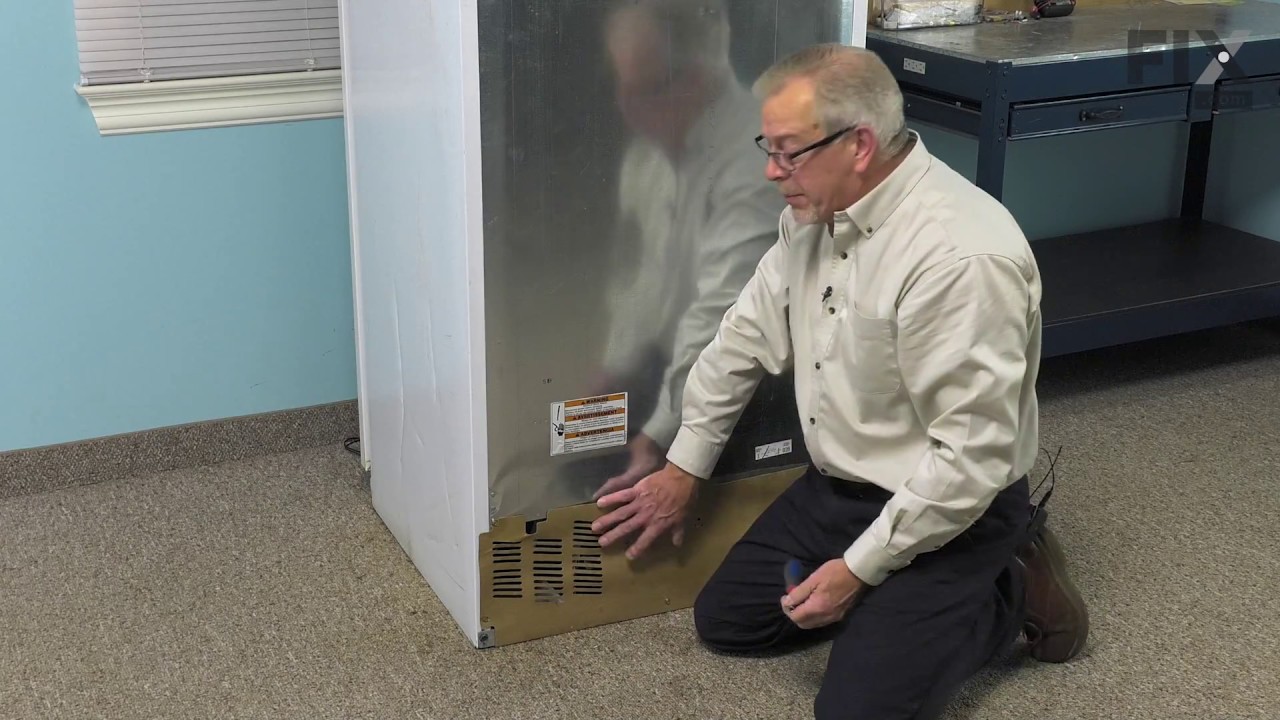
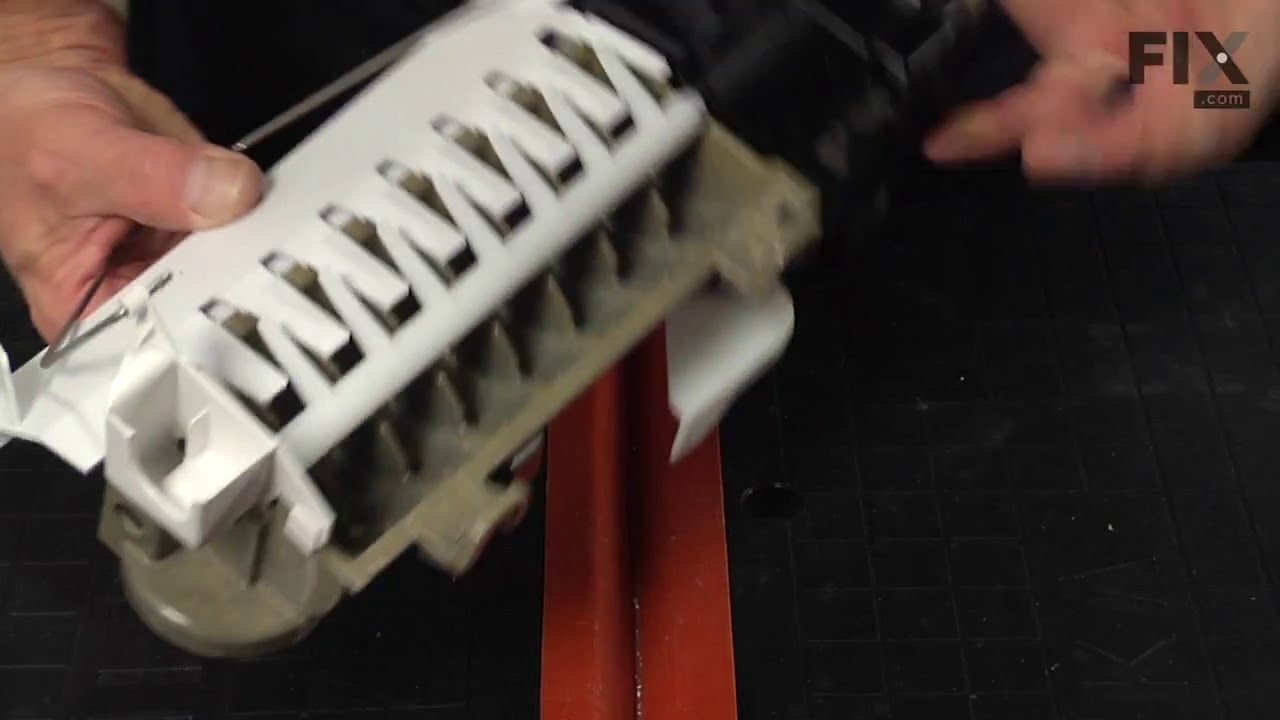
See how others fixed this model. Time, tools, difficulty, and steps that lead to victory!
View More