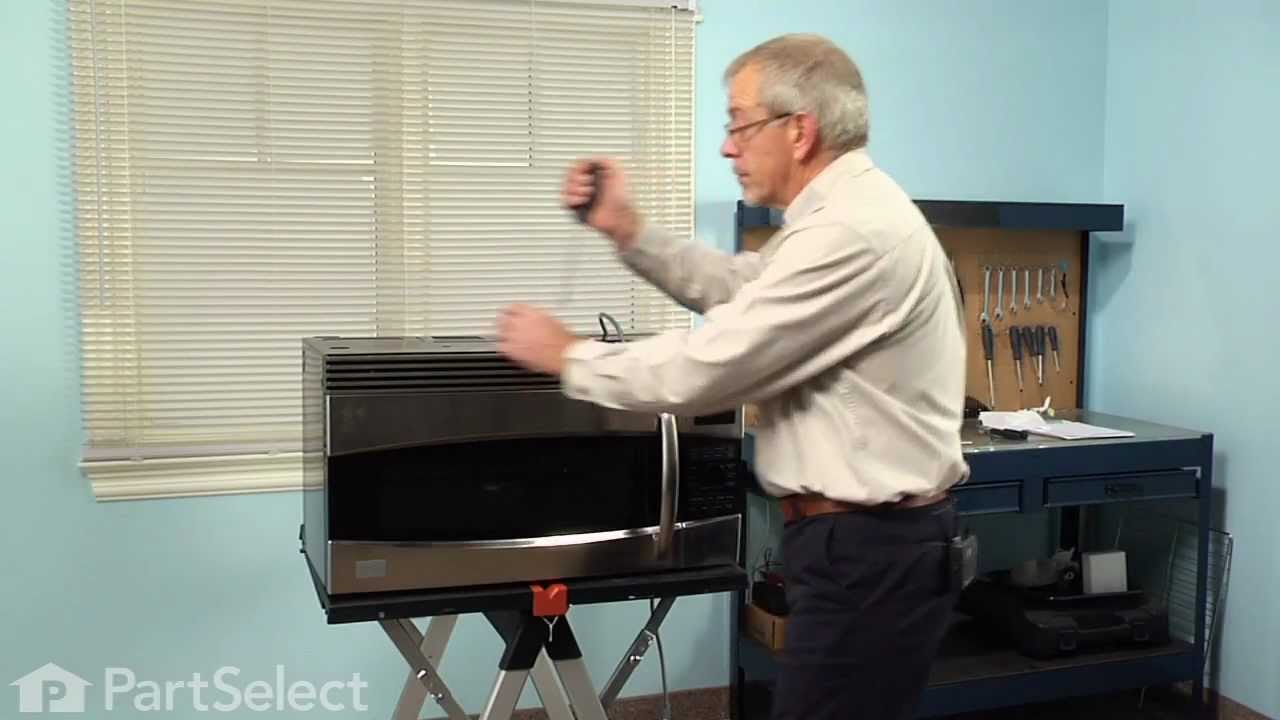
This is a replacement grease filter for your microwave. Sometimes known as the air filter, this part fits underneath your microwave and catches grease. As a result, your grease filter can become clogged, and this is the part you will need to replace it. It measures approximately 7 inches by 7 inches. Most microwaves have two grease filters, but this part is sold individually.
The secondary door switch is a simple on/off mechanism that stops the microwave from operating when the door is open (normally opened). The switch monitors the door latch position, and communicates whether the door is open or closed to the electrical control board. This door switch is approximately 1 inch long, and has 2 metal prongs cal...Read moreled terminals that extend out of its body. Common symptoms related to a faulty secondary door switch include: microwave will not turn/shut off, or the microwave will not heat properly.
NOTE: Before you begin this repair, first make sure your microwave is unplugged, and that your capacitor is discharged. A capacitor stores large amounts of electricity even when your microwave is unplugged.
The microwave glass light lens protects the light bulb inside the appliance. It is clear in color and measures approximately 6-1/2 inches long, and 2-1/2 inches wide. You may notice that this part is cracked or broken and will need to be replaced. You will need to remove the screw holding the cover in place. Unhook the cover from the bott...Read moreom panel. Bend the tabs up that are securing the old lens in place. The textured side should be facing up. Place the new lens into place and secure back into place.
This charcoal filter is used to prevent odors and smells from your microwave from being released into your home. If your microwave smells bad or is produce an abnormal or unnatural smell, this filter is likely in need of replacement. Because it is made of charcoal, this filter will eventually need to be replaced, depending on how often yo...Read moreu use your microwave. To replace this filter, some disassembly of your microwave will be necessary. This filter measures 9-inches long by 4-inches wide, and is sold individually.
Unplug your microwave before attempting this repair. You will need to remove the grill, which is held into place by two screws at the top of the grill (open your microwave door before doing this). Remove the grill. Remove the screw on the left holding the control panel in place. Loosen the screw behind the panel. You should now be able to...Read more lift the panel up and pull forward to detach. You will find the door switch by removing the screws to detach the switch assembly. Press on the release tab to remove the middle switch. Disconnect the wire connector to release the old switch. The door switch is normally closed.
Ensure the secure installation of your GE microwave with this effective mounting bolt. Designed by esteemed manufacturer GE, this handy microwave part ensures your appliance remains firmly in place within your kitchen cabinetry. The role of this integral component is to robustly secure the microwave unit to the overhead cabinet structure,...Read more maintaining stability and safety. Its installation follows an easy, user-friendly process, detailed in the accompanying guide that simplifies the procedure for you greatly. For the longevity of your GE microwave, the use of this hardwearing mounting bolt is indispensable. Trust this mounting hardware to keep your appliance safe, secure, and functional over time.
Ask our experts a question about this model and we'll get back to you as soon as possible!
We may have answered a similar question already! Search questions and answers left by others using simple keywords like "fit", "broken", "easy", or "quality" to find questions that match.
Search filter:
Clear Filter
Your search term must have 3 or more characters.
Sort by:
Prev
1
Next
Sorry, we couldn't find any existing answers that matched.Try using some different or simpler keywords, or submit your new question by using the "Ask a Question" button above!
April - For model number DVM7195SF1SS
December 2, 2022
My microwave is above my stove top and it melted the handle off, the handle is peeling! I thot it was stainless steel material?? I need the replacement if you have them!
Hi April,
Thank you for your question. The part number listed under your model number for the handle is PS8754182. If you need help placing an order for it, customer service is open 7 days a week and anyone will be happy to assist you. Please feel free to give us a call. We look forward to hearing from you!
Hello Jay, thank you for getting in touch. The switch PCB assembly for your model is part number PS8767091, and the main control board is part number PS8755571. If you need help placing an order, customer service is open 7 days a week!
Looking for a Halogen lighting Harness for my Microwave, the harness has
two hook-ups the light shines on my stove, I also need the glass Plate that comes with it it has a couple of cracks
Thank you
Hello Tomas, thank you for the question. The glass cooking tray you are looking for is part number PS250009. Unfortunately, the wire harness for the light are not listed in the part list for your model number. For more specialized assistance or to speak with someone about this, we would suggest calling the manufacturer of the unit directly. Once you get the information you need, we should be able to find the information on our site for you. We hope this is what you were looking for!
Was this helpful?
Thank you for voting!
John - For model number DVM7195SF1SS
December 10, 2019
How do you replace the light bulbs in this microwave oven. Need specifics.
hello John, Thank you for the question. Here is a Link for a Video on replacing the bulb that may help. Good luck with the repair!
https://www.youtube.com/watch?v=-yUtoBg17Jg
Was this helpful?
Thank you for voting!
Prev
1
Next
✖
Ask a Question
Ask our experts a question on this model and we'll respond as soon as we can.
See how others fixed this model. Time, tools, difficulty, and steps that lead to victory!View More
Search repair tips from other customers using simple keywords like "replace", "fit", "remove", "inspect". DIY doesn't mean you have to do it alone!
Search filter:
Clear Filter
Your search term must have 3 or more characters.
light worked, timer and control pad worked, but no turntable, no heat, no noises of any sort, just didn't start up
320 of 387 peoplefound this instruction helpful.
Marla from Arlington, TX
Easy
Less than 15 mins
Screw drivers
Noted on partselect.com that someone else with this problem, found it to be secondary door switch. There are three door switches in this model, but online info noted that one of the three might feel "soft" (in my case, one switch clicked in a rather "jiggly" way, the other two were strong decisive clicks.) To access the door switches on
... Read more this model was the only difficult part. First use a torx bit to remove the two torx screws below the latches inside the microwave. This frees the latching part inside, that holds the door switches, which you will remove after you take off the control panel. The top grill has to come off before you can remove the door panel. Remove the screws above the grill, on the microwave top cover, The grill on this model is covered with a panel that moves out when it vents. After removing the two top screws, the covered grill vent slides left to remove. Be careful, as the sliding tabs are plastic. Wiggle and jiggle it, to slip it off. Below the removed grill, is a small metal grill with one screw in lower center. Remove that screw, and wiggle that out. You'll then see the one screw that holds on the control panel. Remove this screw, and lift the control panel up to remove. Again, go slowly and gently, as the bottom tabs holding the control panel in, are also plastic and easily broken. Lay the control panel on something, (I used the coffee maker) and pull out the wire bundles tucked on the left, that are attached to the latching panel. Wiggle the latching panel gently to lift it up off of it's plastic tabs and pull it out towards you, so you can see the three door switches. Each switch (part number WB24X829) has a little black switch on it. Feel each switch with either your finger, or a screwdriver to see which one doesn't "click" strongly. The weak one is the one you will replace. The door switches are fitted into a tab, and plugged into their wires. Remove the defective switch, pull out the wires, and replace it with the new switch, plugging back the wires, and slipping it back into it's plastic tabs. Then put everything back together in reverse order. The entire job took me fifteen minutes EXCEPT for figuring out how to slide off the upper grill, which I have told you. A repairman would have cost $150, the part was $18. AND, there's a good chance, the other two switches will get "used up" in the next year or so as well, so I'll be ready next time. Thank you, Partselect, why work all day, to make money, only to give it to somebody else, for fifteen minutes of work. All I needed was the knowledge.
Read less
Was this helpful?
Thank you for voting!
Not working as far as heating or cooking
151 of 361 peoplefound this instruction helpful.
Theodore from Medical Lake, WA
Really Easy
Less than 15 mins
Screw drivers
Replaced High Voltage Diode. Very carfully due to the extream danger of a electrical shock.
Was this helpful?
Thank you for voting!
Microwave Fan Turned on When Door Was Opened
51 of 64 peoplefound this instruction helpful.
Bishop from Coupland, TX
Easy
30 - 60 mins
Screw drivers
To get to the switches you need to remove the metal cover/housing of the microwave, by first removing several screws that hold it in place, and then sliding the cover towards the back of the unit. You'll find the switches in some plastic holders above the door-open button, and it's its easy to see how the mechanism engages/disengages the
... Read moreswitches when the door is opened and closed.
If it is not obvious which switch is bad, in our case the bad switch felt "soft" when we pressed the switch button with our fingers. A good switch has a firm "click" when pressed.
The switches are easy to replace - pop out the old switch (no tools required) and pull off the electrical connectors. Then pop in the new switch and reattach the connectors.



 My Orders