


 My Orders




DV218AEWXAC Samsung Dryer - Overview

Enter a part description. DIY Heroes keep it simple, eg. "belt" or "pump".
Search filter:
Clear Filter
Your search term must have 3 or more characters.

$55.18
In Stock
Drive Belt
Part #6602-001655
The drum belt attaches to the motor pulley and causes the drum to spin as the motor is rotating. The drum belt is made of black rubber. This is an easy repair and should only take a few minutes. This goes between the drive motor and the dryer drum. The belt may have broken, which will cause the drum to not turn properly. You will need to ...Read morepull your dryer away from the wall and use your Phillips screwdriver to remove the screws on the back. This is an OEM product, shipped directly from the manufacturer.
Read less

$266.95
In Stock
Heater Duct Assembly w/ Thermostats
Part #DC97-14486A
This genuine OEM heater duct assembly in your dryer directs hot air into the drum during operation. Generally, it can be found behind the drum or at the rear of the dryer. If this assembly becomes damaged, you may encounter problems such as clothes not drying properly or drying unevenly. This kit includes the housing with the heating element coil and attached insulators.

$35.97
In Stock
Leveling Leg
Part #DC97-12150A
The leveling leg on your dryer attaches to the bottom of the dryer base. The function of the leg is to keep your dryer level while it operates. This part is approximately 3 inches in length, 2 inches in width and 2 inches in height. It is sold individually and is black and white in color. Many of our customers have rated this repair as ea...Read moresy. To complete the repair, simply unscrew the damaged leg and replace it with the new one. This is an OEM part sourced directly from the manufacturer.
Read less

$50.75
In Stock

No Longer Available
Lint Filter
Part #DC61-02613A

$68.84
In Stock
Door Seal
Part #DC62-00262A

$13.95
In Stock
Door Lever
Part #DC66-00395A

$121.06
In Stock
Fan
Part #DC67-00180B

$19.03
Special Order
Incandescent Lamp
Part #4713-001199

$6.55
Special Order
Thermostat Bracket
Part #DC61-01204A

$57.15
On Order
Door Hinge
Part #DC61-03202A

$152.05
On Order
Door Safety Glass
Part #DC64-01614B
This door glass (part number DC64-01614B) is for laundry appliances. Door glass DC64-01614B covers the door opening and allows you to see inside the appliance. Unplug the appliance before installing this part. Wear work gloves to protect your hands.
Common Symptoms of the DV218AEWXAC
How this model fails, and the parts that fix it.
Not Heating
Fixed by
these parts
these parts

Show All
Noisy
Fixed by
these parts
these parts

Show All
Drum Not Spinning
Fixed by
these parts
these parts
Show All
Won’t Start
Fixed by
these parts
these parts
Show All
Watch our pros, then fix it yourself.
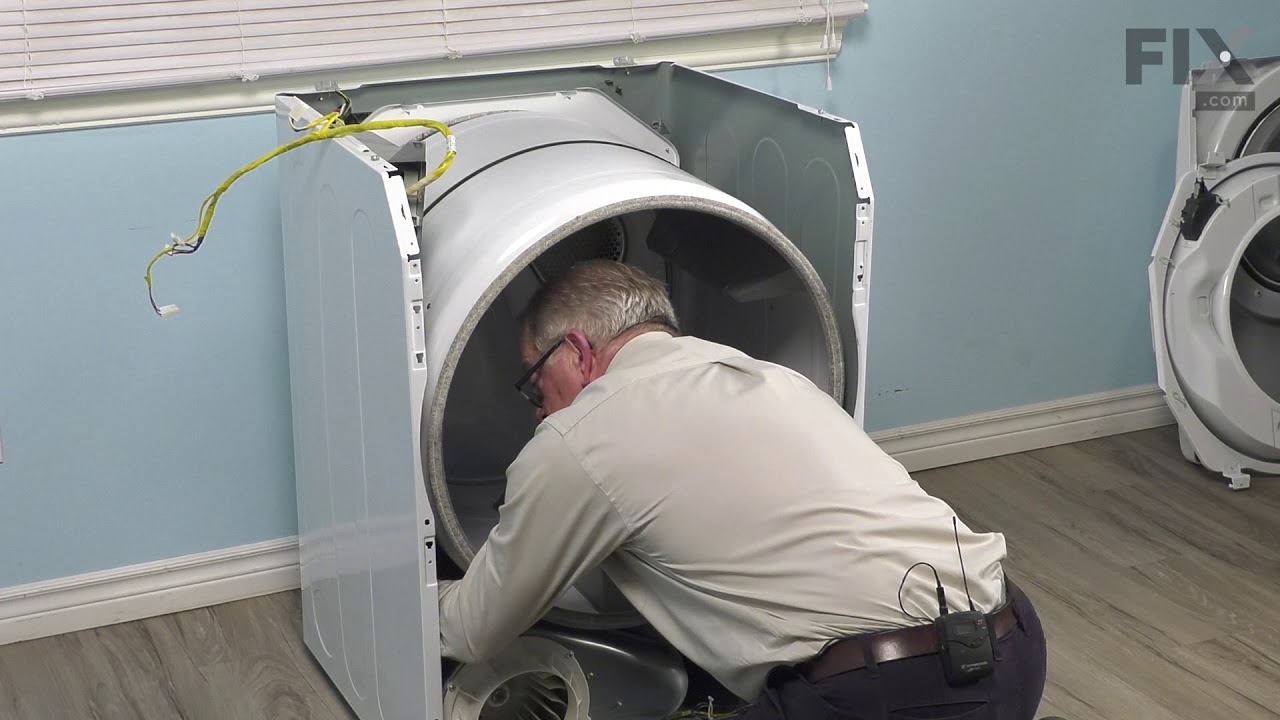
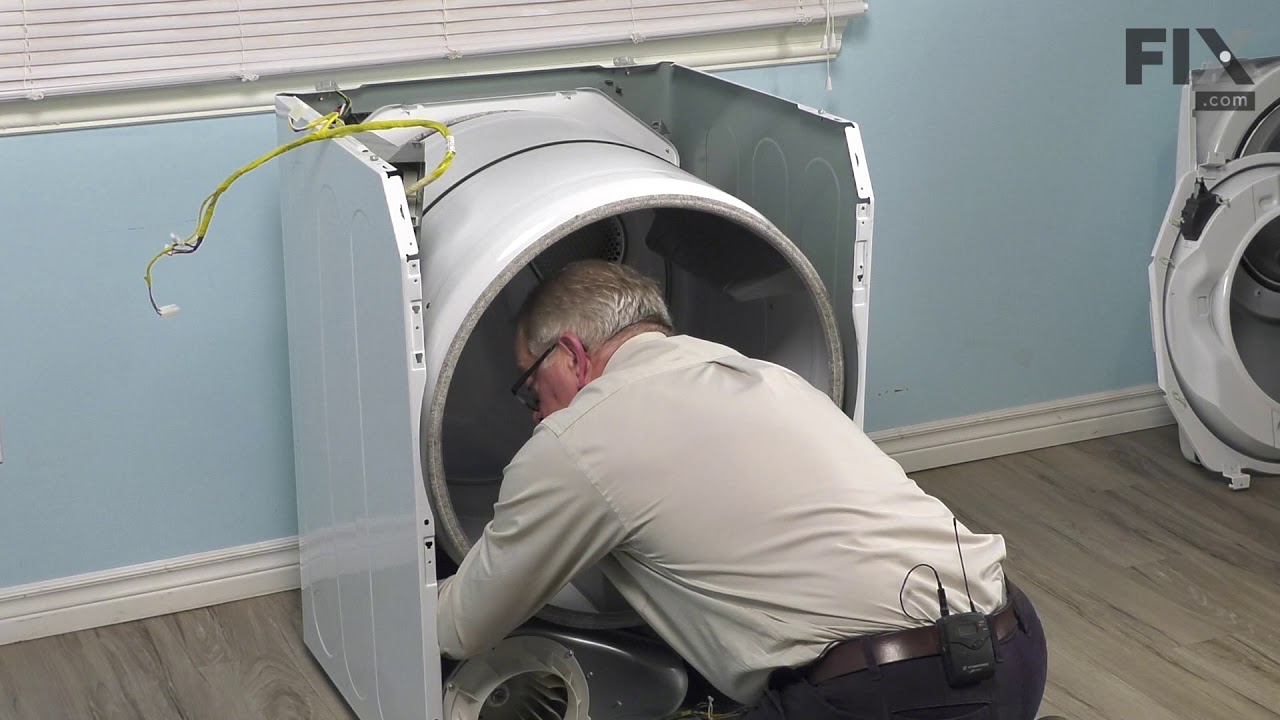
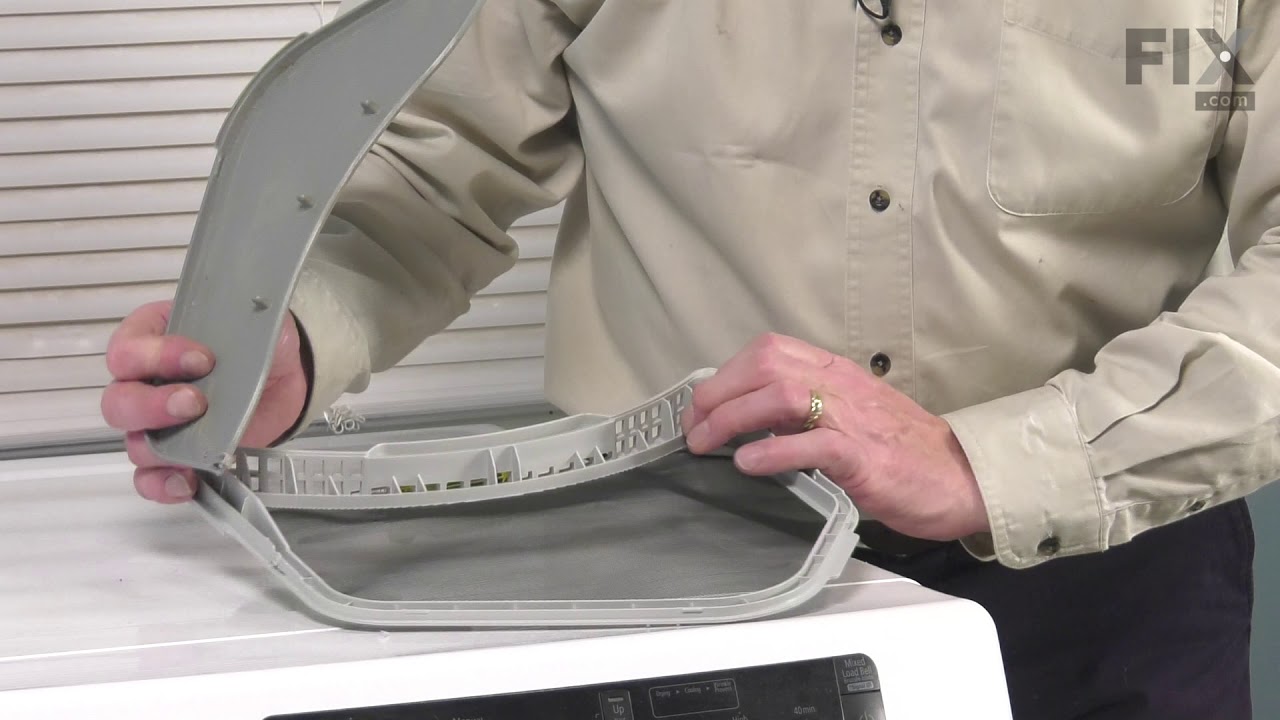
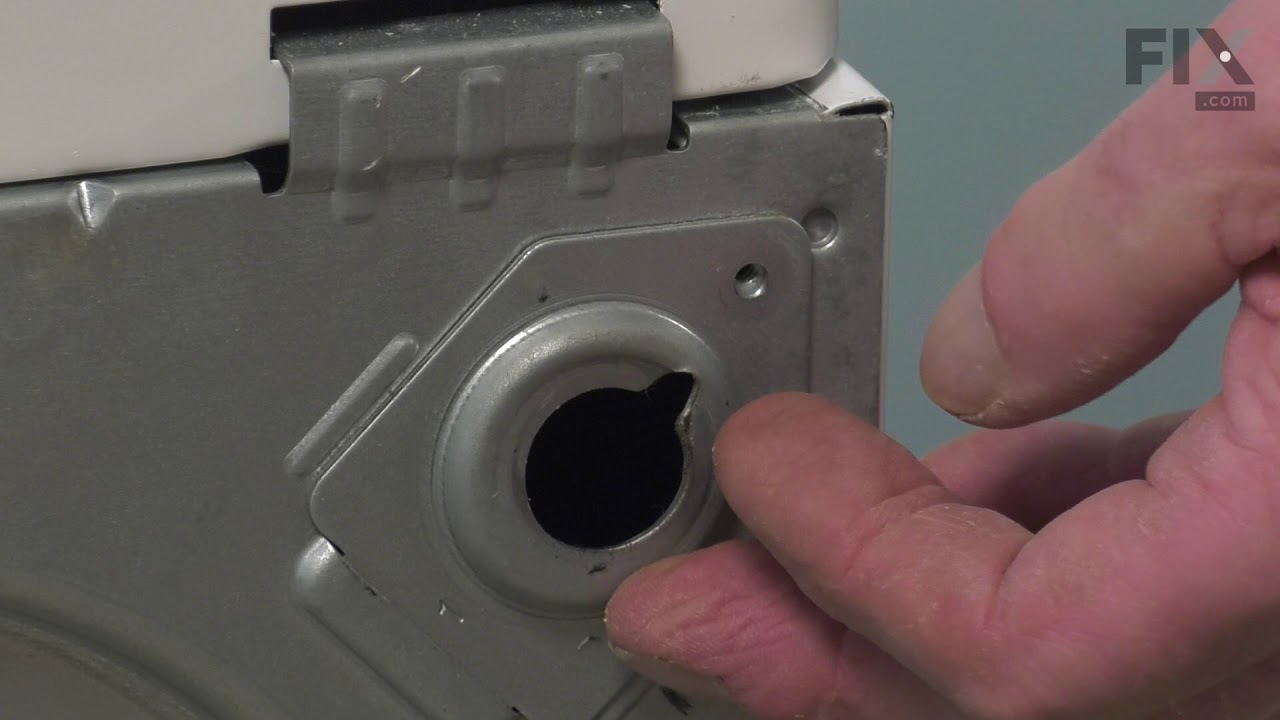
See how others fixed this model. Time, tools, difficulty, and steps that lead to victory!
View More