


 My Orders




DV210AEWXAC Samsung Dryer - Overview

Enter a part description. DIY Heroes keep it simple, eg. "belt" or "pump".
Search filter:
Clear Filter
Your search term must have 3 or more characters.

$55.18
In Stock
Drive Belt
Part #6602-001655
The drum belt attaches to the motor pulley and causes the drum to spin as the motor is rotating. The drum belt is made of black rubber. This is an easy repair and should only take a few minutes. This goes between the drive motor and the dryer drum. The belt may have broken, which will cause the drum to not turn properly. You will need to ...Read morepull your dryer away from the wall and use your Phillips screwdriver to remove the screws on the back. This is an OEM product, shipped directly from the manufacturer.
Read less

$82.61
In Stock
Heating Element - 5300W
Part #DC47-00019A
This dryer heating element produces heat to dry clothes in a dryer and is located in the rear end. If the heater element is burned, dryer does not heat or over heats, or clothes take too long to dry, then replacing this part could solve your problem. The tools needed for this repair project are: Phillips screwdriver, putty knife, needle n...Read moreose pliers. To repair, first remove the main top of dryer and remove ground strap at the rear. Next, disconnect two wire harnesses that hold front panel to the cabinet to pull out front panel. Once you have access to the inside of the dryer, refer to the manual for further installation instruction. As a safety precaution, remember to unplug appliance from power source before beginning this repair project.
Read less

$36.71
On Order
Thermistor
Part #DC32-00007A
This is a thermistor, also known as a dryer thermistor. The thermistor is attached to the blower housing, it will help regulate and oversee the temperature within the dryer. The most common symptom of needing a new thermistor is the dryer cycle not working. Before installing this part, you should disconnect your dryer from its power sourc...Read moree. We also recommend you wear work gloves to protect your hands during this installation. To make this repair, the tools you will need include a multi-screwdriver, a Phillips head bit, and a flat-head bit.
Read less

$61.57
In Stock
Idler Pulley Assembly
Part #DC93-00634A
This idler pulley assembly is sourced from the original manufacturer for use in dryers. The assembly includes the pulley wheel and bracket. It is found near the motor where it provides tension to the dryer belt, allowing it to rotate the drum during the drying cycle. Over time, the pulley wheel and its bearings can wear out leading to squ...Read moreeaking and grinding noises when the drum rotates. The bracket or pulley wheel can also fall out of alignment which can damage the belt and cause it to slip off. Eventually, a faulty idler pulley assembly will prevent the drum from rotating altogether. Depending on your dryer model, you may need to disassemble the dryer to access the pulley assembly. Remove the dryer belt from the idler pulley wheel and detach the assembly from the dryer frame. Position the new assembly in its place and secure it in position. Thread the belt over the pulley and around the dryer drum, ensuring that the grooved side lays flat against the drum. Manually spin the drum to check that the belt is properly tensioned and reassemble your appliance.
Read less

$59.39
In Stock
Drum Support Roller & Axle
Part #DC97-16782A
The drum support roller and axle, which includes the roller shaft and mounting clips, is used in dryers. This part holds the drum as it rotates on the support wheels. When the roller begins to wear out, it self lubricates, so no additional grease is needed. If your dryer is making odd noises then checking and replacing the rollers can be ...Read morethe solution to your problem. Make sure to unplug the dryer from the power source before beginning this replacement. Refer to the diagram and installation instructions provided by manufacturer. Sold individually.
Read less

$28.30
On Order
Thermal Fuse
Part #DC47-00016A
This thermostat is a genuine OEM part and is manufacturer-approved for electric dryers. The thermostat is responsible for monitoring and maintaining the temperature inside the dryer during the drying cycle. A faulty thermostat could result in clothes getting burned because the heating element does not receive the necessary signal to stop ...Read moreproducing heat. This is a dangerous situation and could also lead to a fire. Ensure that you disconnect the power source to your dryer before you conduct this repair. This thermostat is connected to the clothes dryer unit by two screws which are sold separately.
Read less

$47.69
In Stock
Thermal Fuse
Part #DC47-00015A
The thermal fuse measures the air temperature inside your dryer drum, and turns the heat on and off to maintain the optimal temperature during the drying cycle. If your dryer will not start, dry clothes properly, or produce any heat during the drying cycle, it could be due to a faulty thermal fuse. The original fuse is riveted to the moun...Read moreting bracket. You will need to take out the rivets to replace it. This replacement fuse comes attached to the bracket. This part is also known as a thermal limiter, or a safety thermostat. Other symptoms linked with a faulty thermal fuse include: the drum is too hot, or the drying cycle ends too quickly. Remember to disconnect the power from your dryer before beginning this installation.
Read less

$266.95
In Stock
Heater Duct Assembly w/ Thermostats
Part #DC97-14486A
This genuine OEM heater duct assembly in your dryer directs hot air into the drum during operation. Generally, it can be found behind the drum or at the rear of the dryer. If this assembly becomes damaged, you may encounter problems such as clothes not drying properly or drying unevenly. This kit includes the housing with the heating element coil and attached insulators.

$49.03
In Stock
High Limit Thermostat - L260-50F
Part #DC47-00018A
The high limit thermostat is designed for use in your dryer. The function of this part is to make sure that your dryer does not get too hot. If your dryer is not regulating heat properly, you may need to replace the high limit thermostat. This part is approximately 2 inches in width, and 1-1/2 inches in height. The high limit thermostat i...Read mores located inside the dryer, so you will need to take the dryer apart to access it for repair. Before you begin this repair, be sure that the power source to your dryer is disconnected. This part is sold individually.
Read less

$30.95
In Stock
Filter Case
Part #DC61-02610A
This lint screen case, or lint filter case is specially designed for Samsung dryers. It is responsible for securing the lint screen inside the lint screen housing and preventing it from falling out. The case also allows you to remove and handle the lint screen easily. The screen helps to capture lint from clothes during the drying cycle a...Read morend prevent it from clogging the dryer vent. If the lint screen case is faulty, the screen may become damaged or it may fall off leading to lint build-up, restricted air flow, longer drying times, and potential fire hazards. It is recommended to inspect and clean the lint filter case after every load of laundry and replace it promptly if it is no longer in good working condition.
Read less

$6.55
In Stock

$56.95
On Order
Dryer Assembly Bracket Thermostat
Part #DC96-00887C
This thermal cut-off fuse bracket assembly is a genuine replacement part supplied directly by Samsung for use in dryers. It is a safety component that is designed to protect the dryer from overheating if the temperature in the dryer becomes too high. It works by shutting off power to the dryer to prevent a potential fire or other damage. ...Read moreThis thermal cut-off fuse is rated for 320 degrees Fahrenheit or 160 degrees Celsius. It includes a steel bracket for easy installation. The cut-off fuse is designed to be used only once. Once it has been activated, it will need to be replaced. It is recommended to check your dryer for any potential clogged vents, lint filters, or faulty thermostat as these often result in overheating.
Read less
Common Symptoms of the DV210AEWXAC
How this model fails, and the parts that fix it.
Not Heating
Fixed by
these parts
these parts


Show All
Noisy
Fixed by
these parts
these parts


Show All
Drum Not Spinning
Fixed by
these parts
these parts
Show All
Won’t Start
Fixed by
these parts
these parts

Show All
Too hot
Fixed by
these parts
these parts

Show All
Watch our pros, then fix it yourself.

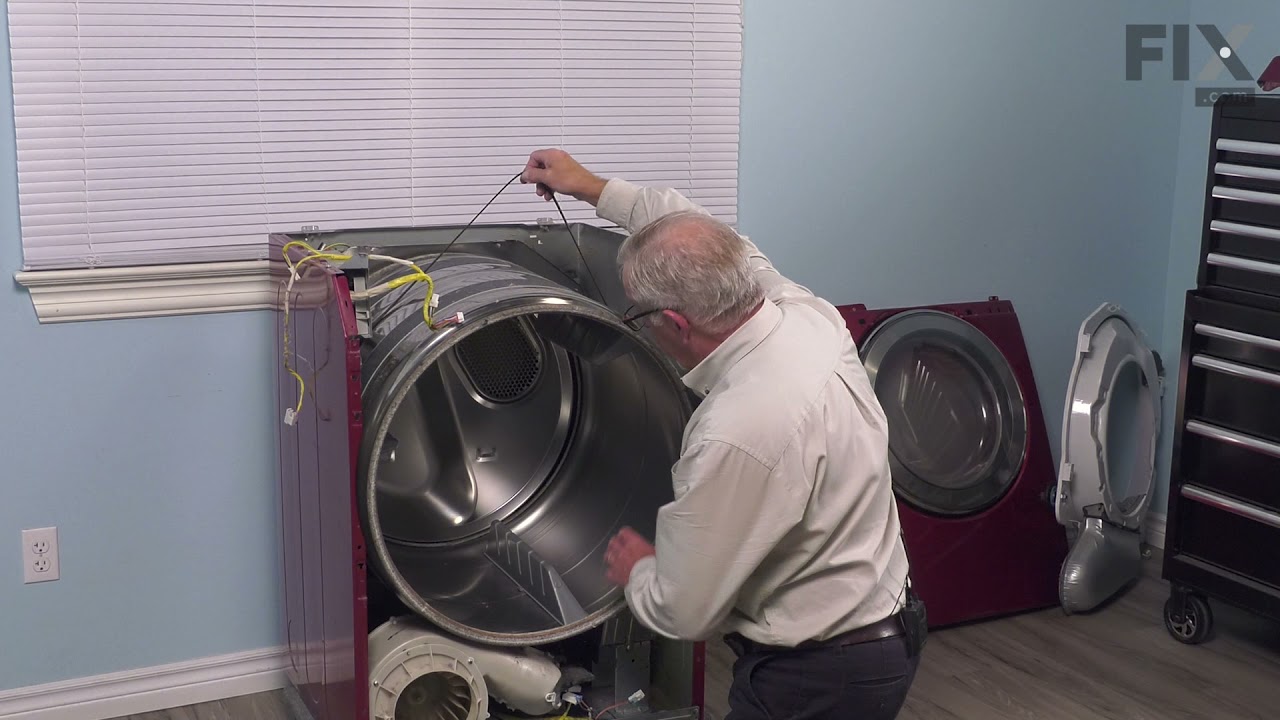
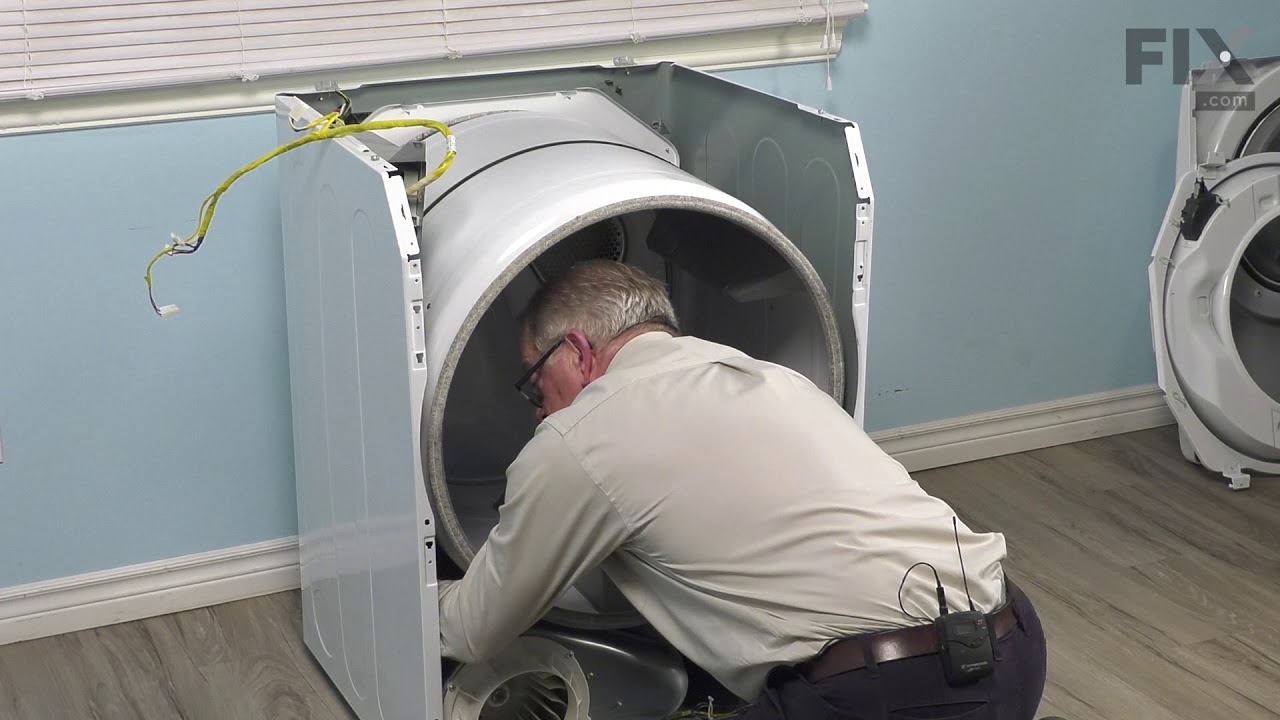


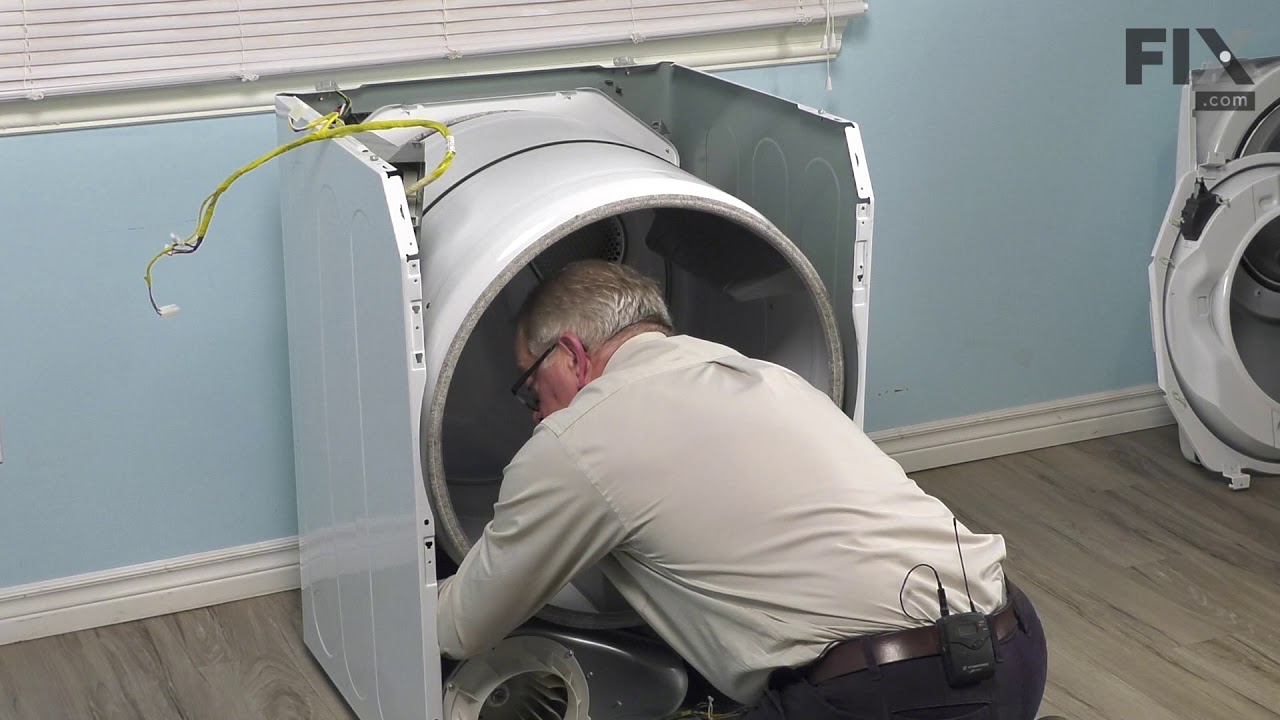
See how others fixed this model. Time, tools, difficulty, and steps that lead to victory!
View More
Search repair tips from other customers using simple keywords like "replace", "fit", "remove", "inspect". DIY doesn't mean you have to do it alone!
Search filter:
Clear Filter
Your search term must have 3 or more characters.
Dryer wasn’t heating
39 of 59 people
found this instruction helpful.
Well it went really well until the dryer was put back together as it still didn’t heat. The dryer was taken apart again. This time the thermistors &fuse was tested. Alas, the new fuse was faulty. After putting the car lid fuse back on n, the dryer worked again
Other Parts Used:
Was this helpful?
Thank you for voting!