



 My Orders




DSRS3KGXHFGS General Electric Refrigerator - Overview
Diagrams for DSRS3KGXHFGS
See every part. Know exactly what you need.


Enter a part description. DIY Heroes keep it simple, eg. "belt" or "pump".
Search filter:
Clear Filter
Your search term must have 3 or more characters.

$74.23
In Stock
Refrigerator Ice and Water Filter
Part #MWFP
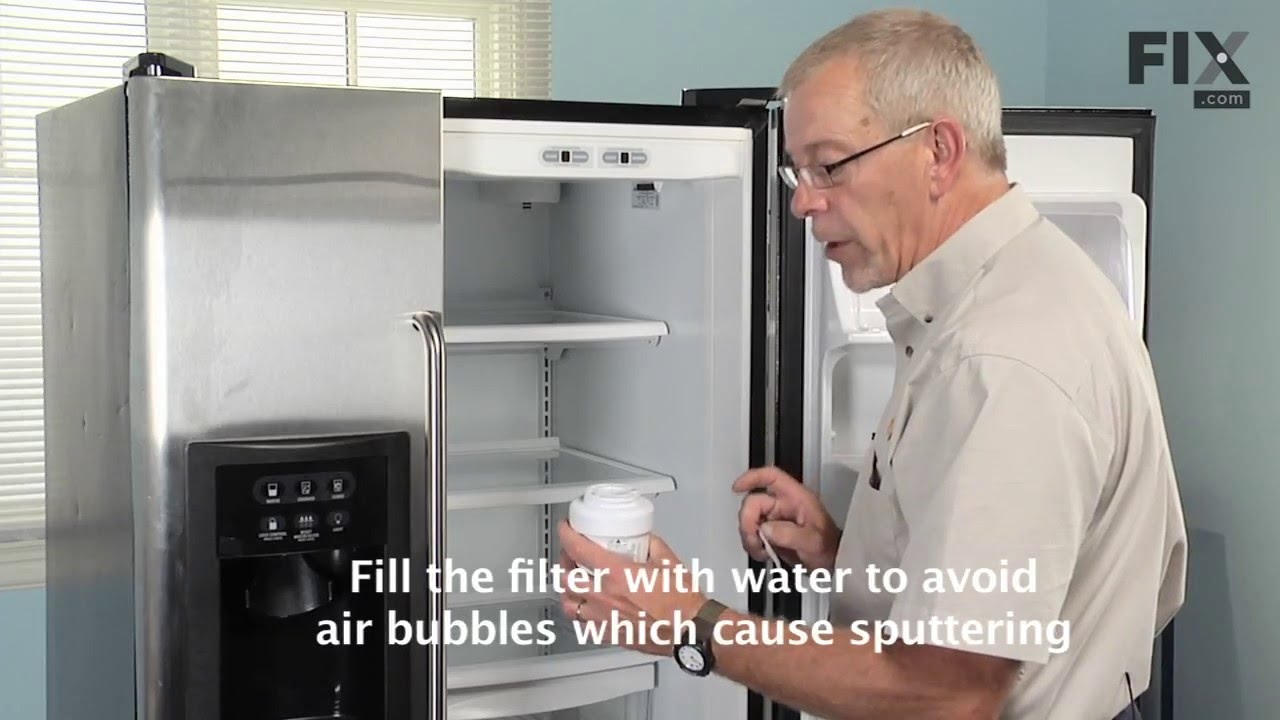
This ice and water filter helps reduce impurities in select side by side and bottom freezer refrigerators. Replace it about every six months, or when water flow slows, ice production drops, or the filter light turns red. Some older filter setups may need an adapter. Place a cloth under the filter before removal. Check the exact refrigerator model before ordering.

$84.51
In Stock
WATER VALVE WITH GUARD
Part #WR57X33326
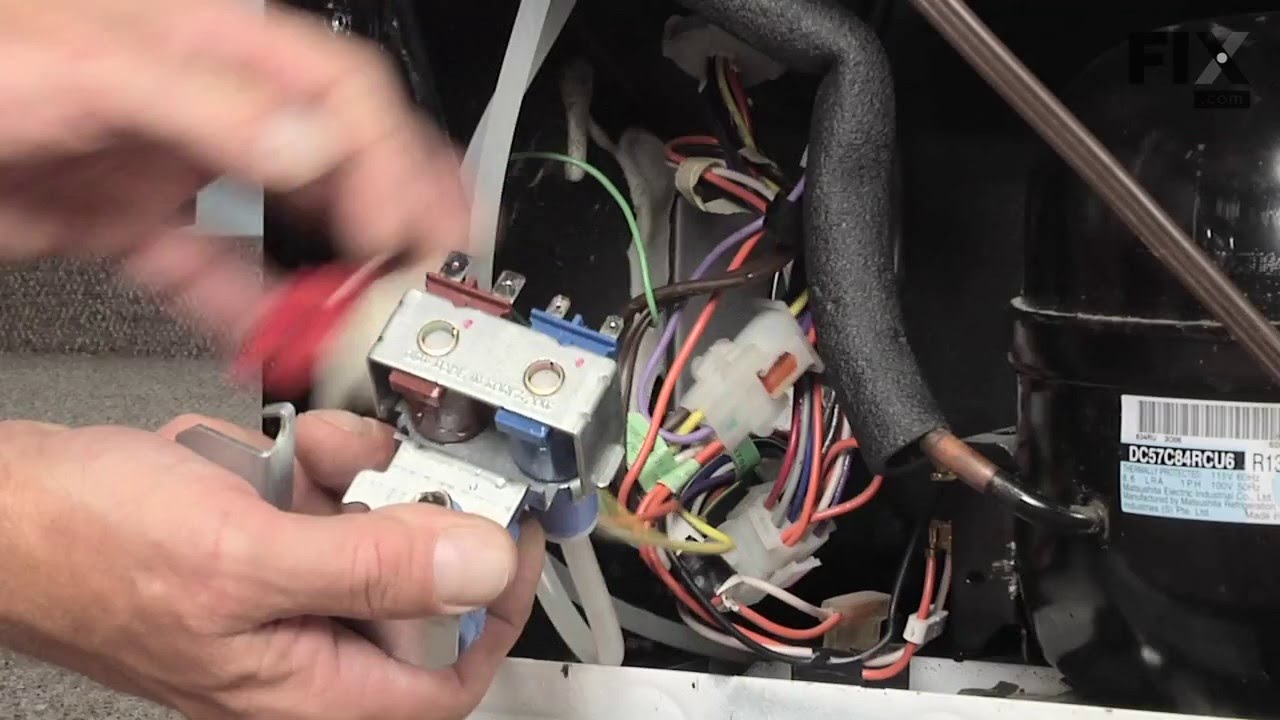
This water inlet valve (Refrigerator Water Inlet Valve Assembly) supplies water to the ice maker and the water dispenser in your refrigerator. It is located at the back of the fridge, beneath the bottom panel. It is connected directly to 2 water supplies, a wiring harness, and your inlet water tube. This part is located at the back of the...Read more fridge, beneath the bottom panel. It is connected directly to 2 water supplies, a wiring harness, and your inlet water tube. Minerals and sediments can build up over time and cause a blockage in your inlet valve. They can also cause the valve to stick open, leading to an overflow of water. If this part is malfunctioning, water flow to your appliance could be compromised. Check for small ice cubes or a lack of ice cubes/water, as this is an obvious sign the part is damaged. The water inlet valve must be replaced if the solenoids no longer have continuity or the valve has internal blockage. Test your water inlet valve with a multimeter. You can test both the water dispenser side and the ice maker side. The part measures approximately 3 inches long and 2.75 inches wide and is constructed of plastic and metal. This replacement part features 1 dual inlet water valve with quick connections. It also has 1/4 and 5/16 John Guest fittings for the outlet lines and a 1/4 compression fitting for the inlet line.
Read less

$39.71
In Stock
Module Shelf Insert - Clear
Part #WR71X10761
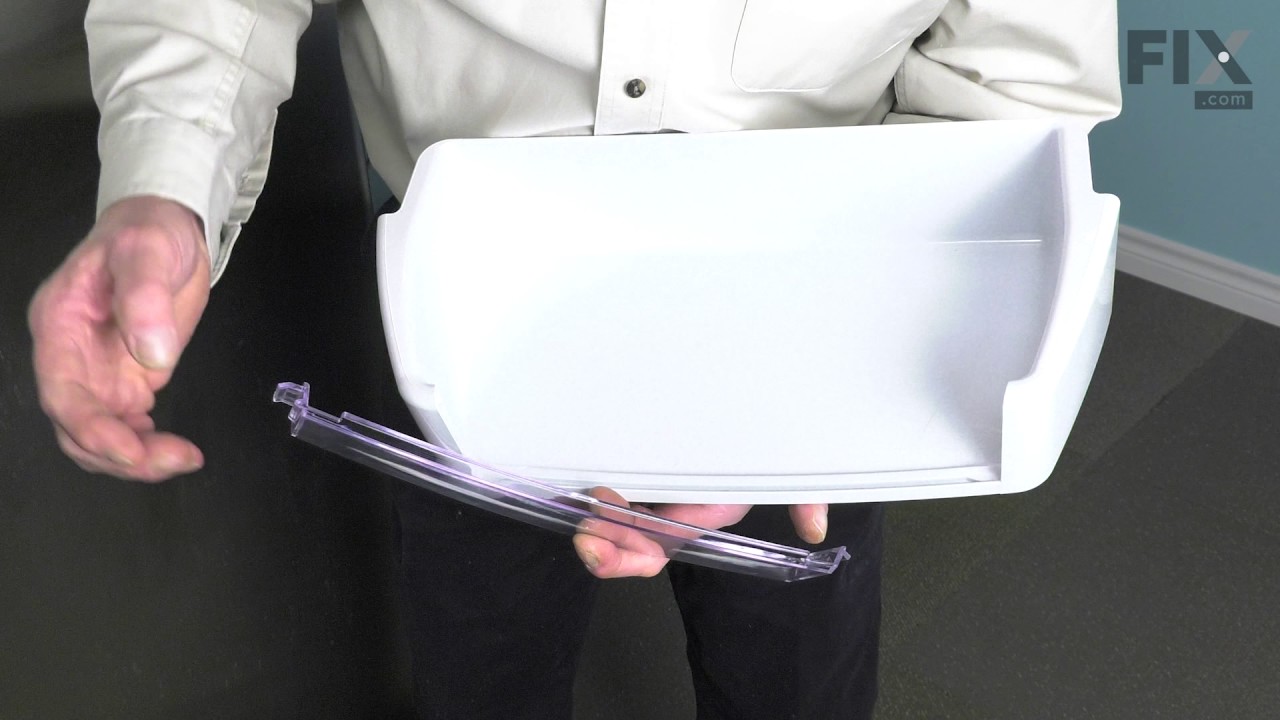
The Module Shelf Insert is a complete assembly for the module shelf. This repair is rated as "Easy" by users. Simply remove the old shelf insert and snap the new one into place using the locking tabs. This part is used to hold items in the fridge, and if broken it should be replaced. Refer to your user manual and model number to ensure this part is right for you.

$56.33
In Stock
Dispenser Door Solenoid Assembly
Part #WR62X10055
This genuine OEM solenoid is designed for use with GE refrigerators and controls the opening and closing of the ice chute door. It serves as a direct replacement for a worn or faulty solenoid, helping to restore proper ice dispenser function. Constructed from durable metal, this part includes all necessary wiring for installation and is s...Read moreold individually.
Installation requires a Phillips screwdriver. Always refer to your appliance’s manual or diagram to ensure proper placement and compatibility before beginning the repair.
Read less

$381.06
In Stock
Main Control Board Assembly
Part #WR55X10942C
This electronic board (Main Control Board Assembly, Control Board, Motherboard) controls the temperature and defrost functions of the unit. This control board is located on the back of the refrigerator, and measures 8 inches by 5 inches. It’s constructed of metal and plastic, and comes in green. This kit includes one main control board wi...Read moreth built in defrost controls. If broken due to electrical surges or normal use, your fridge may experience temperatures that are too warm or too cold, or inconsistent defrost cycles. If this happens, the part should be replaced.
Read less

$15.00
In Stock
Union Connector - 5/16 Inch to 5/16 Inch
Part #WR02X11330
Quick connector for plastic water line - 5/16" to 5/16"

$18.37
In Stock
REFRIGERATOR DOOR LIGHT SWITCH
Part #WR23X31507
This is the light switch that goes in your refrigerator. If the light is not working or stays on, you may need to replace the switch. It is made of mainly white plastic, and is an OEM part, directly from the manufacturer. Be sure to disconnect the refrigerator from the power source before you begin this repair. To remove the switch, simpl...Read morey use a flathead screwdriver to pop the switch out from the refrigerator wall, then disconnect the wires. Reconnect the wires to the new switch, snap it into place, and the repair is complete.
Read less

$54.95
In Stock
Water Tank Assembly
Part #WR17X11440
This tank stores water until the water actuator is activated and water is requested.

$16.05
In Stock
Lid Bumper
Part #WR02X10540
The lid bumper or evaporator fan motor bumper in your refrigerator prevents the fan motor from scraping against the side bracket. If your refrigerator/freezer is noisy, the bumper could be worn down or missing, and the sound could be a result of the motor scraping the side bracket. You will find it between the fan motor and the side brack...Read moreet on the evaporator fan motor assembly. To access the bumper, you will need to remove the evaporator fan motor assembly from the freezer. This part is made of orange rubber and is less than half an inch in diameter. It has a rounded top and a slightly pointed bottom, and is sold individually.
Read less

$109.26
In Stock
Refrigerator Door Shelf Bin
Part #WR71X10973
Sold individually. This door bin is for refrigerators.
Door bin attaches to the inside of the refrigerator door and typically holds jars and bottles.
Follow the instructions in the owner's manual for installing this part.

$68.12
In Stock

$33.69
Special Order
Recess Grille
Part #WR17X11655
This part is a replacement recess grille tray for your refrigerator. This recess grille tray sits below the ice and water dispenser, and collects any spills. If your dispenser grille tray is broken or missing, this is the part that replaces it. This part is made of black plastic and is approximately 7 inches wide. It is sold individually and is an OEM part from the manufacturer.
Common Symptoms of the DSRS3KGXHFGS
How this model fails, and the parts that fix it.
Leaking
Fixed by
these parts
these parts


Show All
Not dispensing water
Fixed by
these parts
these parts


Show All
Light not working
Fixed by
these parts
these parts


Show All
Ice maker not making ice
Fixed by
these parts
these parts

Show All
Fridge too warm
Fixed by
these parts
these parts

Show All
Noisy
Fixed by
these parts
these parts


Show All
Will Not Start
Fixed by
these parts
these parts

Show All
Freezer section too warm
Fixed by
these parts
these parts

Show All
Ice maker won’t dispense ice
Fixed by
these parts
these parts
Show All
Door won’t open or close
Fixed by
these parts
these parts


Show All
Clicking sound
Fixed by
these parts
these parts
Show All
Door Sweating
Fixed by
these parts
these parts
Show All
Fridge and Freezer are too warm
Fixed by
these parts
these parts
Show All
Ice maker dispenses too little ice
Fixed by
these parts
these parts
Show All
Freezer not defrosting
Fixed by
these parts
these parts
Show All
Fridge too cold
Fixed by
these parts
these parts
Show All
Fridge runs too long
Fixed by
these parts
these parts
Show All
Frost buildup
Fixed by
these parts
these parts
Show All
Too warm
Fixed by
these parts
these parts
Show All
Freezer too cold
Fixed by
these parts
these parts
Show All
Ice maker dispenses too much ice
Fixed by
these parts
these parts
Show All
Touchpad does not respond
Fixed by
these parts
these parts
Show All
Leaks water
Fixed by
these parts
these parts
Show All
Watch our pros, then fix it yourself.
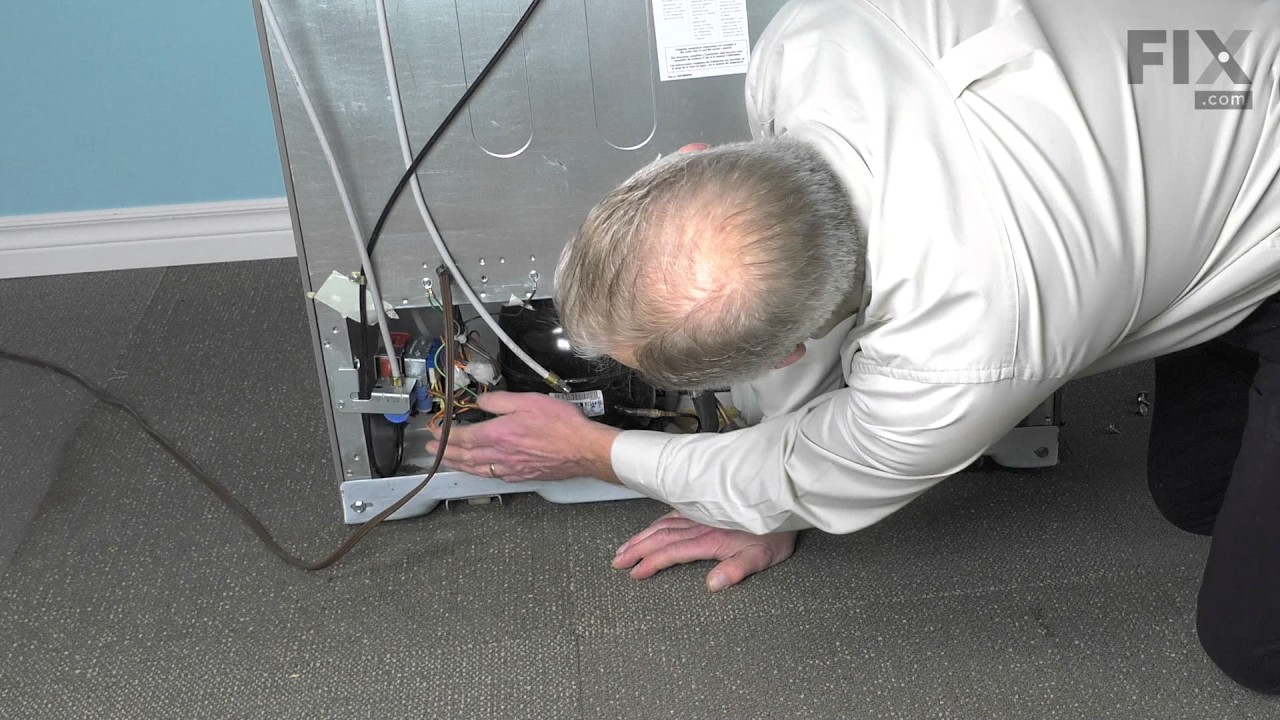

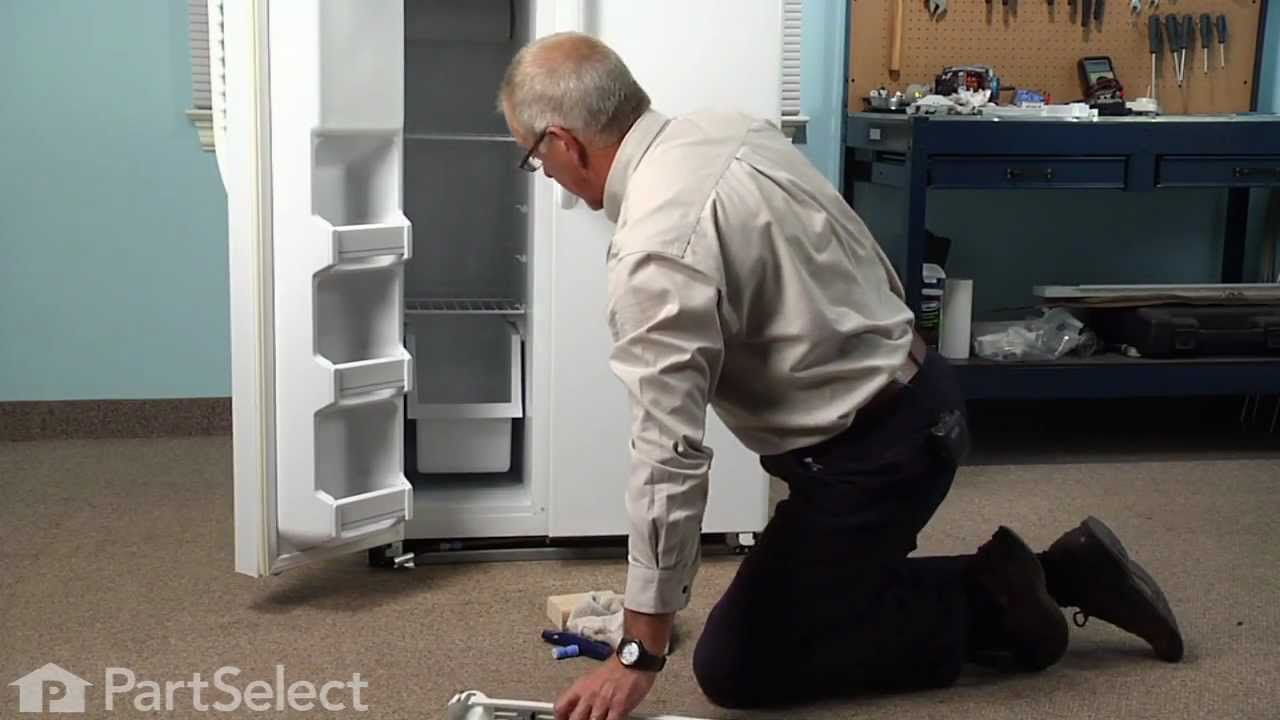

See how others fixed this model. Time, tools, difficulty, and steps that lead to victory!
View More
Search repair tips from other customers using simple keywords like "replace", "fit", "remove", "inspect". DIY doesn't mean you have to do it alone!
Search filter:
Clear Filter
Your search term must have 3 or more characters.
Water tank cracked
190 of 213 people
found this instruction helpful.
So there's a plastic water tank in our fridge, its purpose is to chill water so it's nice and cold when you dispense it from the freezer door tap. Long story short, during out kitchen remodel I stored the fridge in our unheated Wisconsin garage. The leftover water in the tank froze, expanded and ruptured it. Got the replacement, super
... Read more
easy to fix. The tubing connections are shark bite, just press them together and they're water tight. Pretty simple plug and play operation but you do have to pull the fridge all the way from the wall and shut off the water supply.
I replaced the filter too, just incase the freezing water messed with it in some undetectable way.
I replaced the filter too, just incase the freezing water messed with it in some undetectable way.
Read less
Other Parts Used:


Was this helpful?
Thank you for voting!