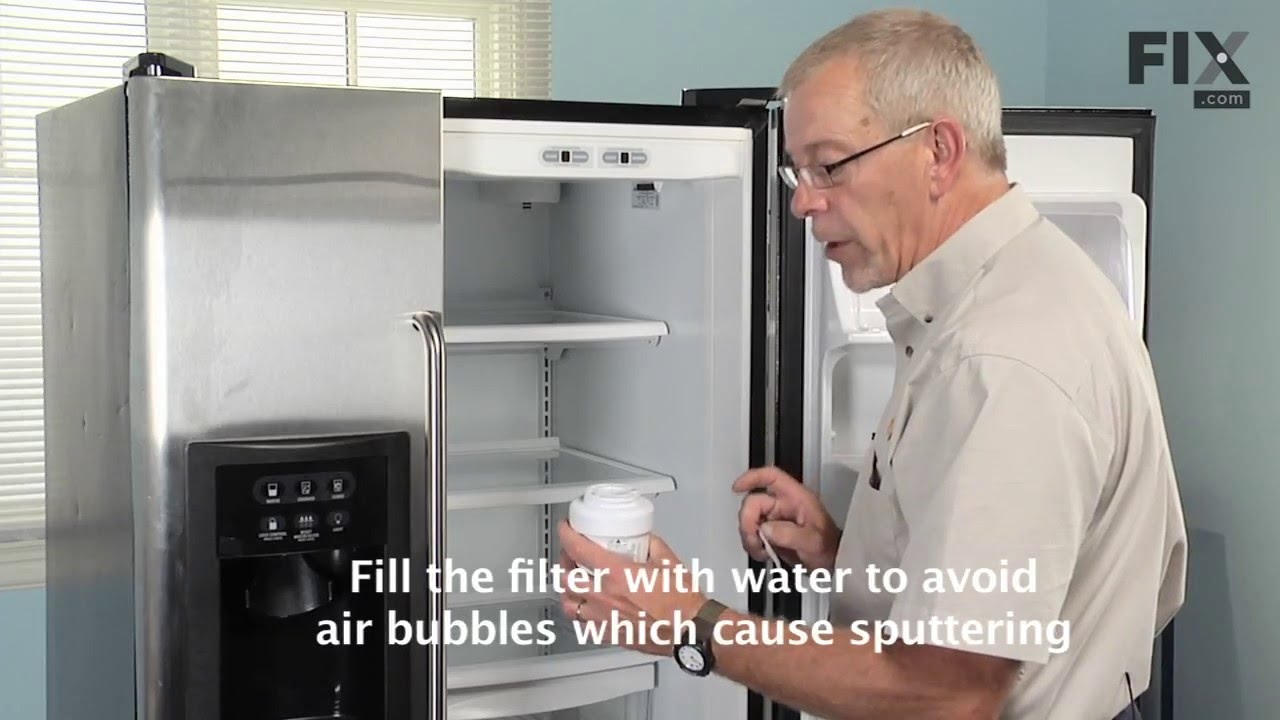
This ice and water filter helps reduce impurities in select side by side and bottom freezer refrigerators. Replace it about every six months, or when water flow slows, ice production drops, or the filter light turns red. Some older filter setups may need an adapter. Place a cloth under the filter before removal. Check the exact refrigerator model before ordering.
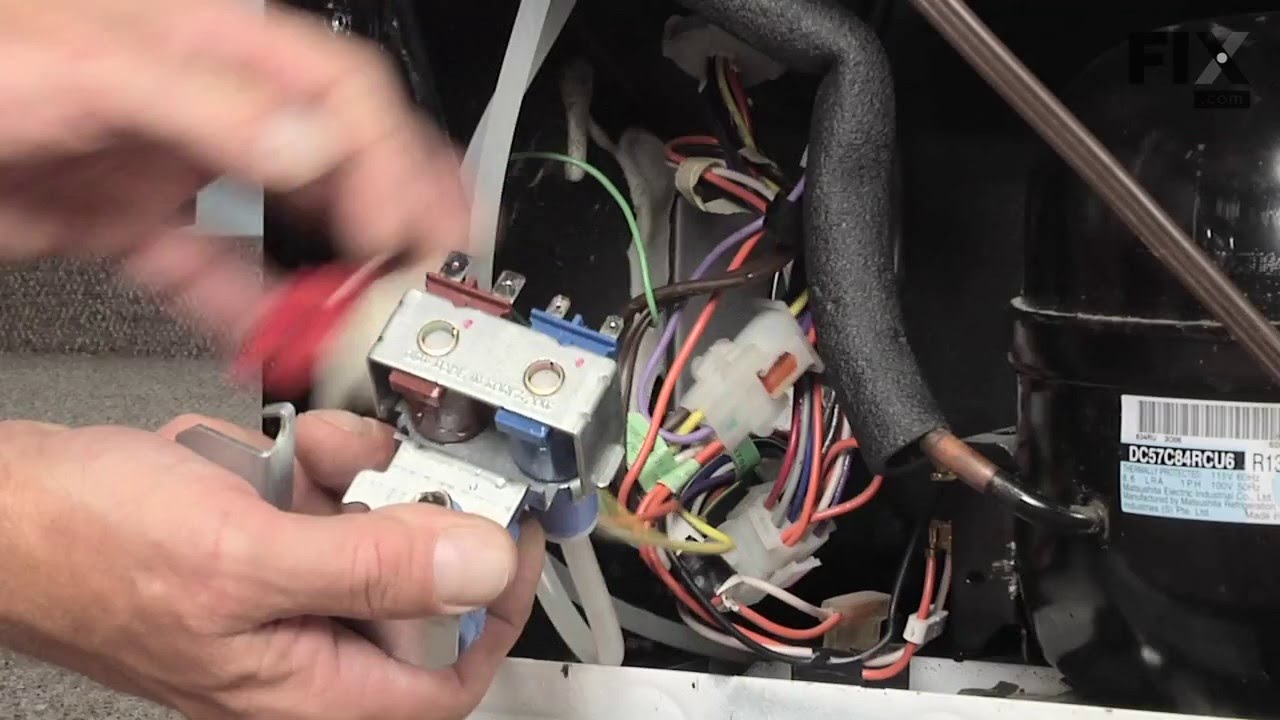
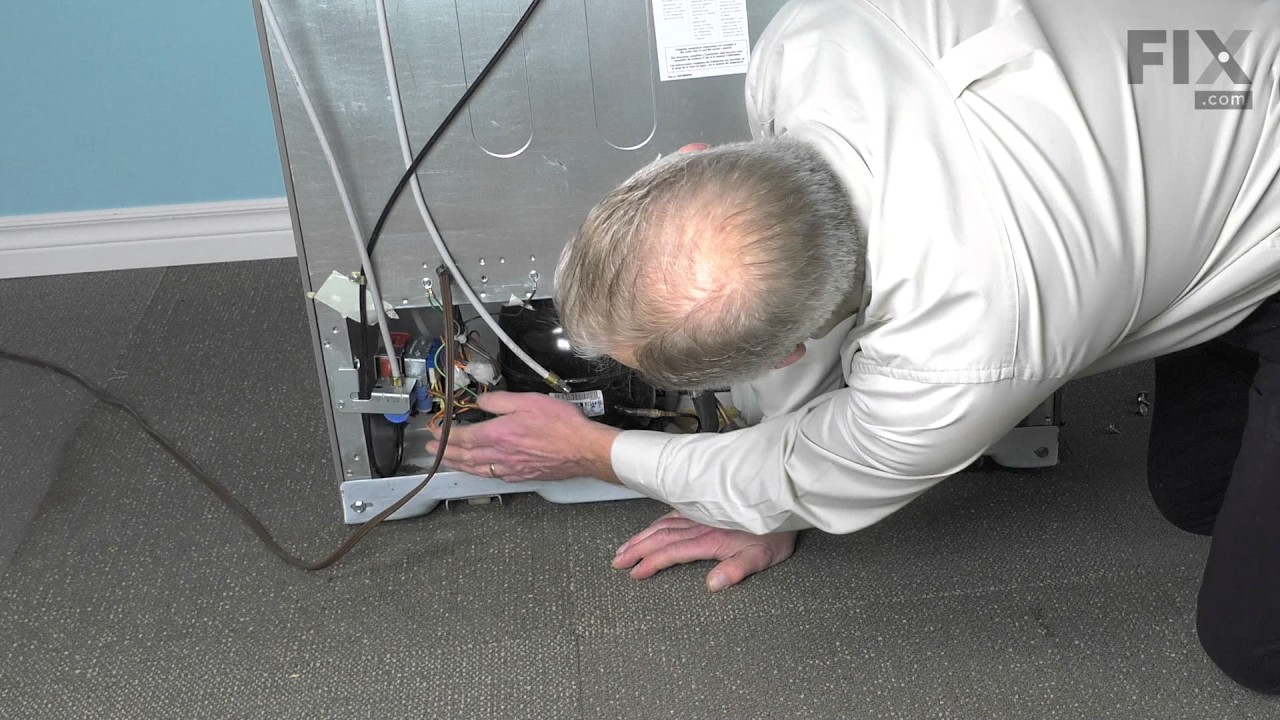
This water inlet valve (Refrigerator Water Inlet Valve Assembly) supplies water to the ice maker and the water dispenser in your refrigerator. It is located at the back of the fridge, beneath the bottom panel. It is connected directly to 2 water supplies, a wiring harness, and your inlet water tube. This part is located at the back of the...Read more fridge, beneath the bottom panel. It is connected directly to 2 water supplies, a wiring harness, and your inlet water tube. Minerals and sediments can build up over time and cause a blockage in your inlet valve. They can also cause the valve to stick open, leading to an overflow of water. If this part is malfunctioning, water flow to your appliance could be compromised. Check for small ice cubes or a lack of ice cubes/water, as this is an obvious sign the part is damaged. The water inlet valve must be replaced if the solenoids no longer have continuity or the valve has internal blockage. Test your water inlet valve with a multimeter. You can test both the water dispenser side and the ice maker side. The part measures approximately 3 inches long and 2.75 inches wide and is constructed of plastic and metal. This replacement part features 1 dual inlet water valve with quick connections. It also has 1/4 and 5/16 John Guest fittings for the outlet lines and a 1/4 compression fitting for the inlet line.
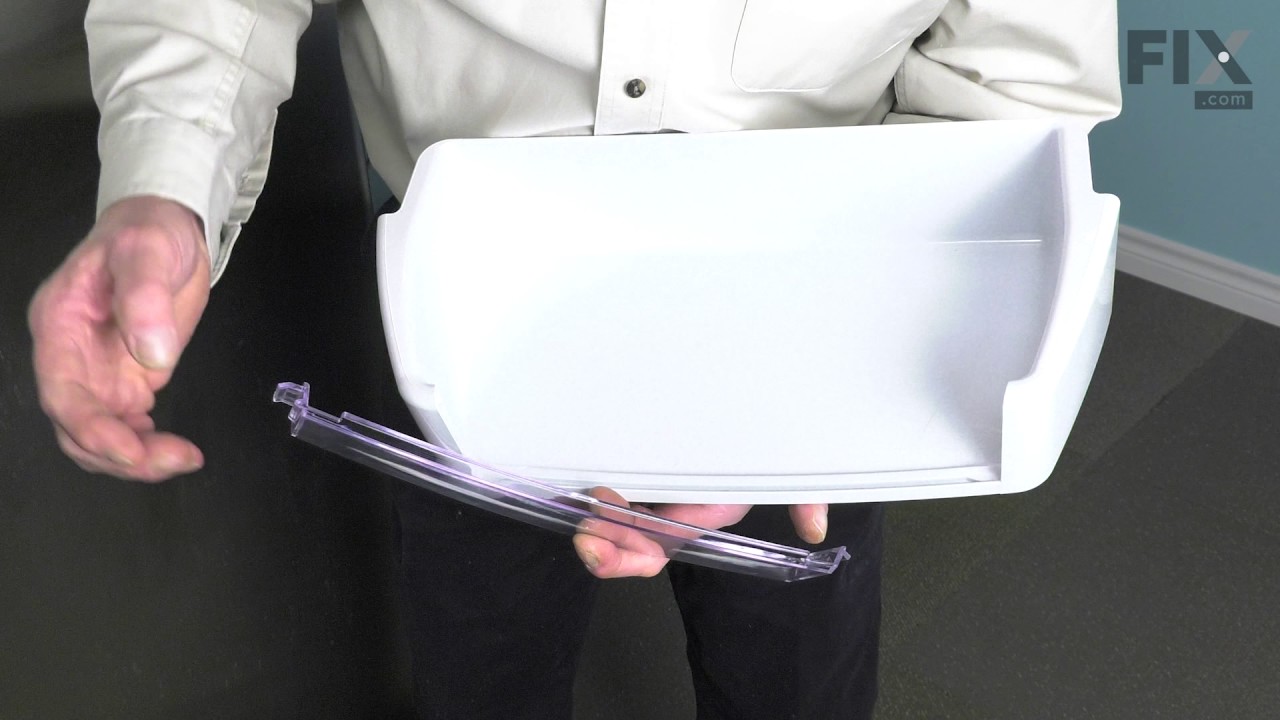
The Module Shelf Insert is a complete assembly for the module shelf. This repair is rated as "Easy" by users. Simply remove the old shelf insert and snap the new one into place using the locking tabs. This part is used to hold items in the fridge, and if broken it should be replaced. Refer to your user manual and model number to ensure this part is right for you.
This 10 by 5 inch ice maker (Electromechanical Icemaker Kit, Ice Maker Assembly) produces ice. This particular model will produce seven crescent shaped cubes every cycle. It is constructed of plastic and metal, and comes in black/white. This kit includes a set of installation instructions, a 4-pin round plug-in connector, 6 post plug-in c...Read moreonnectors, tube and fill cup. The ideal temperature of a freezer is zero degrees Fahrenheit. If the temperature in your freezer is at an appropriate level yet ice is still not being made, it could be an issue with the water inlet valve or your ice maker assembly. If you determine it is the ice maker, this is the replacement you need. The ice maker can break from normal wear and accidental damage. Ice makers will need to be replaced every 3-10 years depending on the frequency of usage and water quality. This model is mounted on the freezer wall.
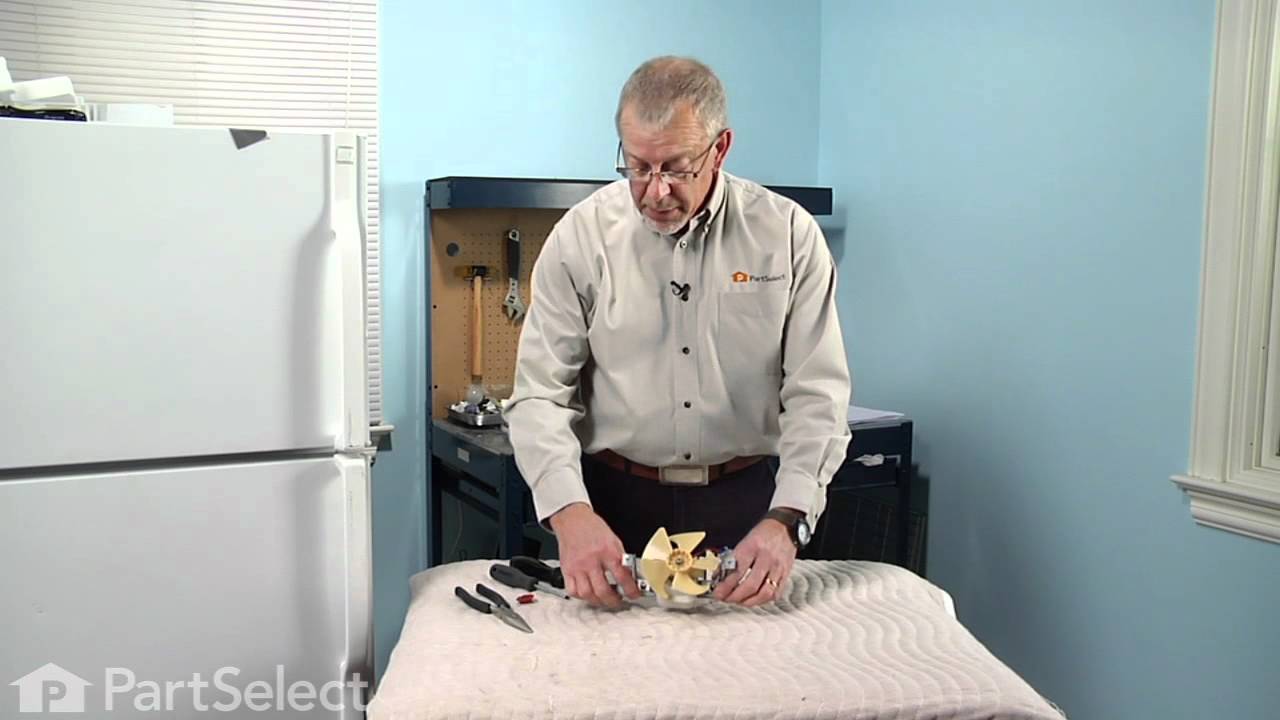
If you notice that your refrigerator or freezer is noisy or too warm, you may need to replace the evaporator fan grommet. This part is red in color, and is about 1 inch in diameter. The evaporator fan grommet is located behind the evaporator fan cover in the back of the freezer. You will need to remove the evaporator fan cover to access t...Read morehe evaporator fan and complete this repair. Before you begin this repair, ensure the power to the refrigerator is disconnected. You will need a pair of needle nose pliers, a small flat blade screw driver and both a 1/4 and 5/16-inch nut driver to complete this repair.
This genuine OEM solenoid is designed for use with GE refrigerators and controls the opening and closing of the ice chute door. It serves as a direct replacement for a worn or faulty solenoid, helping to restore proper ice dispenser function. Constructed from durable metal, this part includes all necessary wiring for installation and is s...Read moreold individually.
Installation requires a Phillips screwdriver. Always refer to your appliance’s manual or diagram to ensure proper placement and compatibility before beginning the repair.
This electronic board (Main Control Board Assembly, Control Board, Motherboard) controls the temperature and defrost functions of the unit. This control board is located on the back of the refrigerator, and measures 8 inches by 5 inches. It’s constructed of metal and plastic, and comes in green. This kit includes one main control board wi...Read moreth built in defrost controls. If broken due to electrical surges or normal use, your fridge may experience temperatures that are too warm or too cold, or inconsistent defrost cycles. If this happens, the part should be replaced.
This 40-Watt light bulb is sold individually.
It is specially designed to withstand extreme temperatures, so this bulb is compatible with a variety of appliance types including refrigerators, ranges, microwaves, and dryers. It features a frosted glass bulb with a standard metal socket base, which allows you to easily unscrew the burnt-out light and twist the new bulb into place.
See how others fixed this model. Time, tools, difficulty, and steps that lead to victory!View More
Search repair tips from other customers using simple keywords like "replace", "fit", "remove", "inspect". DIY doesn't mean you have to do it alone!
Search filter:
Clear Filter
Your search term must have 3 or more characters.
Refrigertor water dispenser not working BUT ice machine is working
1038 of 1163 peoplefound this instruction helpful.
ralph from bristow, VA
Really Easy
Less than 15 mins
Nutdriver, Screw drivers, Socket set
The very first symptom here is important! The door water dispenser is not working but the ice macine is working. You may only have a frozen water tube in the door so do the following before diagnosing that your solenoid valve is bad: 1) the tube usually runs under the front of the refrigerator and usually has a quick disconnect. Undo t
... Read morehe connection and press the dispenser. If water comes out of the tube you have a frozen or blocked tube in the door. 2) Immediately adjust the temperature in the freezer and warm the freezer compartment as much as you can without destroying the freezer contents. Wait 24 hours. This will usually unfreeze the line. Do not waste your time with a hair dryer. NOW, if this doesn't work and you are convinced you need to order and replace the solenoid, follow these steps. Assemble your tools first. I needed a good ratchet set and a screwdriver. A shop towel is helpful for spilled water. A light is handy. Pull out the refreigerator to gain access to the rear of the unit. Unplug the power and close the water valve (older homes, you may need to actually shut the house water supply). Remove the screws which hold the cover over the lower half of the refrigerator. On the left you will see the solenoid. It's always good to see that your new part matches the one you feel needs replaced. They may not match perfectly due to changing design but they should be very similar. One screw holds this part in place and access is very simple. Now simply unplug the electrical connections. In my case, one blue "blade" type connection (powering the water) and one red "blade" type connection powering the ice maker. They are not the same size and this coupled with the coloring means you will not accidently switch them. pull the tubes clear of the solenoid. This is simple and needs no explantion. Grab your new solenoid and reattach both the electrical and water lines (two, remember, ice maker and drink dispencer). Replace the single screw. Re-attach the rear, lower refrigerator cover and go to the front of the unit to check the water. You can listen carefully and hear the power engage from the new part bringing you water. Clean up, replace the refrigerator back to its place and look really tired when your wife sees that you worked "so hard"! You probably saved at least $50-$80 from a service call which can now be used to take the family to dinner after your "exhausting" 15 minute workout of removing about 10 screws and wheeling the unit in and out of place. Writing this article took longer! My 4 year old worked harder holding the flash light!
Read less
Was this helpful?
Thank you for voting!
The refrigerator made continous "whooing" sounds that increased and decreased in pitch. Sounded like a ghost. Would keep us up at night. Also noticed that the heater was not heating under the evaporator coils.
561 of 652 peoplefound this instruction helpful.
John from Holly Springs, NC
Really Easy
Less than 15 mins
Nutdriver
After checking the stories, the consensus of opinion was to change the mother board. I had a tremendous help from Tom Paone at [email protected]. He also told me to change the motherboard but to make sure that the coils were totally defrosted before starting up the refrigerator after changing the board.
Took off thr
... Read moreee nuts around the board at the back of the unit. Removed the input wires and you have to push in the plastic tabs holding the board in. Then just put the new board in place and push till the tabs click. Re-install the wires and put the cover back on.
Really simple task,
It is now a week since doing this and the unit is working perfectly. No soulds and good nights sleep. The ghost has moved on.
Read less
Was this helpful?
Thank you for voting!
Defrost Heater blows out, refrigerator frosts up, then stops cooling
410 of 436 peoplefound this instruction helpful.
Stuart from Lynchburg, VA
Easy
15 - 30 mins
Screw drivers
Disclaimer - if you aren't confident about doing this repair, call a repair specialist in. Also, take care not to damage the freezer coils as they have refrigerant in them that I'm told is harmful if it leaks. It may also be under pressure. The instructions that follow won't require you to touch the coils. There is no need to unplug the r
... Read moreefrigerator or disconnect the water supply to do this repair. The screw driver you will need is a phillips (the one withe the + head).
1st, take out your frozen food (which, if you need to do this repair may not be frozen) and put it in a cooler or the refrigerator. 2nd, remove the ice cube bucket and dump the ice cubes in the cooler to help keep the frozen food cool. Turn the ice cube maker off. 3rd, remove the freezer shelves. 4th, locate the panel covering the freezer coils. It's a panel at the back of the freezer. It hides the freezer coils and protects them from damage. It's held in place by two screws located at the top left and right corners of the panel. 5th, unscrew the screws holding the panel to the refrigerator. 6th, detach the clip at the top of the panel. 7th, remove the panel. You should see the coils now. The coils will be covered in frost if the defroster heater has failed. If the coils are not covered in frost, there may be another reason for the refrigerator failing to cool. 8th, even if the coils are covered in frost, you should also inspect the defroster heater at the bottom, underneath the coils. The business end of it is a long tube running horizontally between two wires. If it's black like a badly burned out light bulb, then it's failed. If the bulb appears fine, you may have a different reason for your refrigerator and freezer frosting up. We'll assume that the defroster heater has blown out, and proceed. 9th, place a towel at the bottom of the panel space, to soak up any water that melts and runs down. There is a drain under the coils. It collects water that melts during the defrost cycle, but I'd rather mop up the water instead of relying on the drain. 10th, use hot air blowing from the hair dryer to defrost the coils. Just play the air from the hair dryer over the coils, starting at the top, and working down. The frost will quickly melt and the water will be soaked up by the towels. If you want things to go faster, you can throw hot water on the coils to melt them faster, but that produces more water to mop up, and makes a big mess. It's also dangerous to have water lying around if you then decide to use the hair dryer to continue defrosting the coils. 11th. MOST IMPORTANT. Don't use your screwdriver or any other sharp object to pick away at the frost on the coils. If you damage the coils the refrigerant could leak out. I'm told that it's dangerous stuff. Furthermore, I expect that you'd have to buy a new refrigerator if you damaged the coils. 12th, once you've defrosted the coils, locate the defroster heater and bracket assembly again. It's held in place by two screws, and has two insulated wires running into it on either side. Unscrew the screws, disconnect the wires and remove the assembly. Throw it away - there are no useful parts in it. 13th, install the new defroster heater and bracket assembly by connecting the wires to it, mounting it back into its place, and rescrewing the screws. 14th, put the panel back in place, replace the clip, and screw the panel back in place. 15th, turn the ice cube maker back on and replace the ice cube bucket and shelves. Put your food back into the freezer. 16th, use the freezer and refrigerator as normal. If the defroster heater fails again (I'm on my third one in less than six years), you'll notice frost building up on the panel at the back of the freezer before your freezer and refrigerator stops cooling. The frost build up is your signal to defrost the freezer and buy another defroster heater and bracket assembly. I don't know why this part is so weak, and don't know any fix except to keep replacing it.




 My Orders