













DRB1555MBL RCA Dryer - Overview
Sections of the DRB1555MBL
[Viewing 1 of 1]
Keep searches simple, eg. "belt" or "pump".

D-Shaped Knob Clip
PartSelect #: PS268493
Manufacturer #: WH01X10106
This clip ensures that the knob is securely fastened to the control shaft, allowing you to properly select the correct time and setting for your dryer. If your dryer will not start or shut off, the ti...
No Longer Available

Rear Drum Bearing Kit
PartSelect #: PS267529
Manufacturer #: WE25M40
This rear drum bearing kit includes a shaft, ground strap, bearing, seven screws, and installation instructions. The bearing plate comes with a slot in it for the ground strap. This part helps keep yo...
$77.75
In Stock

Dryer Belt
PartSelect #: PS2350043
Manufacturer #: WE12X10014
This belt has a length of 87 inches, width of 1/4”, flat, with 4 ridges.
$29.47
In Stock

Idler Pulley Wheel
PartSelect #: PS265721
Manufacturer #: WE12X83
A dryer's idler pulley wheel serves to help the belt to rotate the drum.
$32.63
In Stock

Door Latch
PartSelect #: PS3502777
Manufacturer #: WE1M1011
This door latch is designed for your dryer, and is mounted to the dryer frame. The door latch holds the door of your dryer closed while the machine is operating. If your dryer door is not catching on ...
$23.26
In Stock

Lint Filter with Frame
PartSelect #: PS266250
Manufacturer #: WE18X26
The lint filter and frame for your dryer traps unwanted lint and debris so your dryer can effectively dry your clothes. If the old lint filter is cracked or clogged, or the dryer takes too long to dry...
No Longer Available

Rear Drum Bearing
PartSelect #: PS267865
Manufacturer #: WE3X75
This part is the rear dryer drum bearing only. This part helps keep your dryer running smoothly as possible with as little noise as possible.
$18.22
In Stock

Adjustable Leveling Screw
PartSelect #: PS1021358
Manufacturer #: WE1M642
The adjustable leveling screws on the bottom of your dryer can be screwed in or out to lower or raise the leg level. If one of the leveling screws is stripped, damaged, or missing, you may not be able...
$21.82
In Stock

Front Drum Slide Kit
PartSelect #: PS267600
Manufacturer #: WE25X60
This front drum slide kit comes with two slides with the apppropriate mounting hardware.
No Longer Available

Screw
PartSelect #: PS271689
Manufacturer #: WH2X930
This screw is sold individually.
$16.05
In Stock

Heater 2-Coil Restring Kit - 240V
PartSelect #: PS265621
Manufacturer #: WE11X260
This restring coil kit is used to replace the existing coil in a dryer's heating element.
No Longer Available

High Limit Thermostat
PartSelect #: PS268083
Manufacturer #: WE4X584
With this high limit/safety thermostat, a dryer's heating element will cut out if the internal temperature reaches 260 degrees Fahrenheit. This element is meant as a safety device, will kick back in w...
$27.59
Special Order
Common Symptoms of the DRB1555MBL
[Viewing 7 of 7]Noisy
Fixed by
these parts
these parts


Show All
Door won’t close
Fixed by
these parts
these parts

Show All
Too hot
Fixed by
these parts
these parts


Show All
Drum Not Spinning
Fixed by
these parts
these parts

Show All
Door Pops Open
Fixed by
these parts
these parts
Show All
Will Not Start
Fixed by
these parts
these parts

Show All
Marks left on clothes
Fixed by
these parts
these parts
Show All
Keep searches simple. Use keywords, e.g. "leaking", "pump", "broken" or "fit".
the rear drum bearing was worn the dryer became very noisy
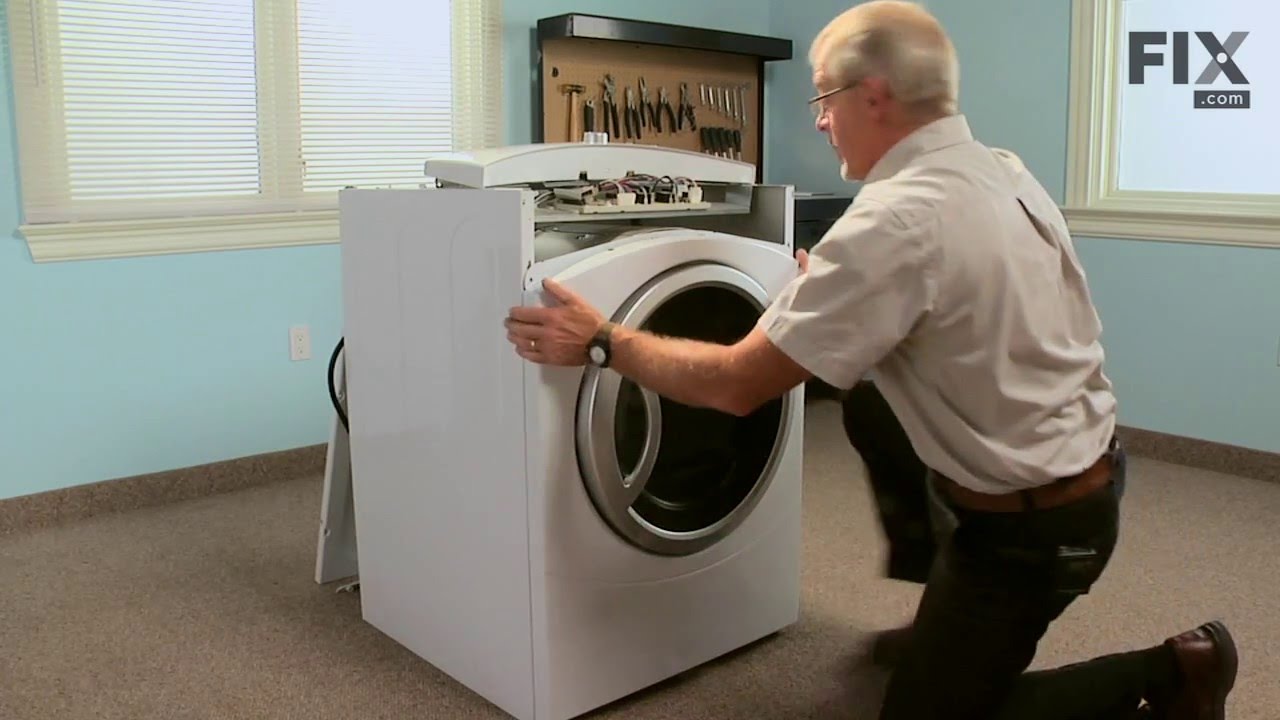
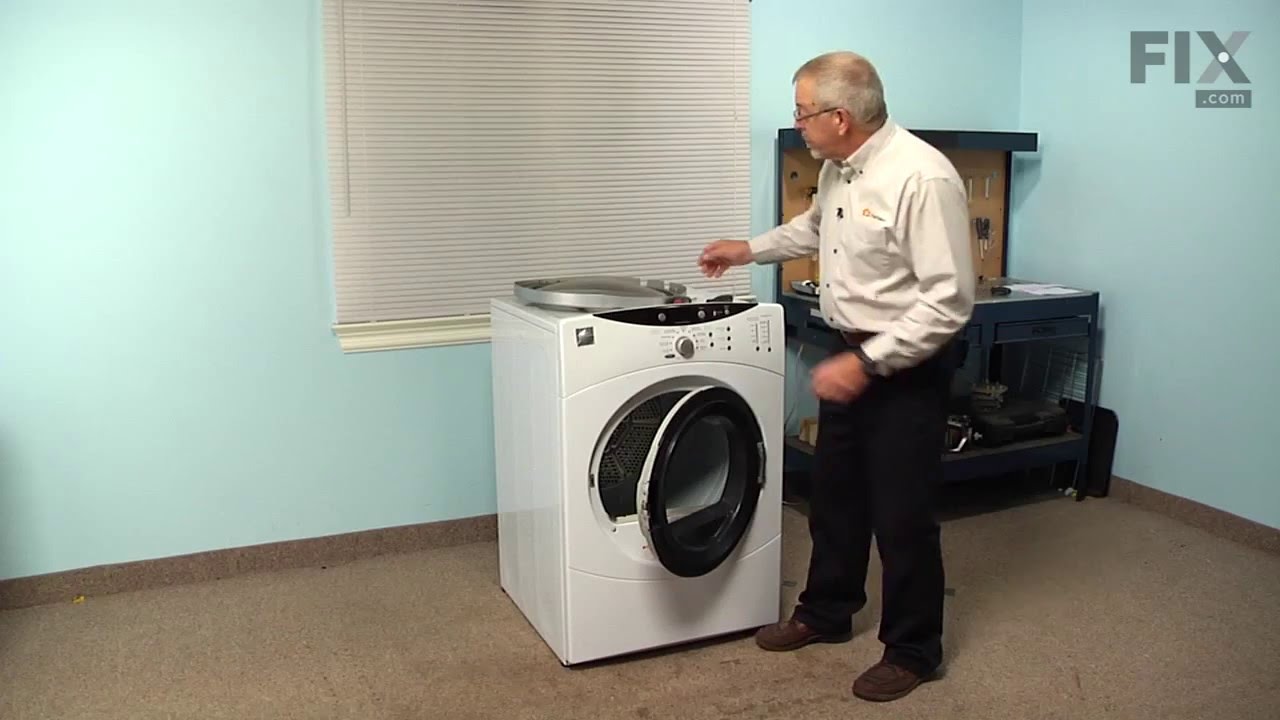
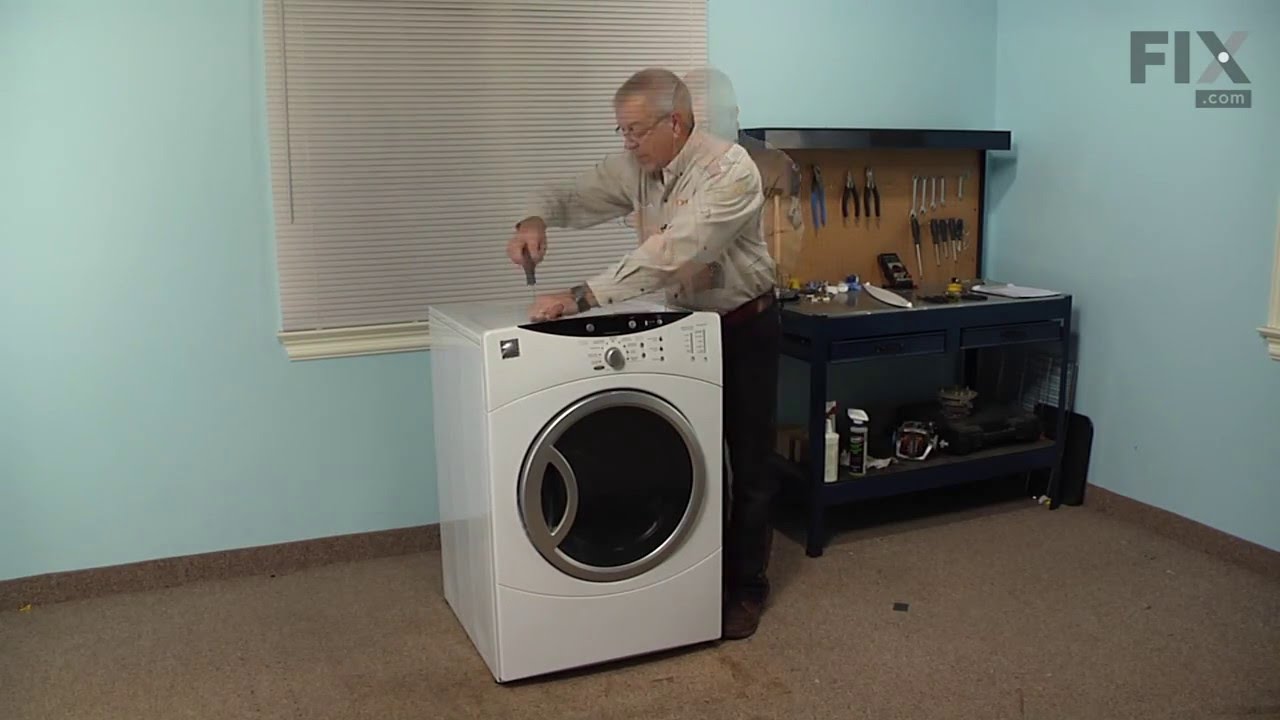
i removed the scews just above thr opened dryer door, i was then able to swing the dryer top cover back. i then removed the lower front panel screws ,the the screws securing the front of the dryer ( where the door is ) and removed it. there are just 2 wires to disconnect. after the front is removed you gain full access for drum removal, r
... Read more
emove the belt make sure the wires are not in the way and remove the drum.i also used a vacuume to clean the inside of the dryer. the front drum slides are very easy to replace only 2 screws each.remove old parts install new parts then just put the dryer back together in the reverse order i took it apart. after re-assembly i turned the dryer on it was so quiet running my wife and dogs were very happy. ps. i just want to thank the people at partselect for having all my parts in stock and for the speed in which i received them. other than having to repair my dryer it was a very pleasant experiance.
Read less
Parts Used:
-
Michael from Warwick, RI
-
Difficulty Level:A Bit Difficult
-
Total Repair Time:1- 2 hours
-
Tools:Nutdriver, Pliers, Screw drivers
235 of 276 people
found this instruction helpful.
Was this instruction helpful to you?
Thank you for voting!
dryer belt broke
first I took the dryer apart 1st thing i did was unplug the power supply (safety first) then I removed the top of the unit then removed the front cleaned all the lint from the inside of the cabinet I found the proper belt size on part select.com the next day I had my dryer belt delivered (which cost 1/3 the price of the local repair shop
... Read more
price)
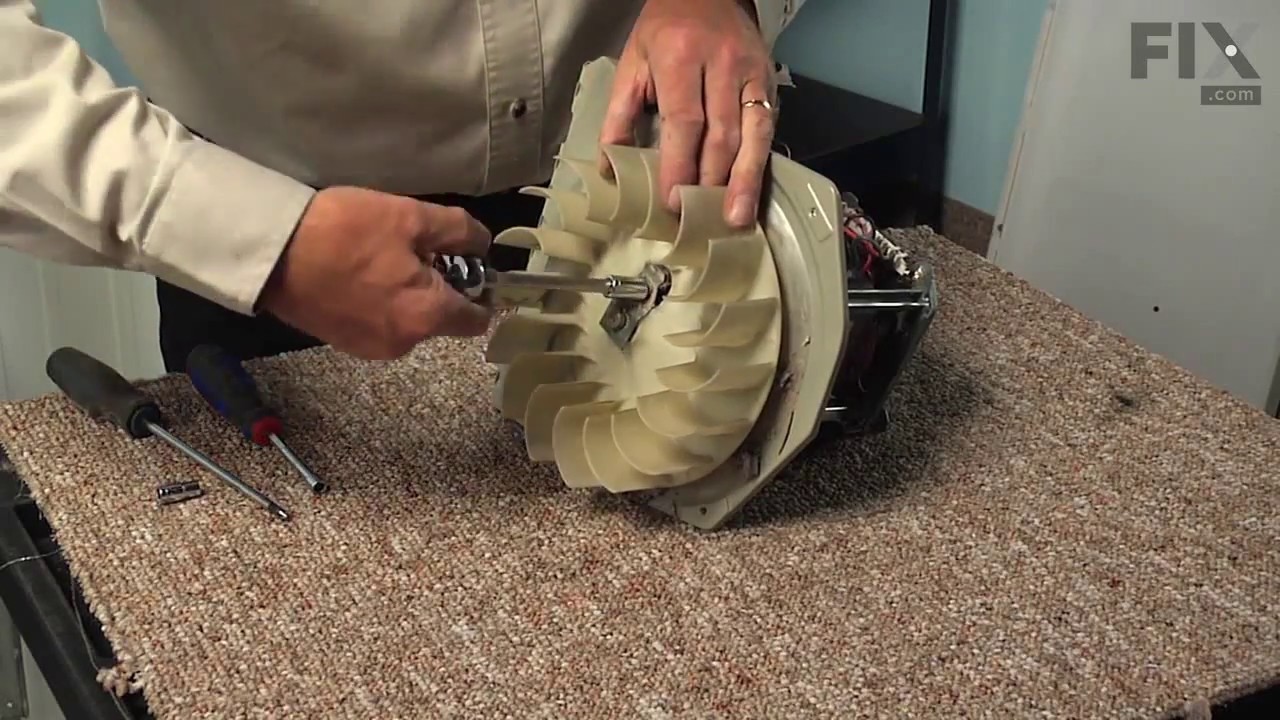
then I placed the belt over the dryer drum and made sure it was in the general location it should be I then replaced the front cover and the top. then I removed the rear cover which was held on by six 5/16 sheet metal screws which gave me access to the drive pulley and belt tensioner the belt goes on by going under the tensioner then around the drive pulley
Then i rotated the drum by hand to make sure everything had clearance I then buttend everything up plugged it and started it up it workd fine and I figure Ill get another 8 years out of it
Thank you partselect.com
then I placed the belt over the dryer drum and made sure it was in the general location it should be I then replaced the front cover and the top. then I removed the rear cover which was held on by six 5/16 sheet metal screws which gave me access to the drive pulley and belt tensioner the belt goes on by going under the tensioner then around the drive pulley
Then i rotated the drum by hand to make sure everything had clearance I then buttend everything up plugged it and started it up it workd fine and I figure Ill get another 8 years out of it
Thank you partselect.com
Read less
Parts Used:
-
Matt from La Belle, MO
-
Difficulty Level:A Bit Difficult
-
Total Repair Time:15 - 30 mins
-
Tools:Nutdriver, Screw drivers, Socket set
162 of 192 people
found this instruction helpful.
Was this instruction helpful to you?
Thank you for voting!
belt broken, pulley worn out
Removed 4 screws from top of control panel , remove 2 from back to lossen top of dryer. Removed rear lower access cover,6 screws on back of dryer exposing pulley and tensioner, remove broken belt and vaccuumed out a ton of lint , removed pulley and tensioner and replaced. From the front remove 4 screws and take off front of dryer, disconn
... Read more
ecting several wires, again vaccumed out lint, lifter drum evough to replace belt. Reassembled
Read less
Parts Used:
-
Anthony from Mpls, MN
-
Difficulty Level:Easy
-
Total Repair Time:1- 2 hours
-
Tools:Socket set
68 of 102 people
found this instruction helpful.
Was this instruction helpful to you?
Thank you for voting!