



 My Orders




DLL2980PA Hotpoint Dryer - Overview

Enter a part description. DIY Heroes keep it simple, eg. "belt" or "pump".
Search filter:
Clear Filter
Your search term must have 3 or more characters.

$47.40
In Stock
Dryer Gas Igniter
Part #WE4X444
Be very careful to not handle the igniter by its gray part. Hold it by its white tip only.

$163.78
In Stock
Drive Motor
Part #WE17X10010
Replaces "T" and "V" style motors. Includes two motor pulleys. If you have an older model dryer, the pulley may be pressed on or held on with a set screw. If pulley is pressed on, a new motor pulley must be ordered.

No Longer Available
Door Switch
Part #WE4X197
This part has three terminals. Note: Use the two smaller terminals for models that only have two wires to the switch.

$79.98
In Stock

No Longer Available
Motor Pulley with Screws
Part #WE12X41

No Longer Available
Start Switch
Part #WE4X344

No Longer Available

No Longer Available
DISCONTINUED
Part #WE12X45
No Longer Available
DISCONTINUED
Part #WE4X596
No Longer Available
DISCONTINUED
Part #WE4X198
$258.29
Special Order
TIMER Assembly
Part #WE4X524
No Longer Available
DISCONTINUED
Part #WE4X463
Common Symptoms of the DLL2980PA
How this model fails, and the parts that fix it.

Watch our pros, then fix it yourself.
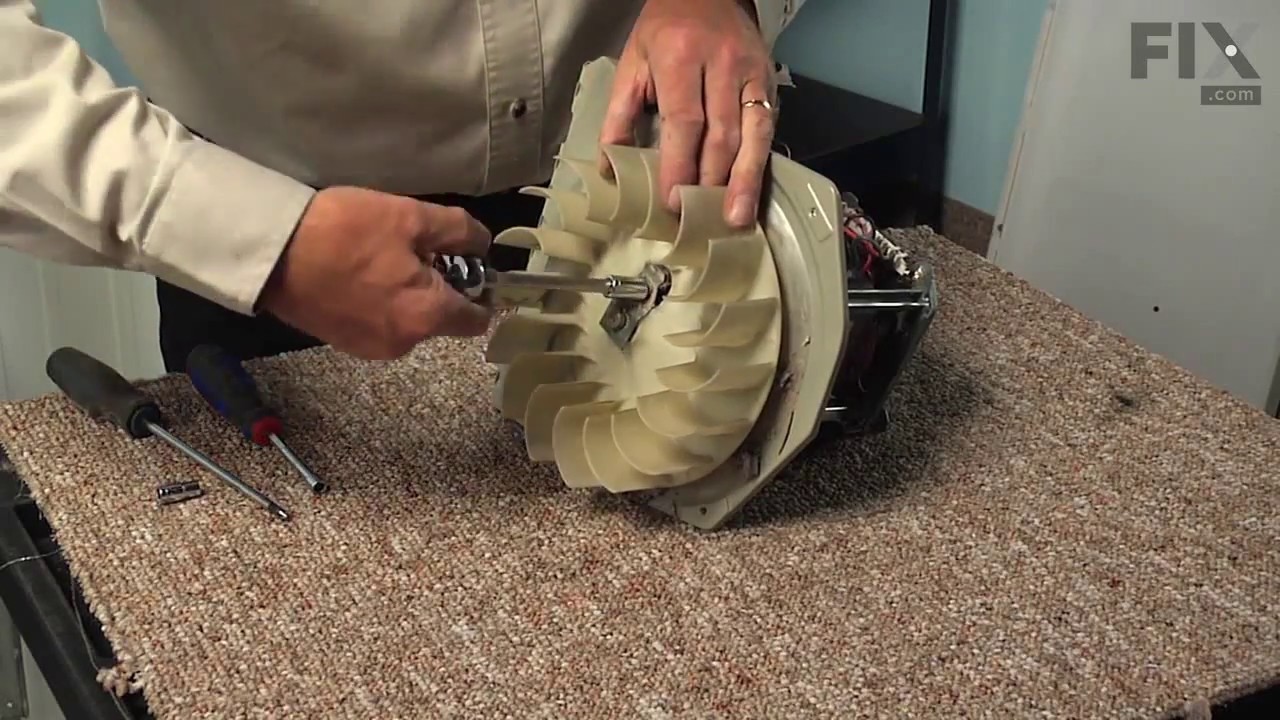
See how others fixed this model. Time, tools, difficulty, and steps that lead to victory!
View More
Search repair tips from other customers using simple keywords like "replace", "fit", "remove", "inspect". DIY doesn't mean you have to do it alone!
Search filter:
Clear Filter
Your search term must have 3 or more characters.
Dryer made excessively loud noise when running.
59 of 78 people
found this instruction helpful.
I initially opened the front of the dryer and noticed that the drum slides that the drum rides on in the front of the dryer were excessively worn. I then removed the drum and noticed that the plastic bearing that supported the drum in the rear was cracked and the washer(?) appered to be disintigrating. I ordered and replaced the drum sl
... Read more
ides and rear bearing. The dryer was still making too much noise. I ran the motor with the drum removed and realized that they motor was the remaining source of the excessive noise. I then ordered and replaced the motor with a new one and this solved the problem. Total cost was around $140. Note that when ordering a new motor, the instructions on the web site indicate that you need to order the motor pulley if your existing motor has a pressed on pulley. The new motor was a kit that came with the pulley included, and therefore the additional part was not needed, and had to be returned. The instructional videos and parts schematics on the web site were very helpful.
Read less
Other Parts Used:


Was this helpful?
Thank you for voting!