EasyApplianceParts is now PartSelect! We've merged our sites to provide a better shopping experience for you.   Full Details
✖

Find Parts

Parts Departments

Top Model Types

Top Brands

Repair Help

Expert Repair Videos

Keep typing for more specific results...

DLL1550PHL Hotpoint Dryer - Overview

Diagrams for DLL1550PHL

See every part. Know exactly what you need.

Enter a part description. DIY Heroes keep it simple, eg. "belt" or "pump".

Search filter:
Clear Filter
Your search term must have 3 or more characters.
Rear Drum Bearing Kit – Part Number: WE25M40
$77.75
In Stock
Rear Drum Bearing Kit
★★★★★
★★★★★
(28)
Part #WE25M40
This rear drum bearing kit includes a shaft, ground strap, bearing, seven screws, and installation instructions. The bearing plate comes with a slot in it for the ground strap. This part helps keep your dryer running as smoothly as possible with as little noise as possible by supporting the back of the dryer drum and reducing friction as the drum rotates. Over time, your drum bearing will wear out, cause your dryer to be noisy, and you will have to replace it. There may be some sharp internal parts, so be sure to wear work gloves during repair.
Dryer Belt – Part Number: WE12X10014
$29.47
On Order
Dryer Belt
★★★★★
★★★★★
(28)
Part #WE12X10014
This belt has a length of 87 inches, width of 1/4”, flat, with 4 ridges.
Door Latch – Part Number: WE1M1011
$23.26
In Stock
Door Latch
★★★★★
★★★★★
(15)
Part #WE1M1011
This door latch is designed for your dryer, and is mounted to the dryer frame. The door latch holds the door of your dryer closed while the machine is operating. If your dryer door is not catching on the door strike, and will not stay closed, you may need to replace the door latch. This part is square in shape, and is approximately 3/4-inch in length, by 3/4-inch in width. The part is made of white plastic with a metal tab. To access the door latch, you will need to remove the top and side panels on your dryer. To complete this repair, simply pop the damaged door latch out of position, and snap the new one into place.
Lint Filter with Frame – Part Number: WE18X26
No Longer Available
Lint Filter with Frame
★★★★★
★★★★★
(19)
Part #WE18X26
The lint filter and frame for your dryer traps unwanted lint and debris so your dryer can effectively dry your clothes. If the old lint filter is cracked or clogged, or the dryer takes too long to dry or if excessive lint is accumulating inside the dryer or its venting, you may need to replace the lint filter. To replace the filter, simply remove the old, damaged filter, and replace it with the new one. This part is approximately 13 inches by 3 inches.
Heater 2-Coil Restring Kit - 240V – Part Number: WE11X260
No Longer Available
Heater 2-Coil Restring Kit - 240V
Part #WE11X260
This restring coil kit is used to replace the existing coil in a dryer's heating element.
Drive Motor – Part Number: WE17X10010
$163.78
In Stock
Drive Motor
★★★★★
★★★★★
(1)
Part #WE17X10010
Replaces "T" and "V" style motors. Includes two motor pulleys. If you have an older model dryer, the pulley may be pressed on or held on with a set screw. If pulley is pressed on, a new motor pulley must be ordered.
Door Switch – Part Number: WE4X197
No Longer Available
Door Switch
Part #WE4X197
This part has three terminals. Note: Use the two smaller terminals for models that only have two wires to the switch.
Felt Seal Assembly – Part Number: WE9X38
$51.61
In Stock
BLOWER WHEEL – Part Number: WE16X16
$77.75
Special Order
BLOWER WHEEL
Part #WE16X16
Idler Pulley Spring – Part Number: WE1X528
$38.96
Special Order
Idler Pulley Spring
Part #WE1X528
At just under three inches, this metal spring fits onto the arm of the idler pulley assembly of many of GE's clothes dryers. It provides for the tension needed in the belt by keeping the idler snug and stable.
DISCONTINUED – Part Number: WE9X30
No Longer Available
DISCONTINUED
Part #WE9X30
DISCONTINUED – Part Number: WE4X464
No Longer Available
DISCONTINUED
Part #WE4X464

Common Symptoms of the DLL1550PHL

How this model fails, and the parts that fix it.

Watch our pros, then fix it yourself.
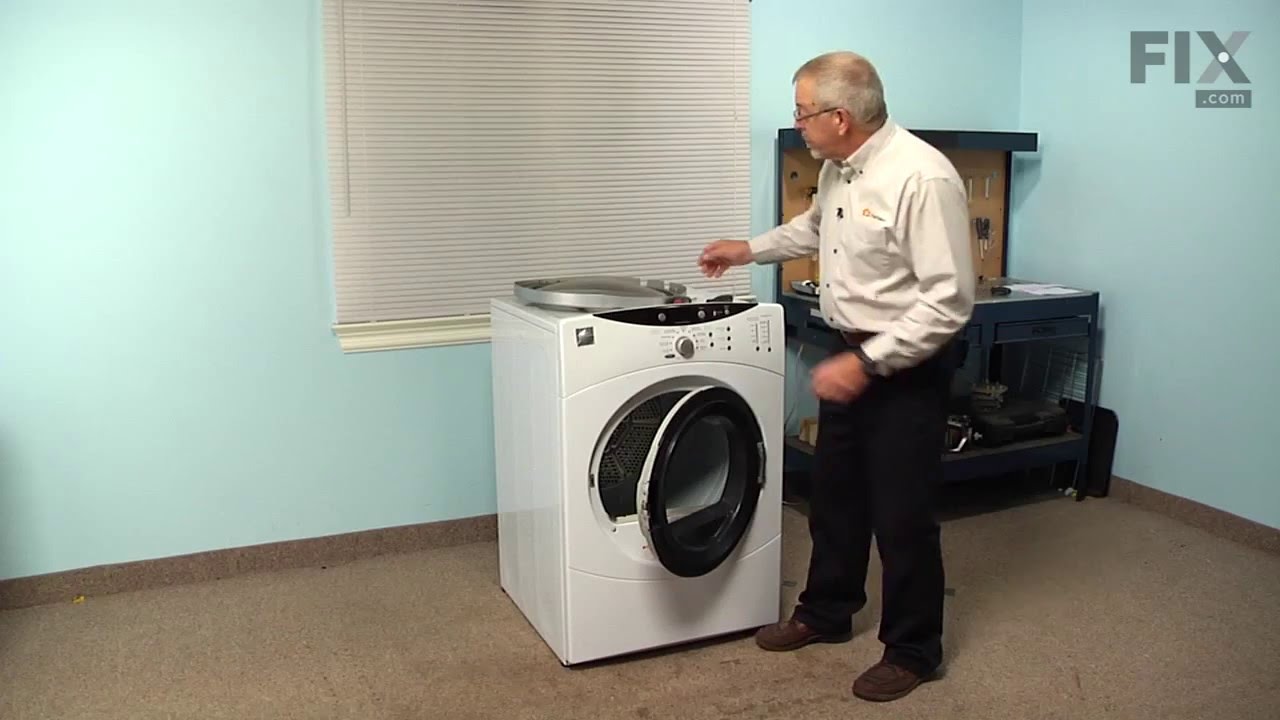
See how others fixed this model. Time, tools, difficulty, and steps that lead to victory! View More

Search repair tips from other customers using simple keywords like "replace", "fit", "remove", "inspect". DIY doesn't mean you have to do it alone!

Search filter:
Clear Filter
Your search term must have 3 or more characters.
dryer belt broke
164 of 194 people found this instruction helpful.
  • Matt from La Belle, MO
  • A Bit Difficult
  • 15 - 30 mins
  • Nutdriver, Screw drivers, Socket set
first I took the dryer apart 1st thing i did was unplug the power supply (safety first) then I removed the top of the unit then removed the front cleaned all the lint from the inside of the cabinet I found the proper belt size on part select.com the next day I had my dryer belt delivered (which cost 1/3 the price of the local repair shop price)
then I placed the belt over the dryer drum and made sure it was in the general location it should be I then replaced the front cover and the top. then I removed the rear cover which was held on by six 5/16 sheet metal screws which gave me access to the drive pulley and belt tensioner the belt goes on by going under the tensioner then around the drive pulley
Then i rotated the drum by hand to make sure everything had clearance I then buttend everything up plugged it and started it up it workd fine and I figure Ill get another 8 years out of it
Thank you partselect.com
Was this helpful?
Thank you for voting!
dryer would run but no heat
49 of 61 people found this instruction helpful.
  • Todd from Clarksburg, OH
  • A Bit Difficult
  • More than 2 hours
  • Nutdriver, Pliers, Screw drivers, Socket set, Wrench (Adjustable), Wrench set
first had to troubleshoot... used multimeter to check all switches, they were good.

then checked thermostats, good again.

then checked motor centrifugal switch.. good.

with multimeter i found continuity between heating coil leads and heater housing. coil had broken and welded itself to housing.

changed coil in short time with restring kit (which got here amazingly fast) and everything is great.

ps: PartsSelect got me the part super fast and it was what i needed. also at a great price. would order from them again.

added note: if i were to do this again i would order the porcelain insulators that insulate the leads to the coils, they were old and very fragile and i experienced some fragmentation.

thanks to PartsSelect
Was this helpful?
Thank you for voting!
Squeaking Dryer - Rear Drum bearing gone bad
32 of 35 people found this instruction helpful.
  • Jason from Cary, NC
  • A Bit Difficult
  • More than 2 hours
  • Screw drivers, Socket set
First, I loosened the the top control panel and then loosened the top flat roof panel which allowed me access to the inside of the dryer. Then, I removed the front panel which allowed access to the drum. I was amazed at the amount of lint that was inside the dryer itself. Most of my time was spent in the disassembly and cleaning of the in ternal cavity around the drum. I reached below the drum and removed the belt from the pulley wheels and then unscrewed the drum (from the inside) from the back of the dryer and bearing kit. I removed the diffuser and cleaned it thoroughly. Then I replaced the entire drum bearing kit - the old one was almost completely dissentigrated. I probably should have applied some kind of non-flammable lubricant to the new bearing kit - the instructions did not include this step but after about 3 loads a slight squeak (different). I put everything back together - applying the new drum kit will require 2 sets of hands (my 9-year old daughter did great at this). I re-assembled the dryer and it works great, again except for the slight squeak that's still there. I may disassemble it again and apply some lubricant but I do not know what kind to get; I need to check that out.
Was this helpful?
Thank you for voting!