This part is sold individually. The drum support roller is found in your dryer. It is used to hold the drum in place in the cabinet while letting the drum rotate on the support rollers. It is recommended that you replace both rollers at once. You may notice that this part needs to be replaced if you are experiencing a squeaking noise, whi...Read morech could be due to the bearing going bad. The bearing could be severely damaged if you hear a very loud thumping noise, much like you would when you are drying a pair of shoes.
This dryer thermistor temperature sensor helps monitor and regulate the temperature inside a dryer. This part includes the wire harness. If your dryer overheats, does not produce enough heat, or takes too long to dry, then the thermistor might be defective or damaged. This can cause a fault code and could begin either prolonging or shorte...Read morening drying time. As a safety precaution, make sure to unplug the dryer from the power source before beginning this installation, and wear gloves to protect your hands. Refer to the installation instructions provided by the manufacturer for further guidance.
This lint filter assembly for your dryer catches lint and debris from your clothes. You can find it near the door. It helps keep the air flowing properly and stops lint from blocking the exhaust ducts. If it is broken or clogged, your clothes will take more time to dry, and there is a risk your dryer could overheat, leading to a fire. Thi...Read mores is a genuine replacement part from the original manufacturer and is sold individually.
This spiral-style gas burner igniter is designed for use in select gas dryers and plays a crucial role in generating the heat needed to dry clothes. Operating at 120 volts, the igniter glows red hot during the drying cycle to ignite the gas that heats the drum. If your dryer runs but fails to produce heat, the igniter may be faulty and sh...Read moreould be replaced. The assembly includes the igniter, bracket, wire harness, and plug for straightforward installation. Always disconnect the dryer from power before beginning any repairs to ensure safety.
This genuine OEM conversion kit allows your dryer to be converted from using natural gas to liquid propane. It caters to homes that rely on propane for their energy needs. This kit comes with an orifice that controls the flow rate of propane gas, and replaces the one originally installed on the gas burner in your dryer. This kit is sold i...Read morendividually. Proceed with caution when installing it yourself to ensure safe and proper installation.
This plastic adjustable dryer leg is used to support the weight and adjust the height of your dryer to keep it level. To install the leg, tip the dryer back and screw it into the bottom of your dryer unit. Please note that this dryer leg is sold individually.
This dryer sensor assembly, also known as a flame or radiant sensor, is a genuine OEM component for LG gas dryers. It monitors the igniter’s temperature to ensure the gas burner ignites correctly, maintaining proper heating performance. Positioned near the igniter on the burner funnel, the sensor sends signals to the control board based o...Read moren heat detection. Replacing a faulty sensor can resolve issues such as poor heating or extended drying times, restoring efficient operation.
Ask our experts a question about this model and we'll get back to you as soon as possible!
We may have answered a similar question already! Search questions and answers left by others using simple keywords like "fit", "broken", "easy", or "quality" to find questions that match.
Search filter:
Clear Filter
Your search term must have 3 or more characters.
Sort by:
Prev
1
Next
Sorry, we couldn't find any existing answers that matched.Try using some different or simpler keywords, or submit your new question by using the "Ask a Question" button above!
Wilson - For model number DLGX8901B
April 19, 2025
My dryer it won’t heat up
Hello Wilson, thank you for getting in touch. Based on our understanding of the issue, we would suggest checking the thermistor to solve the problem. The thermistor for your model comes in a kit having part, part number PS16745022. A malfunctioning thermistor can most probably cause this issue. We hope this helps!
See how others fixed this model. Time, tools, difficulty, and steps that lead to victory!View More
Search repair tips from other customers using simple keywords like "replace", "fit", "remove", "inspect". DIY doesn't mean you have to do it alone!
Search filter:
Clear Filter
Your search term must have 3 or more characters.
Dryer making a thumping and squealing noise when running
132 of 171 peoplefound this instruction helpful.
Mark from WAVERLY, OH
Easy
30 - 60 mins
Screw drivers, Wrench (Adjustable), Wrench set
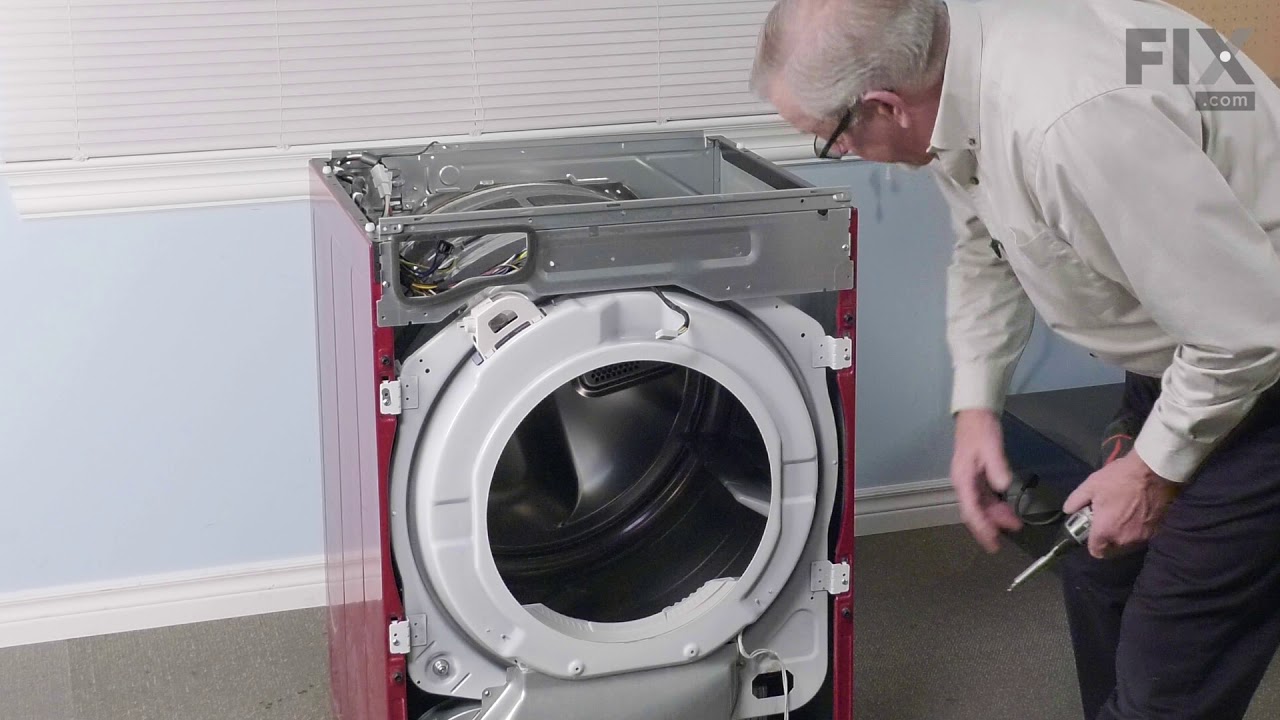
Had to replace front drum support rollers. Removed screws underneath top in back that held bracket that keeps top in place. Slid top towards rear and lifted up. Removed 4 screws that hold plastic front panel in place (inside..2 on each corner) Unplugged front panel electric plugs to remove panel. Opened door..removed 2 screws at bottom of
... Read more door opening. Removed screws on top of front panel. Unplugged door switch plug. Removed front panel. Removed right front roller with 9/16th wrench for nut. Adjustable for back of stud. Lifted up on drum to get roller out. Reversed to install. Left roller a bit harder to get to stud. Removed and installed same as right side. Did not attempt to replace rear rollers. Have them if needed but very much more involved to replace.
Read less
Was this helpful?
Thank you for voting!
Screeching during operation
66 of 101 peoplefound this instruction helpful.
CAROL from NAMPA, ID
Really Easy
More than 2 hours
Pliers, Screw drivers
Found disassembly video and watched several times. Suspected that one of the drum wheels had seized up. Found extreme volume of lint and hair inside unit as well as a dryer sheet melted on top of heating unit. Front left drum wheel was worn down from lint and hair jamming its movement. Video made it easy, not a really complicated piec
... Read moree of machinery. Replaced all 4 wheels due to normal wear on other three. Wanted to be sure drum evenly balanced on all 4. Parts came quickly and were easy to install. My sister and I did this together. Would not recommend doing it alone. Took time to vac and wipe down entire unit. Now it runs so quiet we have to look to see if it is operating. Got a brand new machine out of it, saved a couple of hundred dollars in repair bills, and found 11 cents inside the machine. For your own piece of mind, if you have had your dryer for several years, you need to open it up and clean it out. Its not hard... added note, we are both in our 60's... so if we can do it so can you.... Such a feeling of accomplishment, can't buy that in a store....
Read less
Was this helpful?
Thank you for voting!
Gas Dryer not getting hot
28 of 45 peoplefound this instruction helpful.
Terry from Goose Creek, SC
Easy
30 - 60 mins
Screw drivers
I noticed the flame would start, then quit after about 15 seconds. I checked the flame detector, and found the lenze cracked. I replaced it, and it's as good as gold.
It looked like a hard job to take the drum out to get at the part. But the top was off with 3 screws, the front about 6 I think. Then the front frame, only 4 s
... Read morecrews. I think setting the belt tentioner was the hardest thing to do.
Done in 45 minutes, both the job, then the next load of laundry.



 My Orders