



 My Orders




DLE4970W (ABWEEUS) LG Dryer - Overview
Diagrams for DLE4970W
See every part. Know exactly what you need.


Enter a part description. DIY Heroes keep it simple, eg. "belt" or "pump".
Search filter:
Clear Filter
Your search term must have 3 or more characters.

$138.79
In Stock
4 PACK ROLLER ASSEMBLY
Part #4581EL2002L
This part is sold individually. The drum support roller is found in your dryer. It is used to hold the drum in place in the cabinet while letting the drum rotate on the support rollers. It is recommended that you replace both rollers at once. You may notice that this part needs to be replaced if you are experiencing a squeaking noise, whi...Read morech could be due to the bearing going bad. The bearing could be severely damaged if you hear a very loud thumping noise, much like you would when you are drying a pair of shoes.
Read less

$34.74
In Stock
Dryer Lint Filter Assembly
Part #5231EL1001C
This lint filter is designed to capture loose lint during dryer operation, helping maintain airflow and drying efficiency. Positioned within the dryer drum, it plays a vital role in preventing lint buildup that can affect performance or pose a fire risk. Over time, the filter may become clogged or damaged due to regular use. Constructed w...Read moreith a white plastic frame and fine mesh screen, this replacement filter is sold individually and is compatible with select dryer models. Installation is simple and tool-free: remove the old filter and insert the new one into the designated slot to restore optimal function.
Read less

$21.45
In Stock
Moisture Sensor
Part #6500EL3001A
The sensor controls the temperature in your dryer and will turn off once your clothes have reached the desired dryness level. If you notice that your dryer is not giving off enough heat to dry the clothes or is taking too long to dry, this may indicate that a repair to the senor is required. To access this part, you will need to remove th...Read moree front bulk head. To remove this, you will need to remove the screws securing the top. Uninstall the screws that support the control panel and lift. Remove screws holding the support bracket in place so you can detach this piece. Detach the wire harness and remove the wire, then set the bracket aside. You will now open the dryer door and release it by taking out the bottom two screws. Disconnect the wire harness and moisture sensor wire harness, remove screws from front bulk head, and remove screws that secure the duct housing. You should be able to completely remove the bulk head. You will find the sensor underneath the lint filter grill, which will also need to be removed.
Read less

$51.61
In Stock
Blower Thermostat
Part #6931EL3002M
The thermostat is a part for your dryer, and it is roughly 1 inch long by roughly 1.5 inches wide. The purpose of the thermostat is to measure the temperature of the air inside your dryer drum. As the air is being measured, it will turn the heat on or off in order to maintain a stable temperature within the drum. The most common reason yo...Read moreu would need to replace your thermostat is if your dryer is not receiving enough heat, or any heat at all.The tools you will need to complete this repair include a Phillips screwdriver, and a flat-head screwdriver.
Read less

$21.45
In Stock
Dryer Guide Cover
Part #3550EL1005C
This is an OEM lint filter guide cover made for LG dryers. This is one of three pieces in the entire lint filter assembly, along with the lint filter guide and filter itself, which are both sold separately from this. This guide cover is made entirely of plastic and measures approximately 16 inches wide. If the lint filter assembly for you...Read morer dryer is broken, chipped, or cracked, and ultimately cannot perform efficiently anymore, covers like this must be replaced immediately. This cover comes individually and without any accompanying parts, so be sure to check your lint filter assembly for the necessary parts before ordering.
Read less

$45.29
In Stock
Felt Seal
Part #4036EL3001A
This genuine OEM felt gasket provides a cushioned seal between the inner tub of your electric dryer and the rear panel. It prevents your clothes from getting snagged and helps in heat retention. You will find it around the circumference of the drum. The most typical reason for replacing the felt seal is when it becomes worn. It is importa...Read morent to note that this rear seal is sold separately from the front seal and the adhesive needed to install it.
Read less

$47.40
In Stock

$47.40
In Stock
Filter Guide
Part #4974EL1002B
This genuine OEM filter guide keeps garments from exhaust air duct and lint screen inside the dryer. The filter guide is made of high quality plastic and is approximately 15 inches long by 3 inches wide. If your filter guide is faulty, or damaged clothes can get stuck in the lint screen which can cause damage to your garments and to the d...Read moreryer unit itself. NOTE: Flap (PS3634953) and Spring (PS11706080) are sold separately.
Read less

$30.53
In Stock

$217.79
In Stock
Heater Assembly
Part #5301EL1001H
This heating element assembly is a genuine OEM replacement designed to restore proper heat output in select LG and Kenmore electric dryers. Operating at 240 volts and 5400 watts, the assembly includes the metal heating coil, housing, wiring, a high-limit thermostat, and a thermal fuse to ensure safe and efficient performance. It is the pr...Read moreimary component responsible for generating the heat required to dry clothes. A failing heating element may result in no heat, extended drying times, or insufficient temperature levels. The included 3-terminal thermostat supports compatibility with specific models. Replacing this part can improve energy efficiency and restore original drying performance. Always verify model compatibility before installation and disconnect power for safety.
Read less

$37.35
Special Order

$9.62
In Stock
Dryer Leg
Part #4778EL3001B
This plastic adjustable dryer leg is used to support the weight and adjust the height of your dryer to keep it level. To install the leg, tip the dryer back and screw it into the bottom of your dryer unit. Please note that this dryer leg is sold individually.
Common Symptoms of the DLE4970W
How this model fails, and the parts that fix it.
Noisy
Fixed by
these parts
these parts


Show All
Not Heating
Fixed by
these parts
these parts


Show All
Door won’t close
Fixed by
these parts
these parts

Show All
Drum Not Spinning
Fixed by
these parts
these parts

Show All
Marks left on clothes
Fixed by
these parts
these parts

Show All
Won’t Start
Fixed by
these parts
these parts

Show All
Timer Not Working
Fixed by
these parts
these parts
Show All
Watch our pros, then fix it yourself.
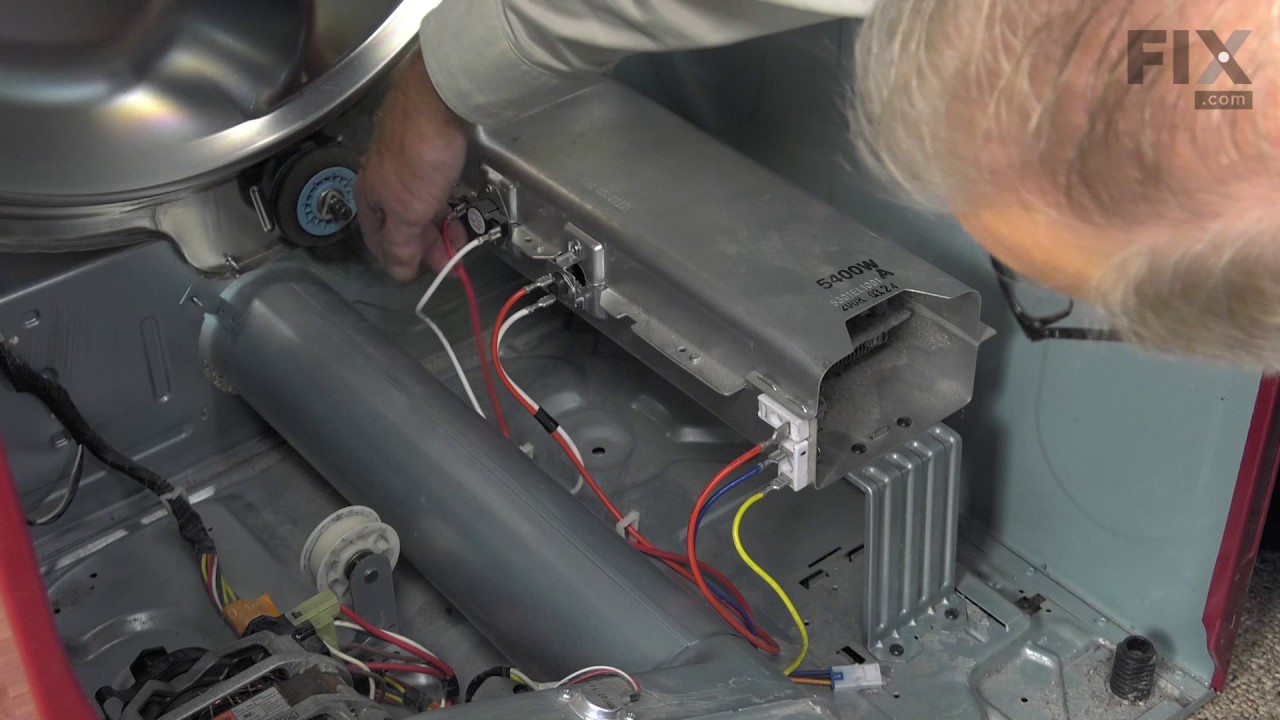

See how others fixed this model. Time, tools, difficulty, and steps that lead to victory!
View More