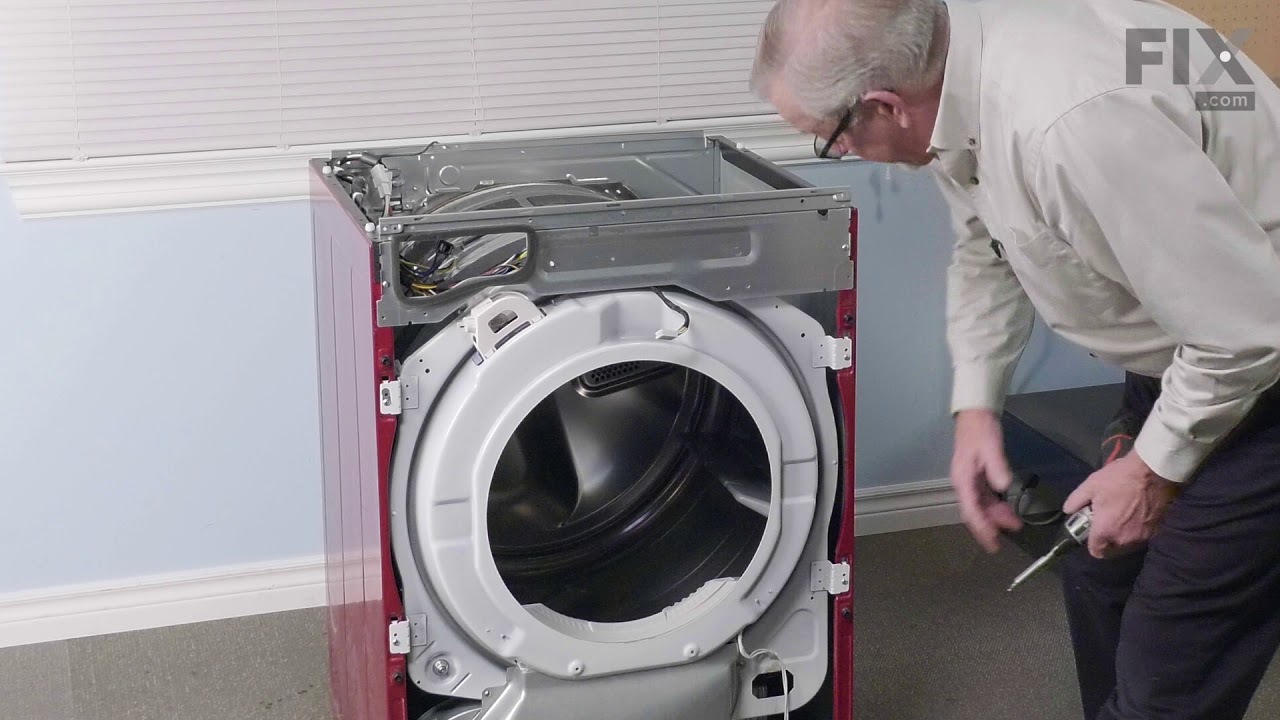
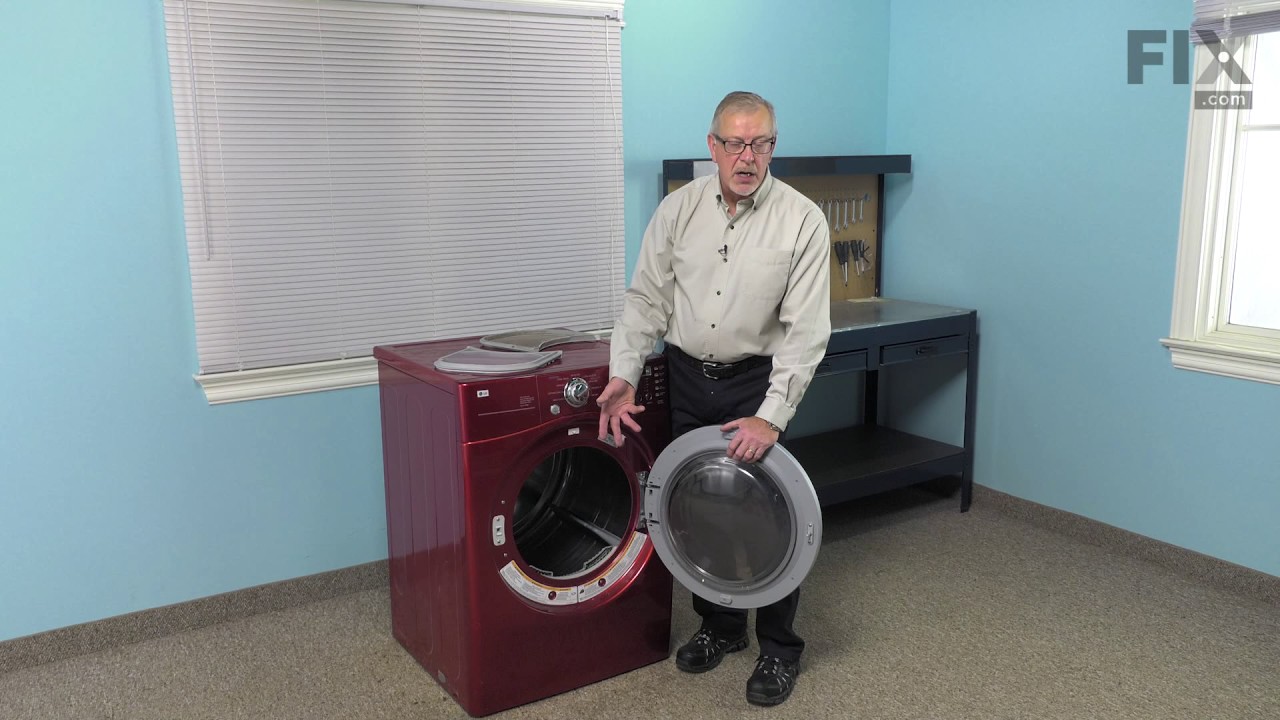
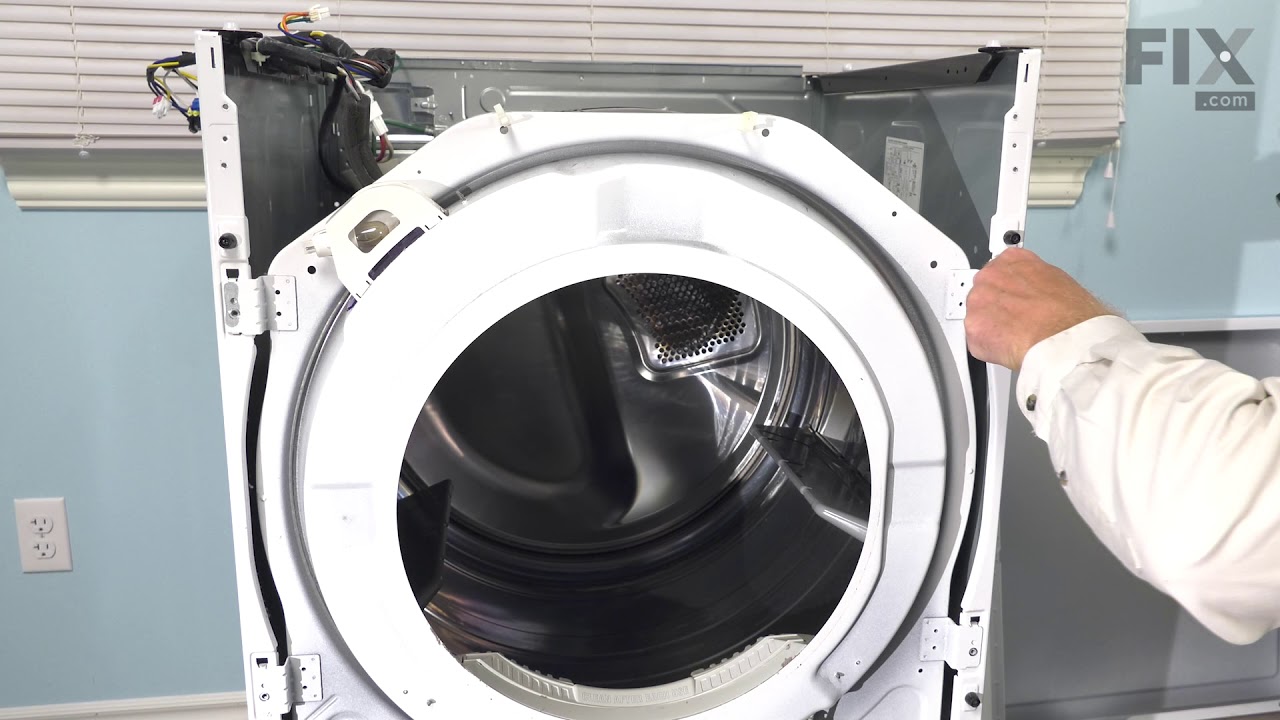
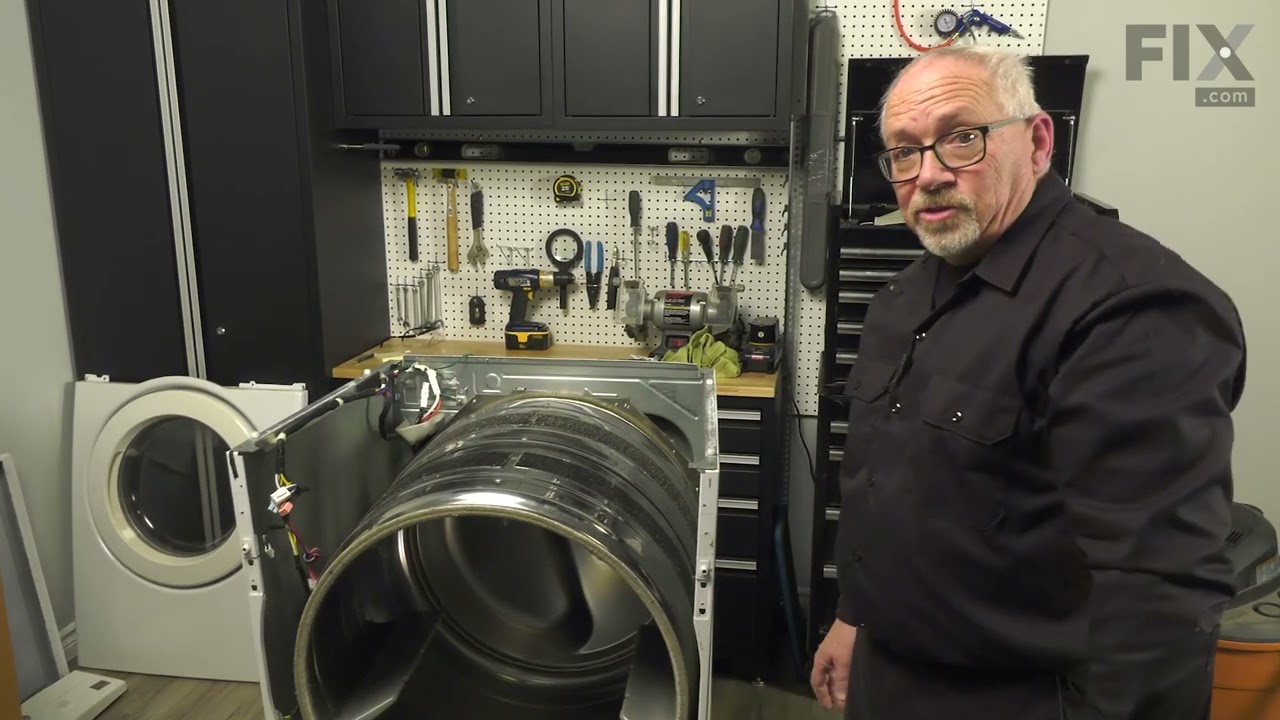
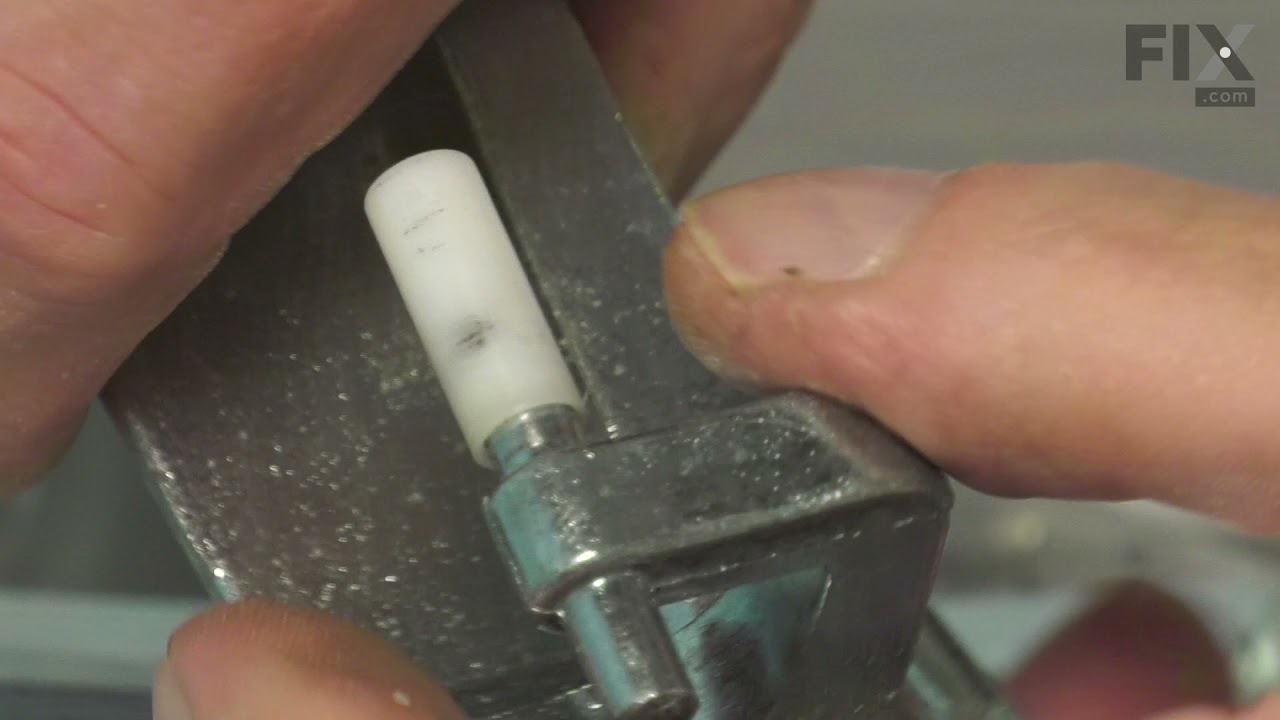
This part is sold individually. The drum support roller is found in your dryer. It is used to hold the drum in place in the cabinet while letting the drum rotate on the support rollers. It is recommended that you replace both rollers at once. You may notice that this part needs to be replaced if you are experiencing a squeaking noise, whi...Read morech could be due to the bearing going bad. The bearing could be severely damaged if you hear a very loud thumping noise, much like you would when you are drying a pair of shoes.
The lint filter in your dryer is used to collect lint as it passes through the dryer vent. If you notice that your dryer is not providing enough heat, or if it takes too long to dry, you may need to replace the lint filter. You should also replace the lint filter if you notice it is damaged during regular maintenance. Many of our customer...Read mores have rated this repair as easy. To complete the repair, simply remove the old lint filter and replace it with the new one. You may want to use a flat head screwdriver to remove any residual lint before you install the new filter.
This thermal fuse acts as a high-limit thermostat, and shuts off the heating element when the dryer overheats by cutting off power to the dryer. If the thermal fuse has blown, the dryer will not start. These fuses cannot be reset, so if yours has blown, you will need to replace it. A common reason for the thermal fuse to blow on a dryer i...Read mores if the exhaust vent on your dryer is restricted or blocked. Hot air will be confined in the dryer and the fuse will trip and stop the electricity from flowing to the gas valve or heating element.
The sensor controls the temperature in your dryer and will turn off once your clothes have reached the desired dryness level. If you notice that your dryer is not giving off enough heat to dry the clothes or is taking too long to dry, this may indicate that a repair to the senor is required. To access this part, you will need to remove th...Read moree front bulk head. To remove this, you will need to remove the screws securing the top. Uninstall the screws that support the control panel and lift. Remove screws holding the support bracket in place so you can detach this piece. Detach the wire harness and remove the wire, then set the bracket aside. You will now open the dryer door and release it by taking out the bottom two screws. Disconnect the wire harness and moisture sensor wire harness, remove screws from front bulk head, and remove screws that secure the duct housing. You should be able to completely remove the bulk head. You will find the sensor underneath the lint filter grill, which will also need to be removed.
This dryer thermistor temperature sensor helps monitor and regulate the temperature inside a dryer. This part includes the wire harness. If your dryer overheats, does not produce enough heat, or takes too long to dry, then the thermistor might be defective or damaged. This can cause a fault code and could begin either prolonging or shorte...Read morening drying time. As a safety precaution, make sure to unplug the dryer from the power source before beginning this installation, and wear gloves to protect your hands. Refer to the installation instructions provided by the manufacturer for further guidance.
The thermostat is a part for your dryer, and it is roughly 1 inch long by roughly 1.5 inches wide. The purpose of the thermostat is to measure the temperature of the air inside your dryer drum. As the air is being measured, it will turn the heat on or off in order to maintain a stable temperature within the drum. The most common reason yo...Read moreu would need to replace your thermostat is if your dryer is not receiving enough heat, or any heat at all.The tools you will need to complete this repair include a Phillips screwdriver, and a flat-head screwdriver.
The high limit thermostat on your dyer prevents your dryer from overheating. When the dryer heats up too much, the high limit thermostat will sense it and automatically shut off the heating element. If the thermostat is malfunctioning, it will need to be replaced, to avoid more serious issues. This product is an OEM part, direct from the manufacturer.
This genuine OEM felt gasket provides a cushioned seal between the inner tub of your electric dryer and the rear panel. It prevents your clothes from getting snagged and helps in heat retention. You will find it around the circumference of the drum. The most typical reason for replacing the felt seal is when it becomes worn. It is importa...Read morent to note that this rear seal is sold separately from the front seal and the adhesive needed to install it.
This plastic adjustable dryer leg is used to support the weight and adjust the height of your dryer to keep it level. To install the leg, tip the dryer back and screw it into the bottom of your dryer unit. Please note that this dryer leg is sold individually.
Ask our experts a question about this model and we'll get back to you as soon as possible!
We may have answered a similar question already! Search questions and answers left by others using simple keywords like "fit", "broken", "easy", or "quality" to find questions that match.
Search filter:
Clear Filter
Your search term must have 3 or more characters.
Sort by:
Prev
1
Next
Sorry, we couldn't find any existing answers that matched.Try using some different or simpler keywords, or submit your new question by using the "Ask a Question" button above!
Bob - For model number DLE2101W
January 4, 2020
When starting the dryer the “check filter” light comes on. The lint filter is clean. How do i check filter?
Hello Bob, thank you for your question. The display will show CHK.FILTER when the dryer is turned on as a reminder to check the filter. It turns off when the START/PAUSE button is pressed. If the button is pressed and the light doesn't turn off, unplug the unit and let it set for about 5 minutes to see if that will reset the reminder. If the issue persists, we would recommend checking the interior of the cabinet for any lint blockages. I hope this helps.
5 peoplefound this instruction helpful.
Was this helpful?
Thank you for voting!
Fred - For model number DLE2101W
January 20, 2020
How to check/replace thermistor in this model.
Hello Fred, Thank you for contacting us. I have researched the model you have provided and have found the part you are looking for is PartSelect Number PS3529026. We have a How to Video on the site listed under the part number. We hope this helps.
Our dryer will not turn off. The only way is to open the door. As soon as we close it, it starts running again. What is the problem?
Hello Ransom, thank you for your question. We would recommend testing the following parts. Door Switch Part Number: PS3529308, Micro Switch Part Number: PS7321762, Drive Motor Part Number: PS3523290. If those parts are fine,the issue would be with one of the control boards. However, both of the boards for this unit have been discontinued by the manufacturer.
1 personfound this instruction helpful.
Was this helpful?
Thank you for voting!
Prev
1
Next
✖
Ask a Question
Ask our experts a question on this model and we'll respond as soon as we can.
See how others fixed this model. Time, tools, difficulty, and steps that lead to victory!View More
Search repair tips from other customers using simple keywords like "replace", "fit", "remove", "inspect". DIY doesn't mean you have to do it alone!
Search filter:
Clear Filter
Your search term must have 3 or more characters.
Dryer making a thumping and squealing noise when running
131 of 170 peoplefound this instruction helpful.
Mark from WAVERLY, OH
Easy
30 - 60 mins
Screw drivers, Wrench (Adjustable), Wrench set
Had to replace front drum support rollers. Removed screws underneath top in back that held bracket that keeps top in place. Slid top towards rear and lifted up. Removed 4 screws that hold plastic front panel in place (inside..2 on each corner) Unplugged front panel electric plugs to remove panel. Opened door..removed 2 screws at bottom of
... Read more door opening. Removed screws on top of front panel. Unplugged door switch plug. Removed front panel. Removed right front roller with 9/16th wrench for nut. Adjustable for back of stud. Lifted up on drum to get roller out. Reversed to install. Left roller a bit harder to get to stud. Removed and installed same as right side. Did not attempt to replace rear rollers. Have them if needed but very much more involved to replace.
Read less
Was this helpful?
Thank you for voting!
Dryer would run with no heat
97 of 115 peoplefound this instruction helpful.
Richard from ORMOND BEACH, FL
Easy
30 - 60 mins
Screw drivers
I actually went to mr fix it on u tube. Great instruction on how to take dryer apart. First I unplugged the dryer. I found I could reach the heating system by removing the lint tube in the back of the dryer. I put my I phone with the light on inside the back of the dryer and tested the connections to see if all were working. The thermal f
... Read moreuse was not working. I removed the two wires , red on top and white on the bottom. Then used a small Phillips screwdriver to remove the two mounting screws and removed the fuse. I then used a vacuum to clear any lint from the back of the dryer and inside the dryer. This took me about an hour and a half. I did it this way because I did not want to disassemble the entire dryer to get to the components. I received the fuse in 3 days and tested it. It was fine. I then put it in the dryer screwed it in place, connected the wires. Replaced the lint tube. This took about 10 minutes. Dryer is running great.
Read less
Was this helpful?
Thank you for voting!
Screeching during operation
65 of 99 peoplefound this instruction helpful.
CAROL from NAMPA, ID
Really Easy
More than 2 hours
Pliers, Screw drivers
Found disassembly video and watched several times. Suspected that one of the drum wheels had seized up. Found extreme volume of lint and hair inside unit as well as a dryer sheet melted on top of heating unit. Front left drum wheel was worn down from lint and hair jamming its movement. Video made it easy, not a really complicated piec
... Read moree of machinery. Replaced all 4 wheels due to normal wear on other three. Wanted to be sure drum evenly balanced on all 4. Parts came quickly and were easy to install. My sister and I did this together. Would not recommend doing it alone. Took time to vac and wipe down entire unit. Now it runs so quiet we have to look to see if it is operating. Got a brand new machine out of it, saved a couple of hundred dollars in repair bills, and found 11 cents inside the machine. For your own piece of mind, if you have had your dryer for several years, you need to open it up and clean it out. Its not hard... added note, we are both in our 60's... so if we can do it so can you.... Such a feeling of accomplishment, can't buy that in a store....



 My Orders