


 My Orders




DLB2700LD Hotpoint Dryer - Overview

Enter a part description. DIY Heroes keep it simple, eg. "belt" or "pump".
Search filter:
Clear Filter
Your search term must have 3 or more characters.

$29.47
On Order
Dryer Belt
Part #WE12X10014
This belt has a length of 87 inches, width of 1/4”, flat, with 4 ridges.

No Longer Available
Lint Filter with Frame
Part #WE18X26
The lint filter and frame for your dryer traps unwanted lint and debris so your dryer can effectively dry your clothes. If the old lint filter is cracked or clogged, or the dryer takes too long to dry or if excessive lint is accumulating inside the dryer or its venting, you may need to replace the lint filter. To replace the filter, simpl...Read morey remove the old, damaged filter, and replace it with the new one. This part is approximately 13 inches by 3 inches.
Read less

$28.70
In Stock
Idler Pulley Wheel
Part #WE12X81
This white idler pulley is used for many clothes dryers. A dryer's idler pulley wheel serves to help the belt to rotate the drum.

No Longer Available
Heater 2-Coil Restring Kit - 240V
Part #WE11X260
This restring coil kit is used to replace the existing coil in a dryer's heating element.

$27.59
Special Order
High Limit Thermostat
Part #WE4X584
With this high limit/safety thermostat, a dryer's heating element will cut out if the internal temperature reaches 260 degrees Fahrenheit. This element is meant as a safety device, will kick back in when the temperature drops to 210 degrees Fahrenheit. (Limit: 260-50)

$163.78
In Stock
Drive Motor
Part #WE17X10010
Replaces "T" and "V" style motors. Includes two motor pulleys. If you have an older model dryer, the pulley may be pressed on or held on with a set screw. If pulley is pressed on, a new motor pulley must be ordered.

$51.61
In Stock

$77.75
In Stock
BLOWER WHEEL
Part #WE16X16

No Longer Available
DISCONTINUED
Part #WE9X30
$49.50
Special Order
LATCH & ADPT
Part #WE25X175
No Longer Available
DISCONTINUED
Part #WE4X463
Common Symptoms of the DLB2700LD
How this model fails, and the parts that fix it.
Noisy
Fixed by
these parts
these parts


Show All
Too hot
Fixed by
these parts
these parts

Show All
Drum Not Spinning
Fixed by
these parts
these parts
Show All
Watch our pros, then fix it yourself.
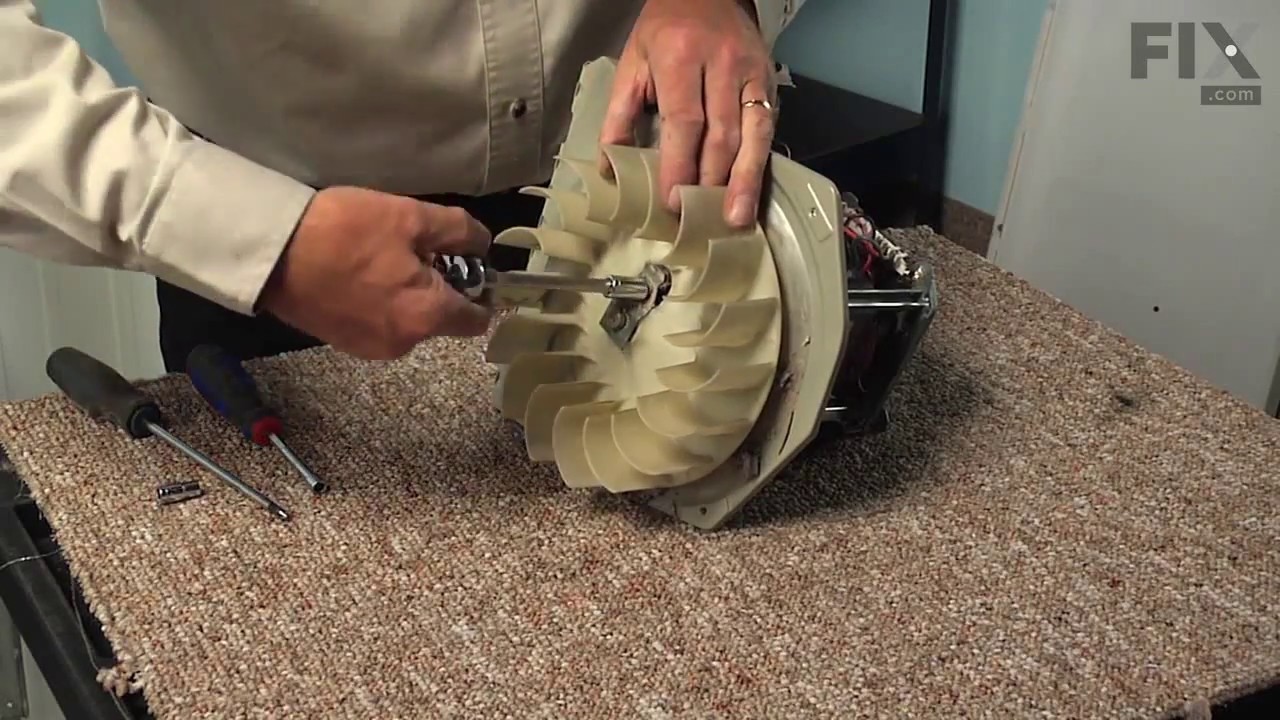
See how others fixed this model. Time, tools, difficulty, and steps that lead to victory!
View More
Search repair tips from other customers using simple keywords like "replace", "fit", "remove", "inspect". DIY doesn't mean you have to do it alone!
Search filter:
Clear Filter
Your search term must have 3 or more characters.
Drive belt broken and 2 open heater elements
28 of 34 people
found this instruction helpful.
Removed 4 torx head screws under top and above front door. Raised top assembly that hinged at rear. Removed broken belt that laid on top on drum. Remove top left and right (2) screws (inside) and loosened (2) screws at bottom (outside) that secure front assembly of dryer. Make some slack in wires to door switch and light. Lift front as
... Read more
sembly and hinge front assembly open to the right taking care not to damage wires. Removed 3 torx head screws from inner drum rear. Remove drum assembly, spacer and heat shield. Cleaned lint and debris from dryer and air duct. Cut and removed old heater elements. Removed 3 power feedthru and 6 ceramic insulators. Installed new heater elements according to instructions that were supplied with kit. To reassemble: Use 3, 10-24x3/4" set screws as guides to mount drum. The set screws are not provided. Install the 3 set screws into drum mount holes on bearing assembly. Slide heat shield then spacer onto set screws. Slipped drive belt over drum and let it rest near the mark on drum that previous belt made. Lower drum into dryer from top, not front and slide onto the 3 set screws. Remove 1 set screw and replace set screw with correct torx head screw. Repeat for other 2 set screws. Re-install the front assembly. Place drive belt on top of mark on drum made by previous belt. Close top and secure with 4 torx head screws. Remove access panel at the bottom of rear panel. Feed the drive belt around drive pully on motor and tensioner. Install rear access panel. I am very happy with the results. The dryer is working as good as new. The job took about 1.5 hours and I saved a bundle not having to replace the dryer or have a service technician do the repair. My thanks to PartsSelect.com, they had a distributor not far away and I received the parts very quickly.
Read less
Other Parts Used:
Was this helpful?
Thank you for voting!