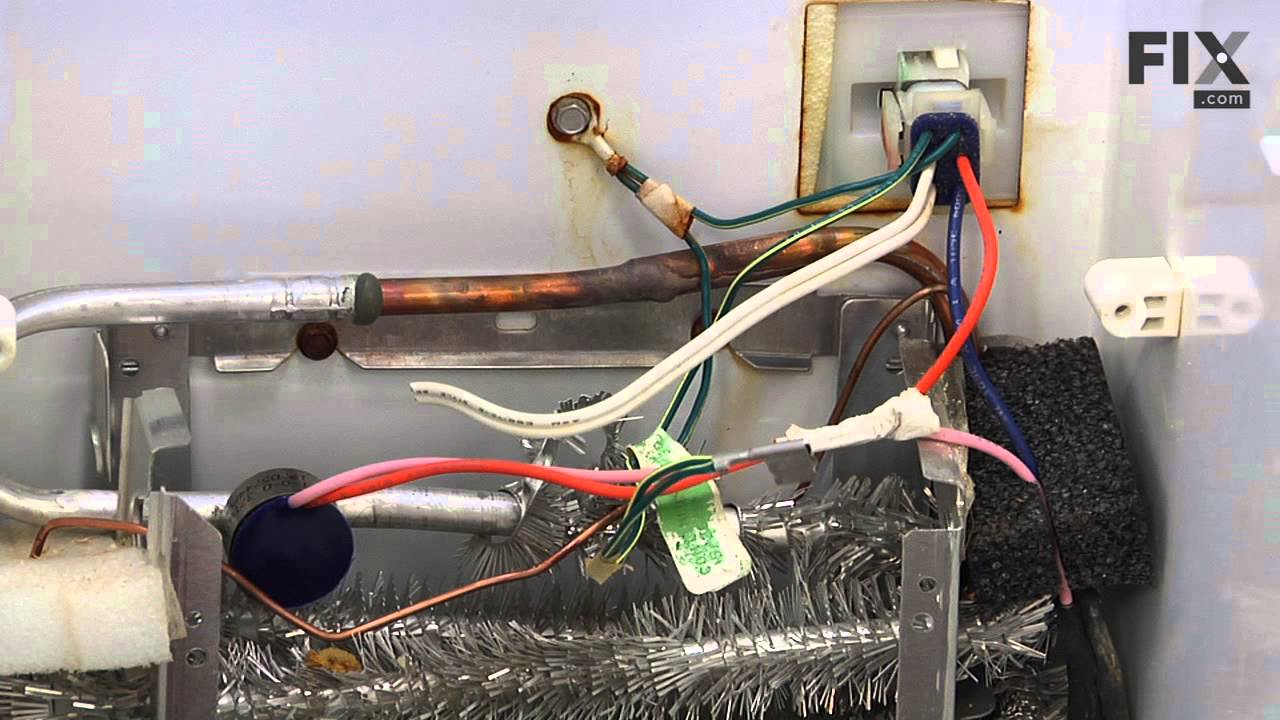
This sensor (Temperature Sensor, Thermistor, Refrigerator Temperature Sensor) sends the temperature reading of the compartment to the control board. If you notice your refrigerator is too warm, too cold, or not defrosting properly, then there may be a problem with your sensor. The temperature sensor can break from material fatigue or thro...Read moreugh normal use, and should be replaced. It is attached to the evaporator and control housing in your appliance. It measures approximately 1.25 inches long with 18 inch wire leads, and is constructed out of plastic. This part comes in white, beige. It includes the sensor, with wire leads.
This NSF-certified water filter helps to improve the taste, quality, and health of your water by removing a number of contaminants including mercury, lead, and trace pharmaceuticals. The filter should be replaced every six month or after 300 gallons of water have been filtered. If you are unsure if your filter is due for replacement, anot...Read moreher indicator is if the water flow from the dispenser has slowed down considerably. Replacing this part is a simple task that does not require any tools or shutting off the water or power supply to your fridge. Once the new filter has been installed, be sure to run at least two gallons of water through before consuming.
The interior light of your refrigerator is controlled by a switch that is activated when the door is opened and closed. If your refrigerator light will not turn on, there could be an issue with the switch. The switch is spring loaded and is a generally closed type of switch meaning there should be no continuity when the button is depresse...Read mored, and continuity through the switch when the button is not depressed. This plastic, white, OEM switch is sourced directly from the manufacturer, is sold individually and is easy to replace. The repair usually takes less than 15 minutes and requires a flat blade screwdriver and needle nose pliers.
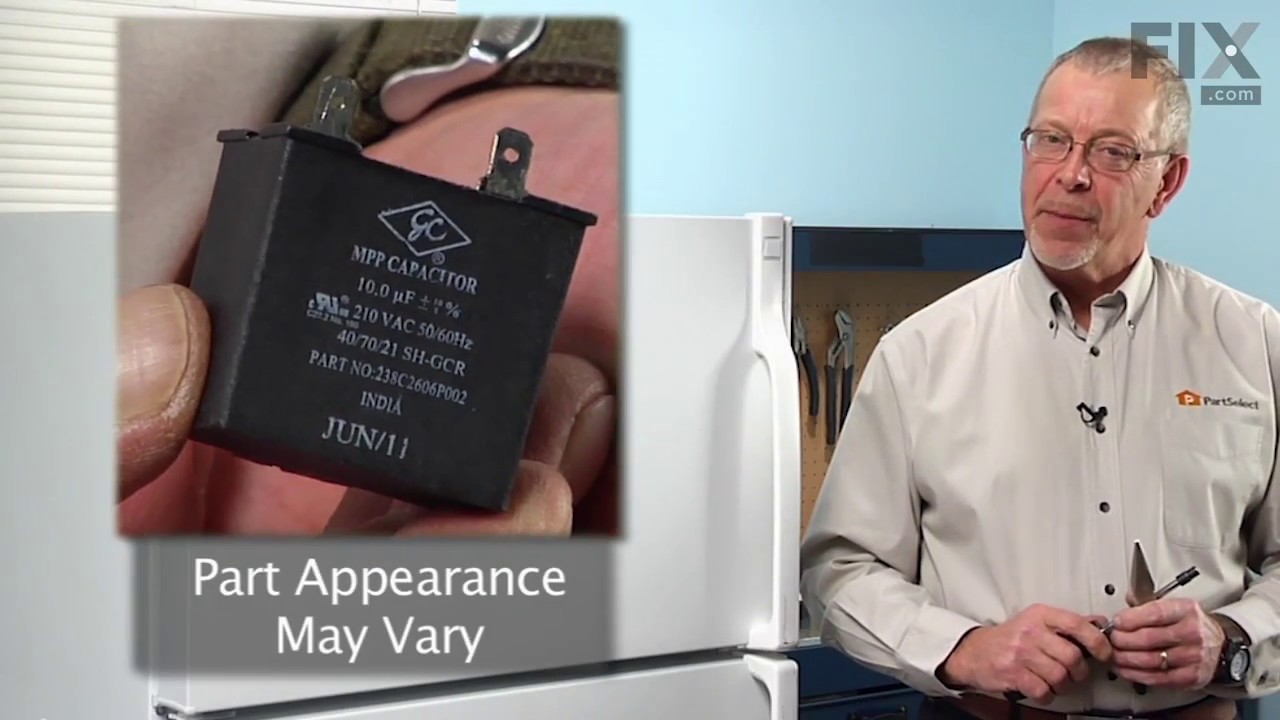
This part helps the compressor kick on and off while maintaining a constant temperature to keep things frozen in your freezer. This part has been updated by the manufacturer and may appear different than the original, but should function the same.
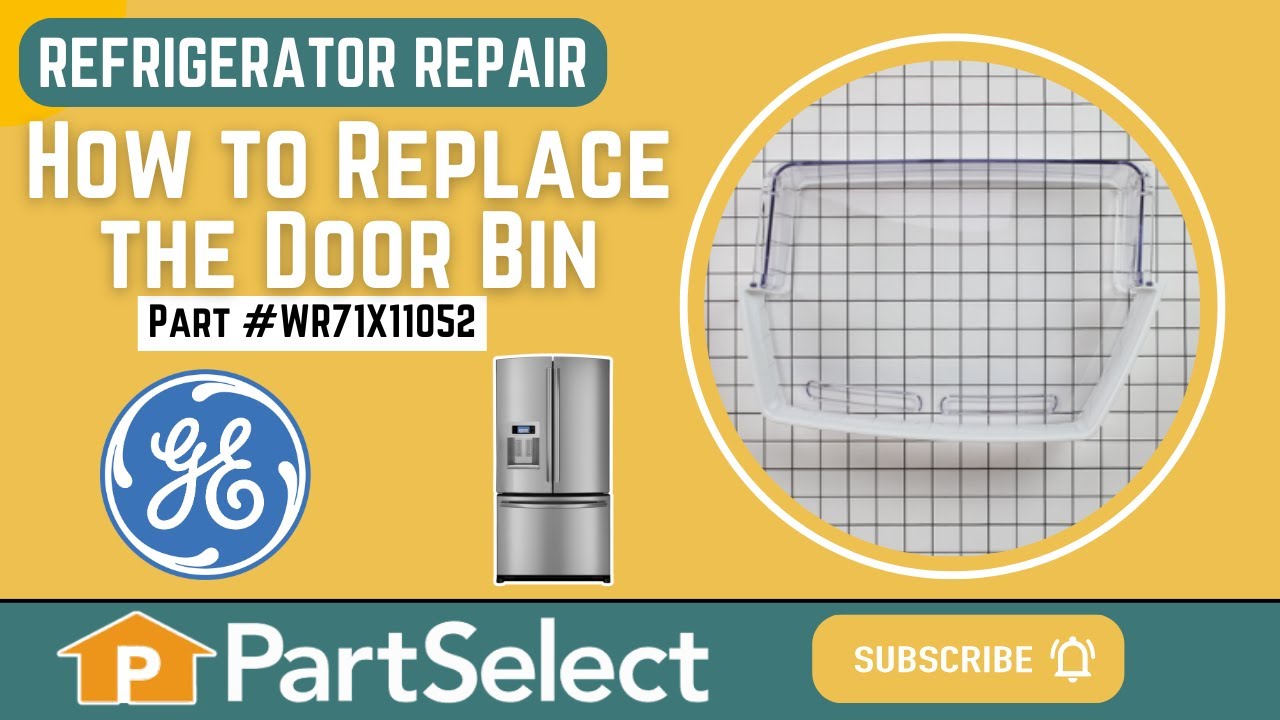
This door shelf bin is an authentic OEM part sourced directly from the manufacturer. It is designed for use in your GE refrigerator. It is made of white and clear plastic, and houses items on your refrigerator shelf. You will need to replace this part if your old bin is damaged.
This is a door handle fastener to secure the handle to your refrigerator drawer. It is also known and a mounting bolt or screw. It is approximately 1 inch in total length, and is made of metal.
This evaporator fan motor is a critical component in GE refrigerators, designed to circulate cold air over the evaporator coils and distribute it evenly throughout the fresh food and freezer compartments. Operating as a DC motor, it ensures consistent internal temperatures by drawing air across the cooling coils and pushing it through the...Read more unit. Engineered with high-quality materials, it delivers long-lasting performance and quiet operation. While primarily used in GE models, it is also compatible with select units from Hotpoint, Café, and Monogram. Replacing a faulty motor can resolve issues such as poor cooling, frost buildup, or unusual noises, restoring optimal airflow and refrigeration efficiency.
This OEM-compatible screw is designed for use with many GE dishwashers. Measuring 8-16 HXW and 1/2" in length, this stainless steel screw secures the middle spray arm hub to the upper rack assembly, ensuring stable and effective spray arm performance.
Sold individually, this durable metal fastener requires a nutdriver for proper installation.
This OEM part is from GE and is designed for use in your refrigerator. This part is known as a door mounting screw, and is for mounting the handles of the refrigerator to the door studs.
This replacement vegetable pan glass is designed to restore the functionality and appearance of your refrigerator’s crisper drawer. It provides a sturdy, transparent surface for storing produce while maintaining visibility and cleanliness. If the original glass is cracked, chipped, or damaged, replacing it is essential for safe and effici...Read moreent use. This component is sold individually and does not include additional hardware or framing parts.
Designed for use in the fresh food section of compatible refrigerators, this LED light and cover assembly offers reliable, energy-efficient lighting using advanced LED technology. The clear, impact-resistant cover shields the internal components while allowing full illumination of the compartment. If your refrigerator’s lighting is dim or...Read more non-functional, replacing the entire assembly ensures consistent performance and a clean appearance. This genuine replacement part is compatible with a range of models and is engineered for a precise fit and long-lasting durability.
This is a door gasket for the freezer compartment of your refrigerator. Door gaskets are made of rubber and plastic and are designed to seal the cold interior of the freezer compartment from the ambient temperature of your home. If the door gasket for your refrigerator is damaged, moldy, or warped, it must be replaced immediately. This ga...Read moresket is a dark gray color, and measures approximately 36 inches wide and 27 inches tall. Replacing this gasket is simple, and only requires you to carefully remove the old gasket, and then wrap this new one around the perimeter of the compartment door. This gasket is sold individually and does not include any other parts.
Ask our experts a question about this model and we'll get back to you as soon as possible!
We may have answered a similar question already! Search questions and answers left by others using simple keywords like "fit", "broken", "easy", or "quality" to find questions that match.
Search filter:
Clear Filter
Your search term must have 3 or more characters.
Sort by:
Prev
1
Next
Sorry, we couldn't find any existing answers that matched.Try using some different or simpler keywords, or submit your new question by using the "Ask a Question" button above!
Wayne - For model number DFE28JMKBES
February 11, 2020
Everything sounds like like it’s working good but it’ takes so long to make ice ca you tell me the right setting it should be set on
Hello Wayne, Thank you for your inquiry. If your ice maker is slow to make ice, we would recommend checking the filter and filter lines to make sure there are no clogs, try lowering the temperature of your freezer, and check the ice maker and bin to make sure there are no ice clumps or clusters. Hope this helps.
2 peoplefound this instruction helpful.
Was this helpful?
Thank you for voting!
Diana - For model number DFE28JMKBES
March 5, 2020
Where is the filter located on tge refrigerator?
Hello, Thank you for your question. It looks like your filter is located in the upper left hand corner of your refrigerator. We hope this helps.
Was this helpful?
Thank you for voting!
Toni - For model number DFE28JMKBES
August 4, 2023
Ics is building up and dropping into chunks into lower drawer where cheese and meat are kept. What is the problem?
Hello Toni, thank you for contacting us. Make sure the door is closed properly. Clean the condenser coils. If this is not the issue, we recommend replacing the defrost thermostat, part number PS8688283. We hope this information is useful!
Hi Toni, thank you for the question. The temperature sensor in your model is part number PS304103. It is located in the fresh food section and the freezer section. The fresh food sensor is located on the left of the section under a grille. The freezer sensor is attached to the evaporator and control housing of the refrigerator. We have attached a relevant video to help you with the location of the temperature sensors. We hope this sorts out your problem!
See how others fixed this model. Time, tools, difficulty, and steps that lead to victory!View More
Search repair tips from other customers using simple keywords like "replace", "fit", "remove", "inspect". DIY doesn't mean you have to do it alone!
Search filter:
Clear Filter
Your search term must have 3 or more characters.
my refigerator was warm but the freezer was cold and working correcttly
303 of 402 peoplefound this instruction helpful.
michele from North Smithfield, RI
Really Easy
15 - 30 mins
Pliers
I went to a GE repair center to explain my problem, the service center reccomended that I have a techinician come out o look at it. $75.00 for the visit and what ever labor and materials wuld cost.
I went on line to see if there were others having this same problem and found that there were many with the same problem.
... Read more />After reading some of the ways that people found out what was wrong ...it became a matter of three components, the timer, heater or thermostat.
I tried the most common component and the less expensive one first , the thermostat switch I installed it very easily snipping two wires and attaching the news using wire nuts I used the diagram on this website to pinpoint the component and there has not been a problem since.
Read less
Was this helpful?
Thank you for voting!
refrigerator was getting too cold
149 of 218 peoplefound this instruction helpful.
Larry from Menomonie, WI
A Bit Difficult
15 - 30 mins
I removed the old temperature sensor by cutting the wires. I attached the wires of the new sensor with wire nuts and mounted it in the same bracket.
Was this helpful?
Thank you for voting!
Sticking Light Switch
121 of 177 peoplefound this instruction helpful.
Jonathan from Lilburn, GA
Really Easy
Less than 15 mins
Pliers, Screw drivers
I applied some tips learned by reading other reviews. So before I started I grabbed my trusty vise grip pliers and a small screw driver. I locked onto the switch actuator, the part that the refrigerator door pushes in, with the vise grips and pulled on it just hard enough to get the screw driver inserted in the right side to push in the c
... Read moreatch clip so the switch could be pulled out further each time the catch clip was depressed to the next detent. Then I used the screw driver on the left site to encourage the switch past the detents on the left and very quickly the switch was out of the mount. The wires from the refrigerator pulled out with the old switch. I unplugged the old switch from the wires and plugged in the new switch and shoved the new switch back into the mount, wiggled it a couple of times to make sure it was secure and the job was done. Once I applied the vise gripes at first, the whole job took less than a minute.



 My Orders