


 My Orders




DDE7200PBLWH Hotpoint Dryer - Overview

Enter a part description. DIY Heroes keep it simple, eg. "belt" or "pump".
Search filter:
Clear Filter
Your search term must have 3 or more characters.

$77.75
In Stock
Rear Drum Bearing Kit
Part #WE25M40
This rear drum bearing kit includes a shaft, ground strap, bearing, seven screws, and installation instructions. The bearing plate comes with a slot in it for the ground strap. This part helps keep your dryer running as smoothly as possible with as little noise as possible by supporting the back of the dryer drum and reducing friction as ...Read morethe drum rotates. Over time, your drum bearing will wear out, cause your dryer to be noisy, and you will have to replace it. There may be some sharp internal parts, so be sure to wear work gloves during repair.
Read less

$29.47
On Order
Dryer Belt
Part #WE12X10014
This belt has a length of 87 inches, width of 1/4”, flat, with 4 ridges.

$23.26
In Stock
Door Latch
Part #WE1M1011
This door latch is designed for your dryer, and is mounted to the dryer frame. The door latch holds the door of your dryer closed while the machine is operating. If your dryer door is not catching on the door strike, and will not stay closed, you may need to replace the door latch. This part is square in shape, and is approximately 3/4-in...Read morech in length, by 3/4-inch in width. The part is made of white plastic with a metal tab. To access the door latch, you will need to remove the top and side panels on your dryer. To complete this repair, simply pop the damaged door latch out of position, and snap the new one into place.
Read less

No Longer Available
Lint Filter with Frame
Part #WE18X26
The lint filter and frame for your dryer traps unwanted lint and debris so your dryer can effectively dry your clothes. If the old lint filter is cracked or clogged, or the dryer takes too long to dry or if excessive lint is accumulating inside the dryer or its venting, you may need to replace the lint filter. To replace the filter, simpl...Read morey remove the old, damaged filter, and replace it with the new one. This part is approximately 13 inches by 3 inches.
Read less

No Longer Available
Front Drum Slide Kit
Part #WE25X60
This front drum slide kit comes with two slides with the apppropriate mounting hardware.

$28.70
In Stock
Idler Pulley Wheel
Part #WE12X81
This white idler pulley is used for many clothes dryers. A dryer's idler pulley wheel serves to help the belt to rotate the drum.

$27.59
Special Order
High Limit Thermostat
Part #WE4X584
With this high limit/safety thermostat, a dryer's heating element will cut out if the internal temperature reaches 260 degrees Fahrenheit. This element is meant as a safety device, will kick back in when the temperature drops to 210 degrees Fahrenheit. (Limit: 260-50)

$163.78
In Stock
Drive Motor
Part #WE17X10010
Replaces "T" and "V" style motors. Includes two motor pulleys. If you have an older model dryer, the pulley may be pressed on or held on with a set screw. If pulley is pressed on, a new motor pulley must be ordered.

No Longer Available
Door Switch
Part #WE4X197
This part has three terminals. Note: Use the two smaller terminals for models that only have two wires to the switch.

No Longer Available

No Longer Available

No Longer Available
Heater Coil Restring Kit - carries 250 volts
Part #WE11X261
This heating element coil restring kit is intended for use with many of GE's brands of electric clothes dryers. It carries 250 volts, and includes two coils.
Common Symptoms of the DDE7200PBLWH
How this model fails, and the parts that fix it.
Noisy
Fixed by
these parts
these parts


Show All
Door won’t close
Fixed by
these parts
these parts

Show All
Too hot
Fixed by
these parts
these parts

Show All
Drum Not Spinning
Fixed by
these parts
these parts
Show All
Door Pops Open
Fixed by
these parts
these parts
Show All
Marks left on clothes
Fixed by
these parts
these parts
Show All
Watch our pros, then fix it yourself.
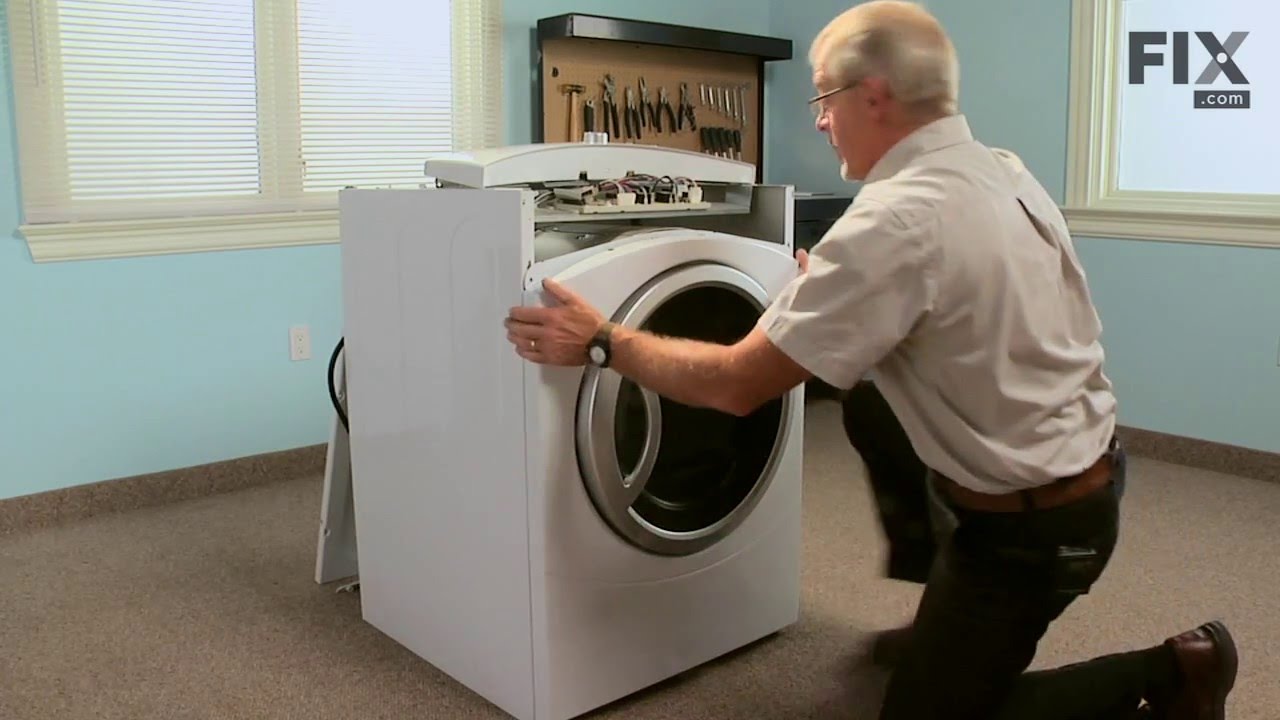
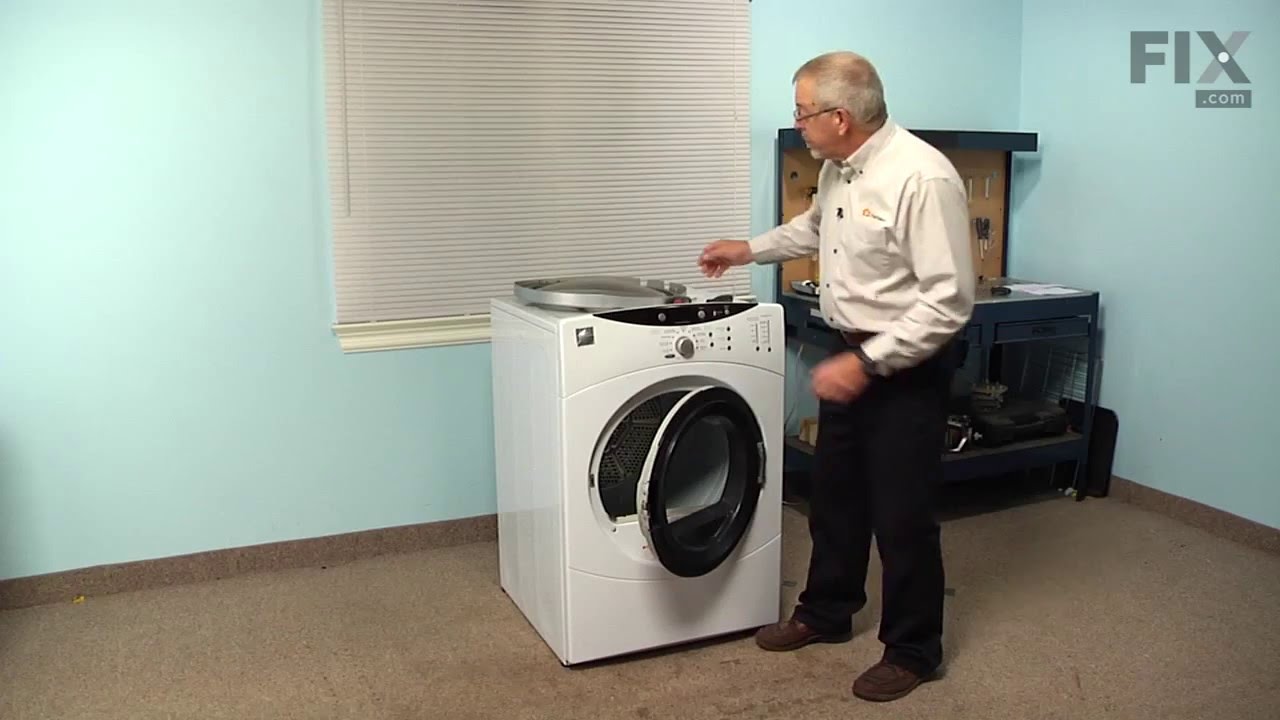
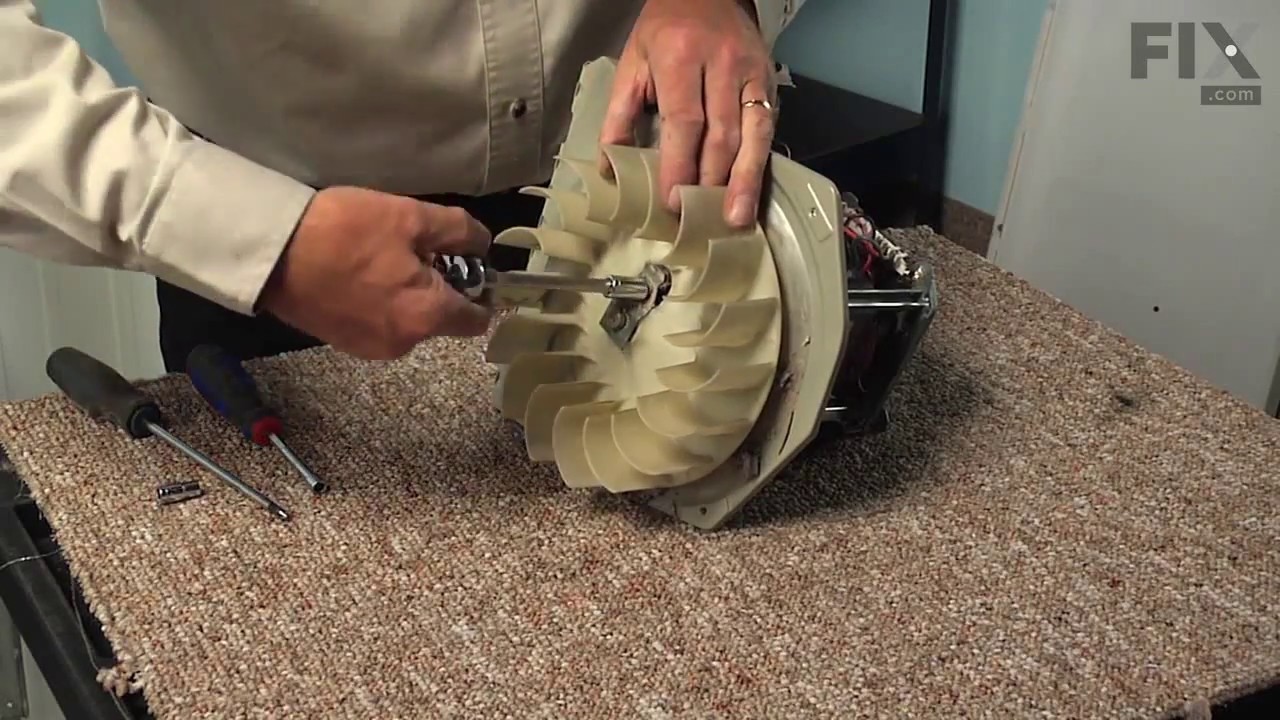
See how others fixed this model. Time, tools, difficulty, and steps that lead to victory!
View More
Search repair tips from other customers using simple keywords like "replace", "fit", "remove", "inspect". DIY doesn't mean you have to do it alone!
Search filter:
Clear Filter
Your search term must have 3 or more characters.
the rear drum bearing was worn the dryer became very noisy
235 of 276 people
found this instruction helpful.
i removed the scews just above thr opened dryer door, i was then able to swing the dryer top cover back. i then removed the lower front panel screws ,the the screws securing the front of the dryer ( where the door is ) and removed it. there are just 2 wires to disconnect. after the front is removed you gain full access for drum removal, r
... Read more
emove the belt make sure the wires are not in the way and remove the drum.i also used a vacuume to clean the inside of the dryer. the front drum slides are very easy to replace only 2 screws each.remove old parts install new parts then just put the dryer back together in the reverse order i took it apart. after re-assembly i turned the dryer on it was so quiet running my wife and dogs were very happy. ps. i just want to thank the people at partselect for having all my parts in stock and for the speed in which i received them. other than having to repair my dryer it was a very pleasant experiance.
Read less
Other Parts Used:
Was this helpful?
Thank you for voting!