


 My Orders




DDC6000MFL Whirlpool Dryer - Overview

Enter a part description. DIY Heroes keep it simple, eg. "belt" or "pump".
Search filter:
Clear Filter
Your search term must have 3 or more characters.

$28.42
In Stock
M Series New Style Coil Kit
Part #279834
When the igniter reaches a high enough temperature, these coils (Coil Valve, Dryer Gas Valve Coil Kit, Dryer Valve Coil Kit, Gas Valve Solenoid) work together to open the gas valve and allow the gas to enter the burner. This is a safety mechanism to ensure that there are no unsafe buildups of gas inside your appliance. The coils are attac...Read morehed to the dryer gas valve. If the dryer does not heat or heats intermittently, the coil may not be opening the gas valve. Both coils must be operational for the valve to open. No continuity would indicate a defective coil, but they can be intermittent and fail when they get hot. Both coils should be replaced when one of them is broken. This part can break as a result of material fatigue from normal use. This part measures approximately 1 inch in diameter and 1 inch in height, and is constructed of plastic and metal. It comes in black/beige. This part features a 3-terminal boost/hold coil and a 2-terminal secondary coil
Read less

$29.47
In Stock
Dryer Belt
Part #WE12X10014
This belt has a length of 87 inches, width of 1/4”, flat, with 4 ridges.

$32.63
In Stock
Idler Pulley Wheel
Part #WE12X83
A dryer's idler pulley wheel serves to help the belt to rotate the drum.

$23.26
In Stock
Door Latch
Part #WE1M1011
This door latch is designed for your dryer, and is mounted to the dryer frame. The door latch holds the door of your dryer closed while the machine is operating. If your dryer door is not catching on the door strike, and will not stay closed, you may need to replace the door latch. This part is square in shape, and is approximately 3/4-in...Read morech in length, by 3/4-inch in width. The part is made of white plastic with a metal tab. To access the door latch, you will need to remove the top and side panels on your dryer. To complete this repair, simply pop the damaged door latch out of position, and snap the new one into place.
Read less

$18.22
In Stock
Rear Drum Bearing
Part #WE3X75
This part is the rear dryer drum bearing only. This part helps keep your dryer running smoothly as possible with as little noise as possible.

$49.18
On Order
M-Series Primary Dual Coil Gas Valve
Part #WE4X692
This 'M' series coil is both a boosting as well as a holding coil. It has three terminals.

$59.47
In Stock
Dryer Igniter
Part #WE04X25996
This gas dryer igniter is a critical ignition component designed to safely and reliably light the burner during the drying cycle. Positioned near the burner assembly, it generates the necessary heat to ignite the gas, enabling consistent airflow and effective moisture removal. Constructed for durability and precision, the igniter supports...Read more efficient dryer operation and helps maintain optimal drying performance. A malfunctioning igniter may result in the dryer failing to heat, extended drying times, or incomplete cycles. Replacing this part restores proper ignition and contributes to energy-efficient appliance function.
Read less

$45.65
In Stock
M - Series Secondary Coil - 2 Terminals
Part #WE4X693
This part is the replacement main valve coil for your dryer. It is black and white in color and has 2 terminals. It is approximately 1 inch long and 1 inch wide. The main valve coil opens the gas valves while the dryer is running. This coil is used with two coil gas shut off valve assemblies. Be sure to turn off the gas before you begin t...Read morehis repair. This part is sold individually and is a genuine OEM part sourced directly from the manufacturer.
Read less

No Longer Available
Front Drum Slide Kit
Part #WE25X60
This front drum slide kit comes with two slides with the apppropriate mounting hardware.

$16.05
In Stock

$163.78
In Stock
Drive Motor
Part #WE17X10010
Replaces "T" and "V" style motors. Includes two motor pulleys. If you have an older model dryer, the pulley may be pressed on or held on with a set screw. If pulley is pressed on, a new motor pulley must be ordered.

$79.98
In Stock
Common Symptoms of the DDC6000MFL
How this model fails, and the parts that fix it.
Noisy
Fixed by
these parts
these parts


Show All
Not Heating
Fixed by
these parts
these parts


Show All
Door won’t close
Fixed by
these parts
these parts

Show All
Drum Not Spinning
Fixed by
these parts
these parts
Show All
Door Pops Open
Fixed by
these parts
these parts
Show All
Watch our pros, then fix it yourself.
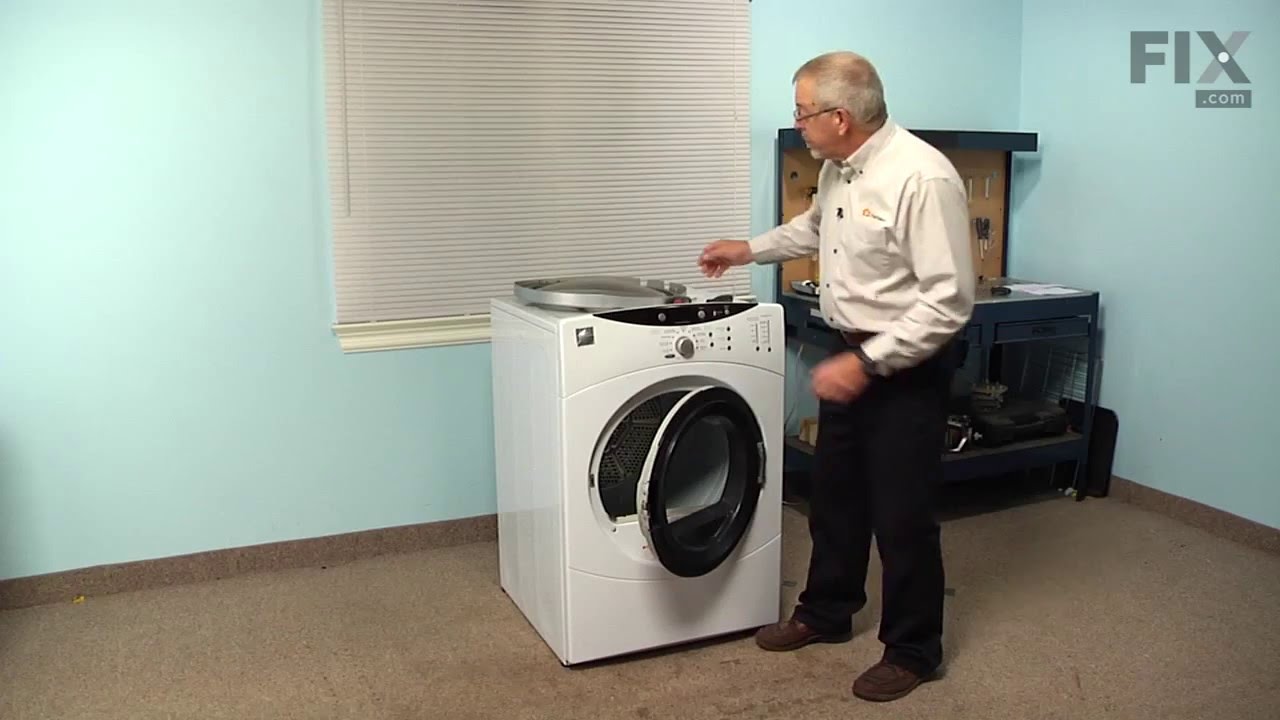
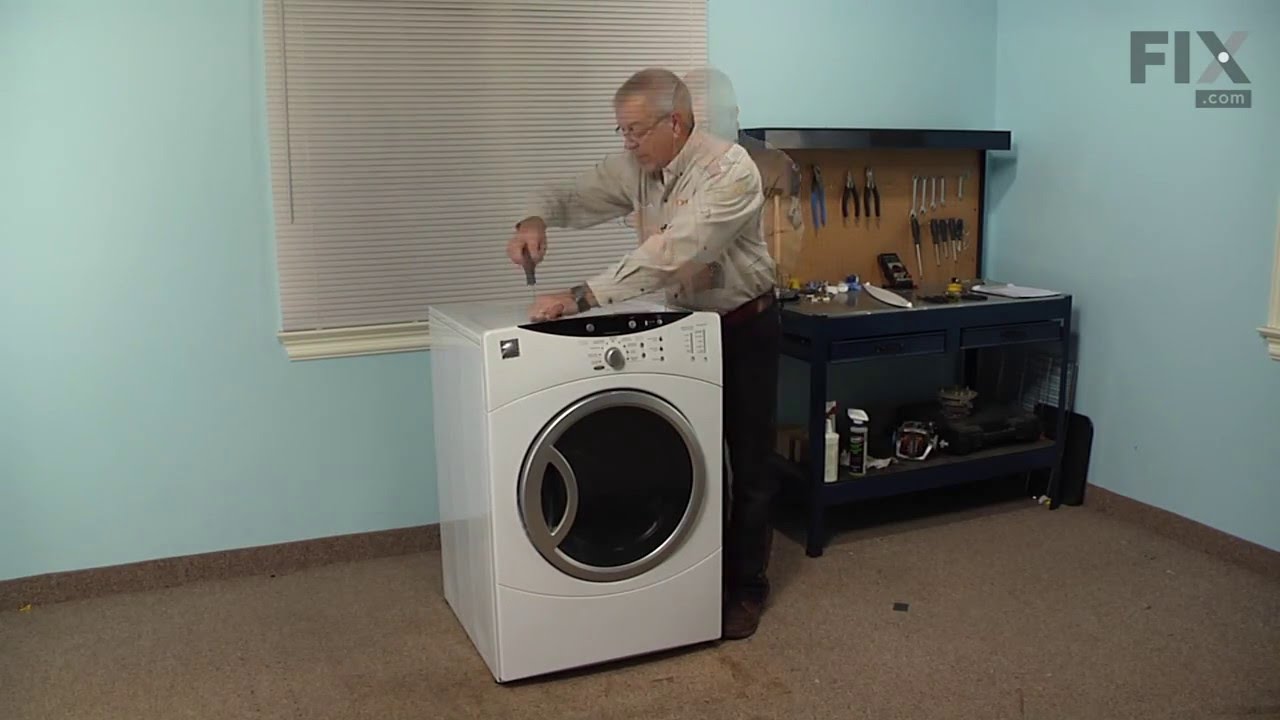
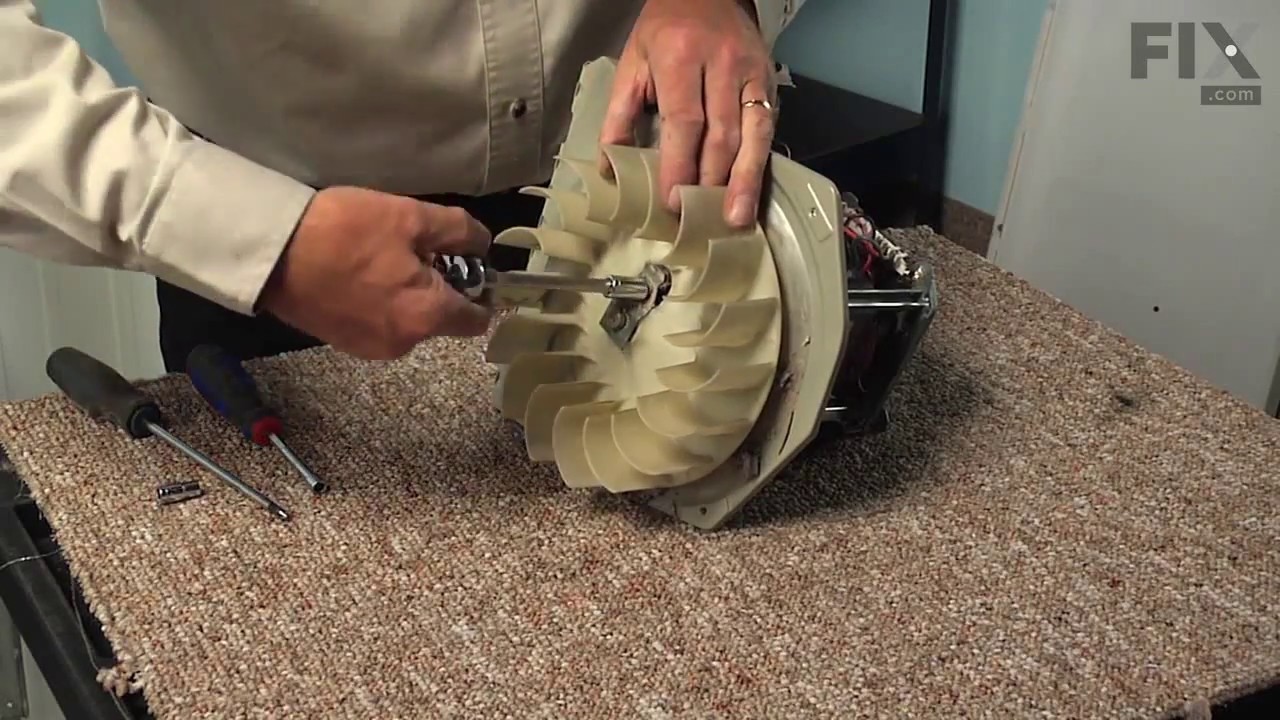
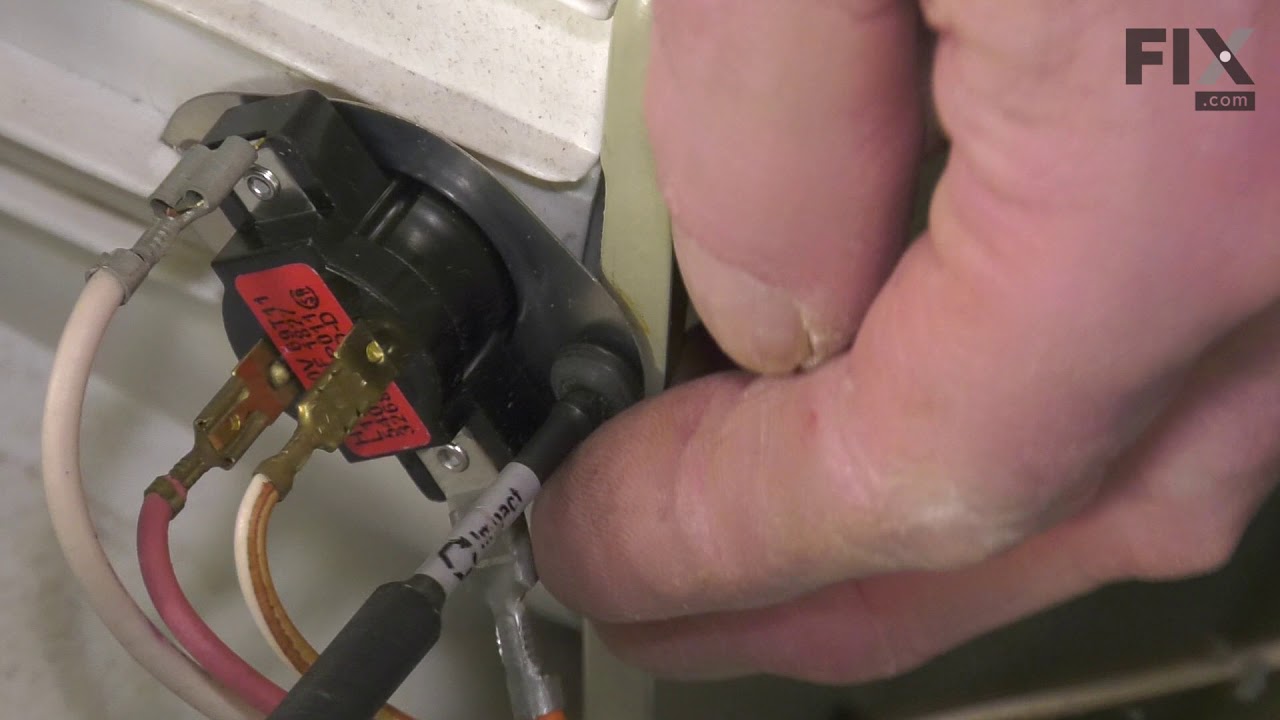
See how others fixed this model. Time, tools, difficulty, and steps that lead to victory!
View More
Search repair tips from other customers using simple keywords like "replace", "fit", "remove", "inspect". DIY doesn't mean you have to do it alone!
Search filter:
Clear Filter
Your search term must have 3 or more characters.
Dryer flame goes out after about 8-minutes from start and won’t work again until a 15-minute rest.
218 of 246 people
found this instruction helpful.
There was no problem with lint build-up within the dryer & the exhaust vent. I removed the gas cycling thermostat & thermal fuse from system & dryer still was not operating correctly. The radiant sensor & hi-limit thermostat both seemed to be operating correctly. That left either of the two coils as the culprits. I replaced both coils
... Read more
& the problem was corrected.
Read less
Other Parts Used:
Was this helpful?
Thank you for voting!