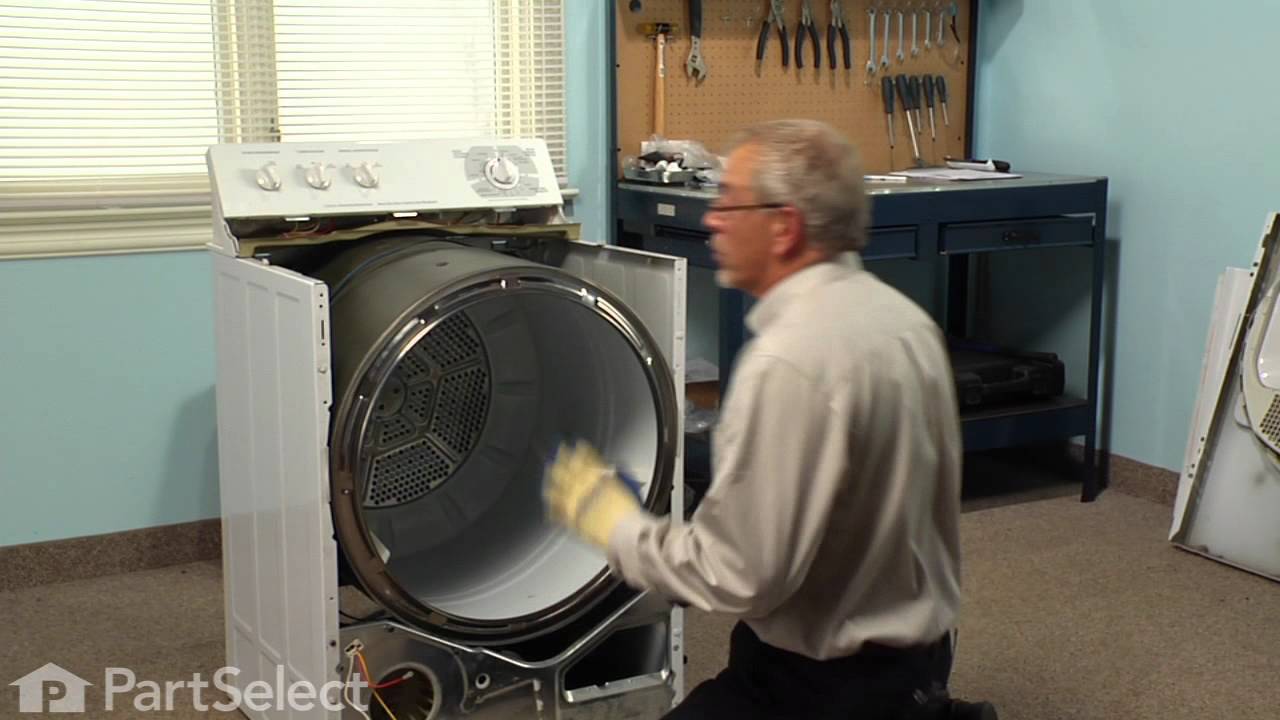
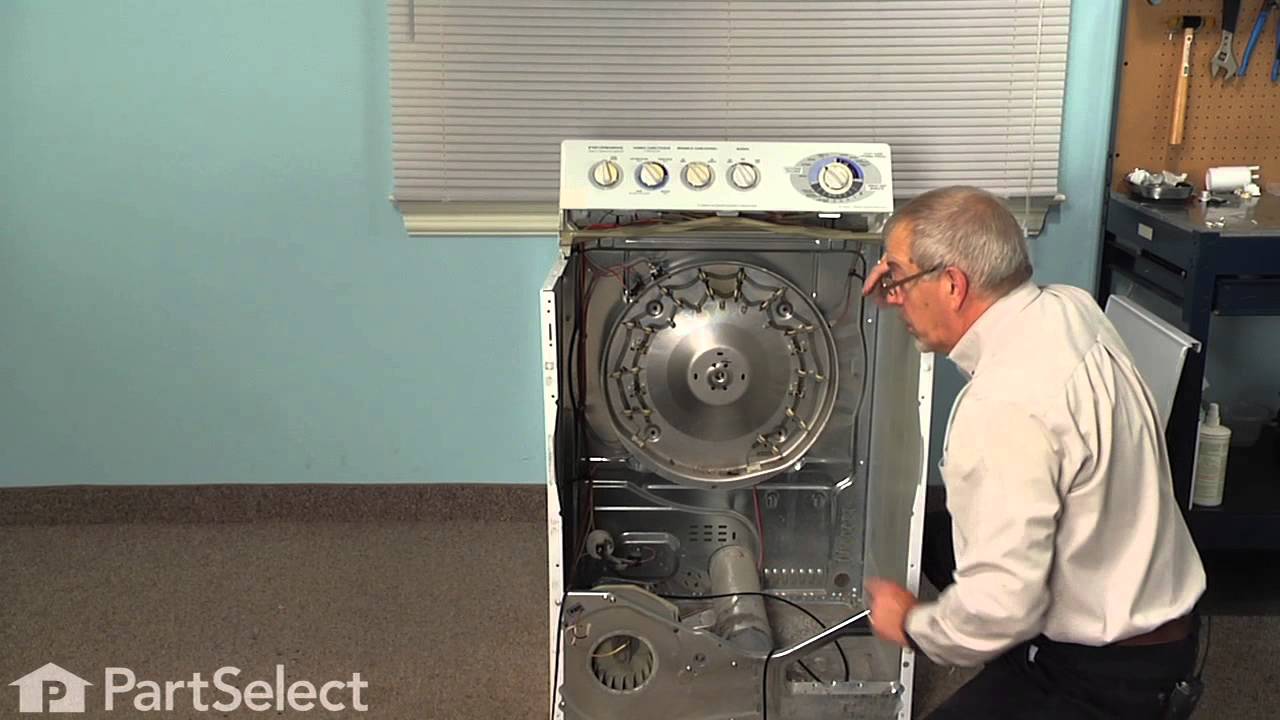
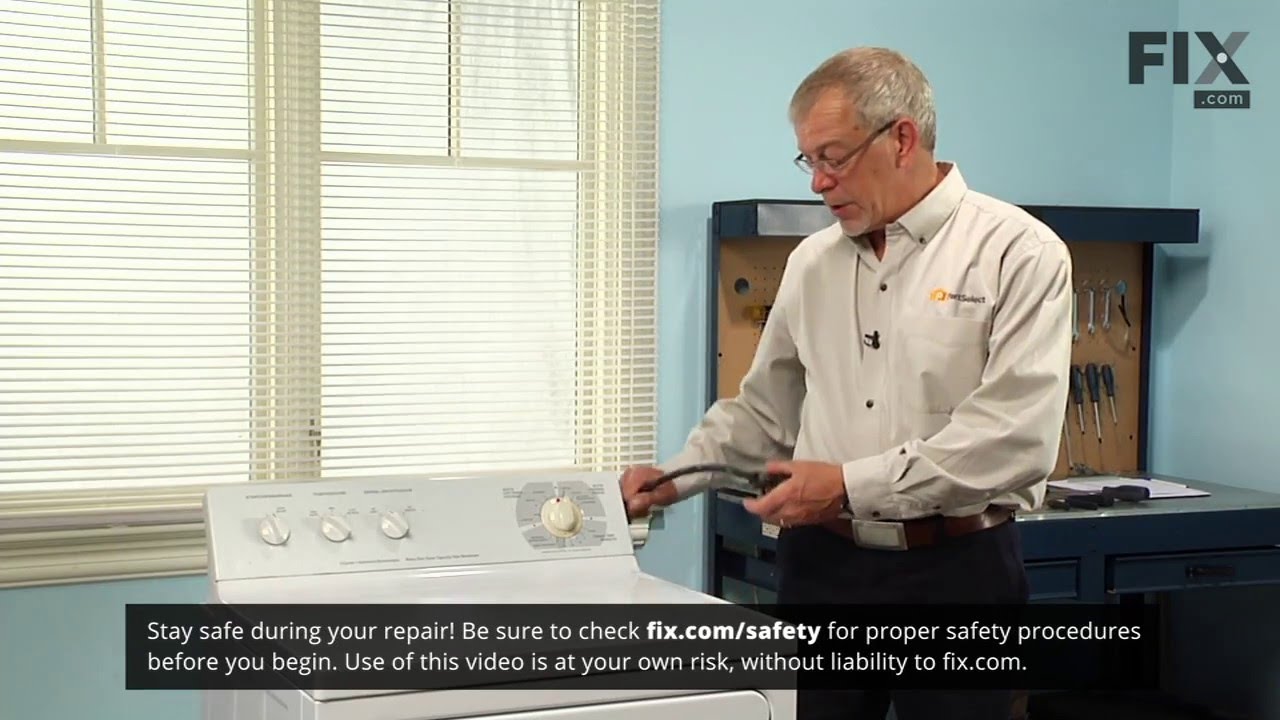
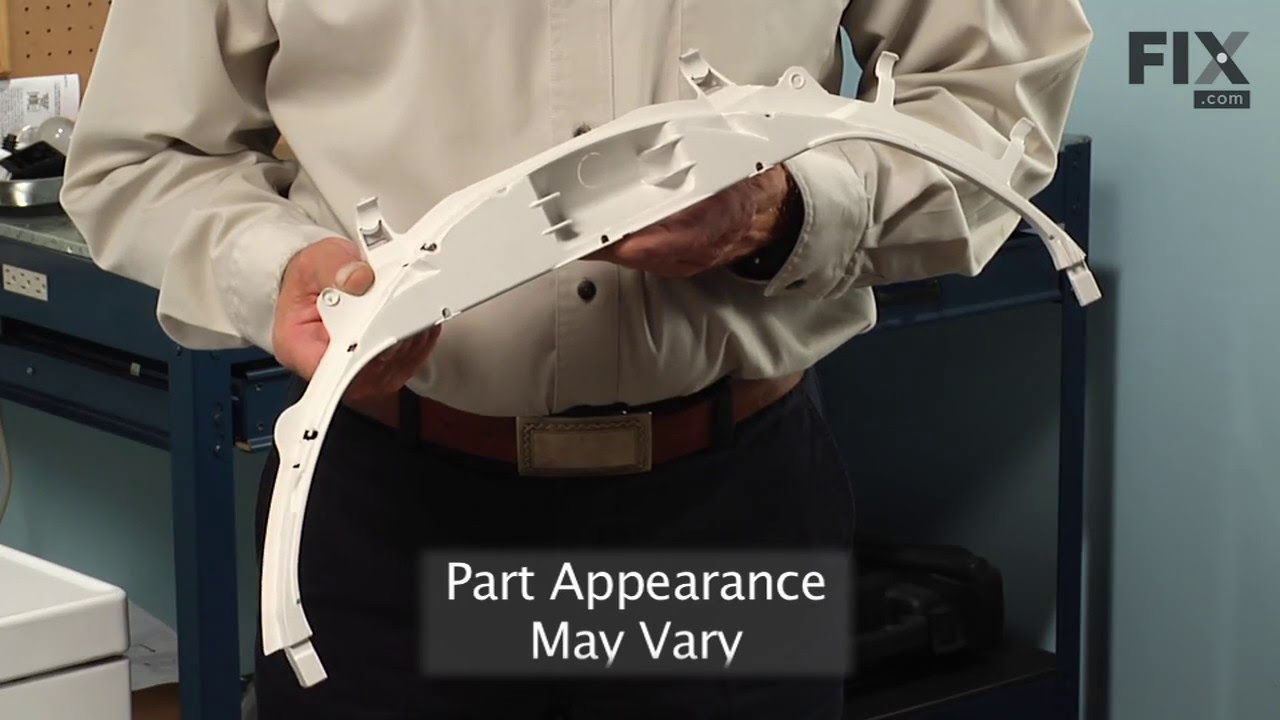
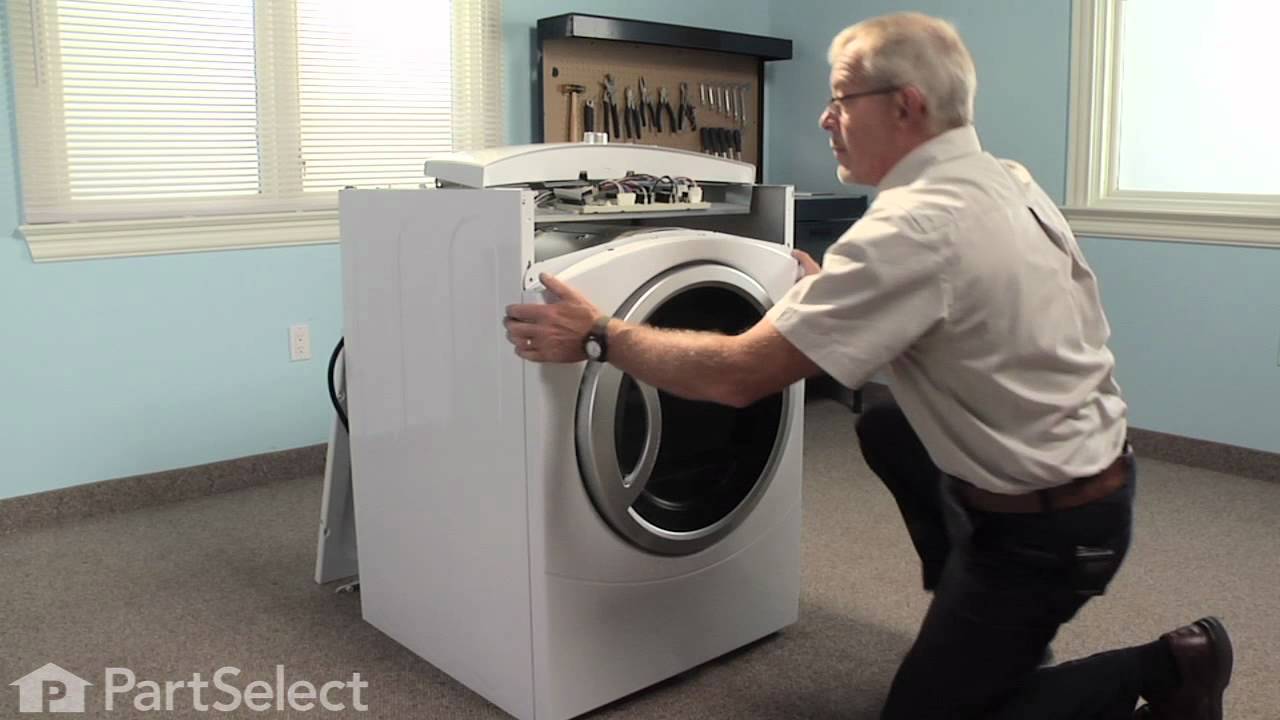
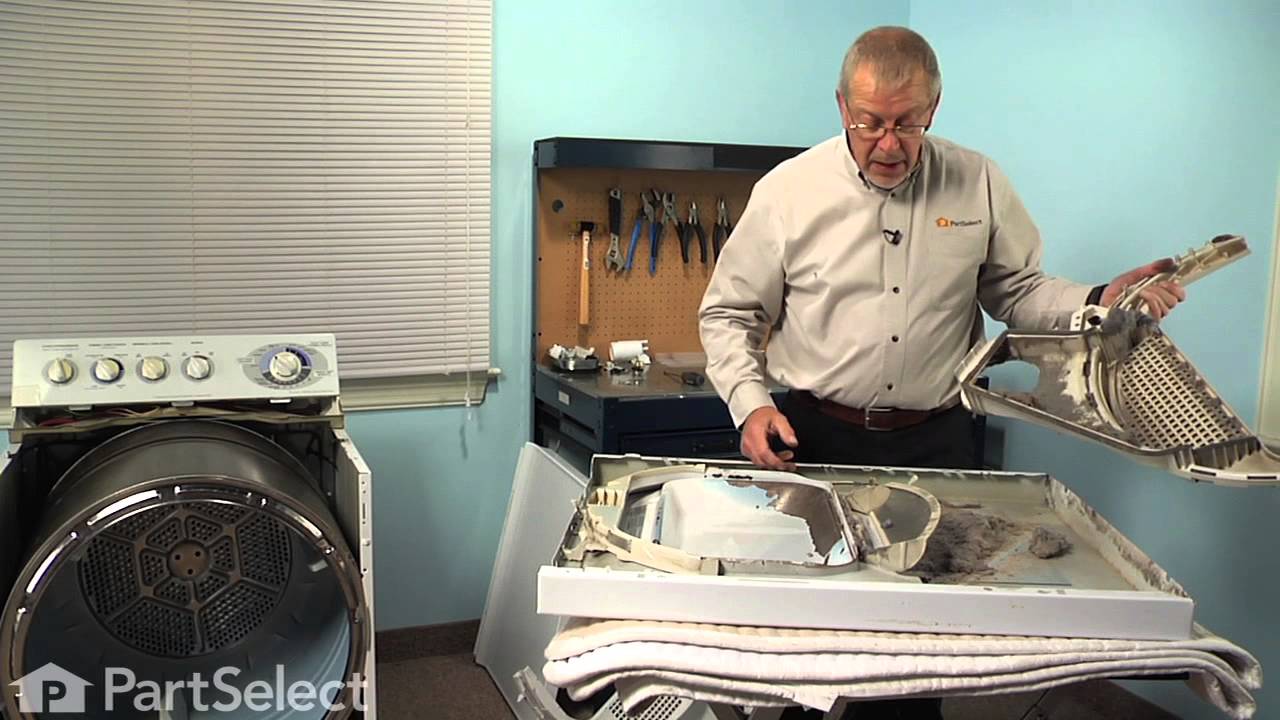
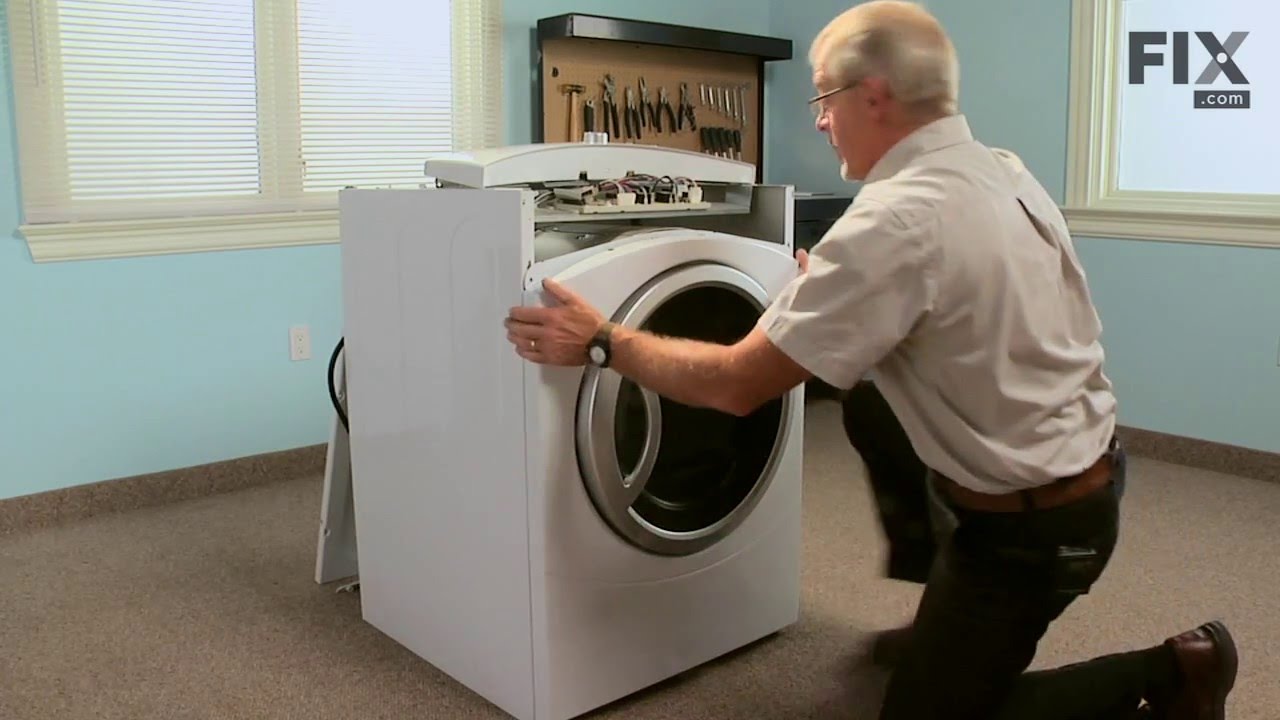
This authentic, white Drum Bearing Slide, also known as the bearing drum slide, glide, or pad, is a plastic, easy-to-install part for your dryer. It replaces the dryer's front drum slide to allow for easier movement. You'll know if this part is an issue if your dryer is unable to tumble properly or is very noisy. Damage can come from reg...Read moreular use. The part attaches to the outermost side of the bearing. Check both slides for signs of wear, because they often wear at the same rate, and should be replaced at the same time; there are 2 of these particular slides per dryer. This part is sold individually, so you'll need to purchase multiple parts if replacing both at the same time.
This original equipment manufacturer Drum Bearing Slide is a plastic, green, easy-to-install part for your dryer. It replaces the dryer's front drum slide to allow for easier movement. You'll know if this part is an issue if your dryer is unable to tumble properly or is very noisy. Damage can come from regular use. As the slides start to...Read more break down it may cause your dryer to make noise or not dry clothes in the usual amount of time. You will need to purchase two for both sides of your dryer. They attach to the outer-most sides of the bearing. The manufacturer recommends replacing both slides at the same time. Take this opportunity to clean out the lint and dust in the dryer, to keep it running smoothly. This is a genuine replacement part that comes directly from the manufacturer. This item is sold individually. The part attaches to the outermost side of the bearing. Although this part is denoted as being "Green" in its title, many users and technicians have noted that its true colour is closer to a dark gray or black.
This Front Drum Bearing (Top Bearing, Dryer Drum Front Support Bearing, Drum Support Bearing, Dryer Drum Glide Bearing) holds the drum bearing and slides for the drum to turn on. The front drum bearing attaches onto the inside of the dryer front panel. When this part fails, the drum may no longer turn freely, make odd sounds, and not dry ...Read moreproperly due to the drum no longer sealing. This part needs to be replaced if it is broken (often due to normal wear and tear), no longer able to hold the drum bearing slide securely, or has been eroded by the drum movement.The drum slides are not included with this part, they are sold separately.
This Drive Belt is 89.5" long and comes in black, featuring four ribs on the inside for a better grip. This is a long belt that wraps all the way around the dryer drum, around a tension pulley, and then around the drive motor pulley, allowing all the parts to work together, spinning the drum as the motor rotates. If the drum will not turn...Read more when the dryer is turned on the belt is likely broken. It is common for belts to stretch or become brittle over time, which is what leads to the breakage. If broken, it should be replaced; the drum simply cannot spin without this belt. Refer to your model number and user manual to check if this part is right for you. Ensure you use work gloves to protect your hands from sharp internal parts during this repair. Please note: When comparing the length of your old belt to the length of the belt as stated here, remember that a small amount of stretching and contortion may occur with belts over time for a range of different reasons. Unless your belt is drastically different in length, this belt is what you are looking for despite any small inaccuracies. You will need to remove power to your appliance, remove the main panel, and access the motor drive to slip your new belt back into place.
This is a duct felt seal for a dryer. The duct felt seal allows the front-load dryer drum to glide smoothly on the front panel. Your dryer will not function properly if the drum felt seal is compromised. Disconnect power to the dryer before completing this repair. You will need to remove the front of the dryer to gain access to the felt s...Read moreeal. This felt seal may differ in appearance from your original but will function the same as your original. This is an OEM replacement part that is sourced directly from the authentic manufacturer.
This timer knob is used to set the dryer cycle by advancing the timer. The plastic can become brittle with age and crack where it attaches to the timer shaft. You will need to replace this part if it slips off the shaft and cannot advance the timer. If it constantly falls off and will not stay on the shaft by itself, it may be cracked or ...Read morebroken and need to be replaced. This model is roughly 3 inches in diameter and made of white plastic. Sold individually.
This is a lint filter screen that is used for many dryers. It has a metal screen with a white plastic frame, and is approximately 13 inches wide. This part is sold individually. The lint filter traps lint while clothes are being dried and prevents the lint from building up in clothes and internal parts of your appliance. Neglecting to cle...Read morean your filter on a regular basis can negatively affect the operation of your dryer and is also a fire hazard. Be sure to clean your filter on a regular basis. Installation is easy, simply slide the filter in and out of the filter slot.
This replacement start switch is a genuine OEM part for your dryer. If your dryer will not start or shut off, you may need to replace this part. For this repair you will need a number 2 Phillips screwdriver and a pair of needle nose pliers. Disconnect power to the dryer before beginning this repair.
This rear drum bearing kit includes a shaft, ground strap, bearing, seven screws, and installation instructions. The bearing plate comes with a slot in it for the ground strap. This part helps keep your dryer running as smoothly as possible with as little noise as possible by supporting the back of the dryer drum and reducing friction as ...Read morethe drum rotates. Over time, your drum bearing will wear out, cause your dryer to be noisy, and you will have to replace it. There may be some sharp internal parts, so be sure to wear work gloves during repair.
This lint chute assembly is a genuine replacement component designed for GE and Hotpoint dryers. It plays a critical role in directing exhaust airflow from the dryer drum to the blower wheel, ensuring efficient drying performance. The assembly houses the lint filter and helps maintain proper airflow, which is essential for preventing over...Read moreheating and reducing drying times. A damaged or clogged lint chute can restrict airflow, leading to performance issues and potential safety hazards such as lint buildup. As an OEM part, it offers a precise fit and reliable operation within compatible dryer models. Sold individually.
Ask our experts a question about this model and we'll get back to you as soon as possible!
We may have answered a similar question already! Search questions and answers left by others using simple keywords like "fit", "broken", "easy", or "quality" to find questions that match.
Search filter:
Clear Filter
Your search term must have 3 or more characters.
Sort by:
Prev
1
2
Next
Sorry, we couldn't find any existing answers that matched.Try using some different or simpler keywords, or submit your new question by using the "Ask a Question" button above!
Mark - For model number DBXR463ED1WW
March 25, 2022
The dryer is squeaking. How do I repair?
Hello Mark, Thank you for the question. There are a few parts you can check for wear or damage. we suggest checking the Drum Bearing Slides, Front Drum Bearing, Rear Drum Bearing, Duct Felt Seal, Idler Pulley Wheel and the Belt. If you need help placing an order, customer service is open 7 days a week. Please feel free to give us a call. We look forward to hearing from you!
Hi Marge, thank you for reaching out. Your model was approximately manufactured in 2004. For us to locate the exact age, we will require the serial number of your model. We hope that helps!
1 personfound this instruction helpful.
Was this helpful?
Thank you for voting!
Jason - For model number DBXR463ED1WW
October 16, 2022
I’m going to be ordering a front baring for the dryer. One of the metal pads is missing from the left hand side. So I’m going to order 2 pads. And replace the old one as well. What is the difference between the metal and the white plastic ones?? Because my dryer is noisy and the belt is in good shape but as I stated it’s missing a metal pad so I figure I will replace it all on the front bearing. And info would be great. Thanks!
Hello Jason, thank you for your question. For many dryers, the manufacturer requires 2 of the White pads PS755842 and 2 of the dark grey(green) pads PS6447706. The do not say what the difference is but recommends that when you change them to change them all at the same time. We have installation videos for both for you to access to see if this is a repair for you. We look forward to hearing from you soon.
Was this helpful?
Thank you for voting!
John - For model number DBXR463ED1WW
February 2, 2023
The heat does not turn off when the motor is not running. I am having trouble locating schematics for this model. I suspect the "motor switch" is defective, if there is one on this model. Also called a centrifugal switch. Is it part of the motor ?
Hello John, thank you for your question. There is not a motor switch or centrifugal switch. We suggest the Cycling Thermostat PS267926. Good luck and have a great day.
It turns but it doesn't heat up does that means to heating element
Hello Tim, thank you for reaching out. You may need to check the heating element, part number PS265565, to fix the issue. We hope this helps, good luck with this repair!
See how others fixed this model. Time, tools, difficulty, and steps that lead to victory!View More
Search repair tips from other customers using simple keywords like "replace", "fit", "remove", "inspect". DIY doesn't mean you have to do it alone!
Search filter:
Clear Filter
Your search term must have 3 or more characters.
Due to over loading of the dryer the drum ruined the slides and was making a bad noise due to plastic rubbing plastic
804 of 916 peoplefound this instruction helpful.
Matthew from Plainfield, IL
Really Easy
15 - 30 mins
Screw drivers
It was pretty easy. After already taking apart the dryer to install a new belt I knew exactly my plan of action. I removed the two screws that hold the top panel of the dryer to the front panel. I then removed the top panel and removed the screws that hold the front to each side panel. I than pulled the front away from the cabinet and
... Read more drum. I put the new slides in place and installed a new felt strip. I put it back together and that was that. Very easy.
Basically, I followed the same steps a prior person posted. 1.Removed the two screws inside the door, on the top part of the opening. 2.Lifted up and removed the top. 3.Removed two screws holding the front panel in place. 4.Held up the drum while removing the front panel. I carefully turned the panel so I could get at
... Read morethe drum bearing without pulling the wires connecting it to the front panel. The wires are not very long, so I had to be careful not to pull on them. 5.Carefully pried off the old drum bearing, using just my hands. It was fairly tight, and popped out just as I started to worry if I was putting too much pressure on it. 6.Checked to see how the old felt was installed, then I pulled out the old felt. 7.Inserted the new felt, being careful to insert one end into a slot the same way the original was installed. 8.Inserted the new slides into the new drum bearing. The gray slides went in at the eleven and one o'clock positions, the white slides went in at ten and two o'clock. 9.Removed a surplus plastic piece from the new drum bearing (where the light comes through). 10.Inserted the new drum bearing, putting the bottom tabs in first, then pivoting it into place. I squeezed it into place to make sure it was tight. 11.Lifted up the drum and put the front panel back on. 12.Screwed the front panel back on, using the two screws. 13.Carefully put the top back on. 14.Screwed in the two screws inside the front door to fasten down the top. That was it! I started up the dryer and it worked fine. No more squeaking. About the only thing odd about the repair is why PartSelect sells each slide separately (i.e., I had to order 2 white slides and 2 gray slides). I can't imagine replacing just one, so why not package them in pairs, or maybe even all four in one package. At any rate, the repair was easy, and a lot cheaper than having someone come out to fix it.
First of all, unplug the dryer. I removed the two screws on the front of the cabinet to remove the top. I then took out the screws to remove the dial panel. Release the belt for the drum through the access hole in the rear of the dryer. Remove the front cover and pull the drum assembly out.
Remove the element disc from the
... Read more rear of the housing, take note of the the wireing placement. Replace disc and reverse order of disassembly.
This job was easy for me as I am a tinkerer by nature. The hardest part of the whole job was waiting on the part, which by the way was ordered on a Sunday evening and I had the replacement in my hands and back in the dryer running by 1:00 PM on the following Tuesday!
I book marked this website and WILL refer it to others who simply need a repair, not a costly new appliance!



 My Orders