


 My Orders




DA9103 Speed Queen Washer - Overview
Diagrams for DA9103
See every part. Know exactly what you need.
-
10530 MOTOR AND PUMP ASSY

-
23848 SUDS - WATER SAVER VALVE ASSY

-
23907 & 24304 PUMP ASSEMBLIES

-
24596 AND 24597 MIXING VALVE ASSEMBLIES

-
25053 SUDS - WATER SAVER VALVE ASSY

-
25832 AND 25833 MIXING VALVE ASSEMBLIES

-
ACCESSORIES

-
AGITATOR POST AND SPIN TUB

-
AGITATOR, SHAFT & FABRIC SOFTENER DISP

-
BLEACH DISPENSER

-
BOOT, CHASSIS AND DRAIN TUB

-
CABINET TOP AND LOADING DOOR

-
CONTROL HOOD

-
CONTROL PANEL AND CONTROLS

-
COUNTERBALANCE WEIGHT, BRKT & MTG PLATE

-
DOOR SAFETY SWITCH

-
MAIN BEARING ASSY

-
MIXING VALVES

-
MOTOR AND FLUID DRIVE

-
PAN SUPP PLT / CTRL HOOD ENDS & FLOUR TUBE

-
PANELS

-
POWER CORD, WIRE AND TERMINALS

-
RESERVOIR & DRAIN VALVE

-
RESERVOIR & DRAIN VALVE

-
SUDS - WATER SAVER ASSY

-
SUDS - WATER SAVER ASSY

-
TRANSMISSION ASSY

-
WATER INLET & FILLER HOSE

Enter a part description. DIY Heroes keep it simple, eg. "belt" or "pump".
Search filter:
Clear Filter
Your search term must have 3 or more characters.

$79.98
In Stock
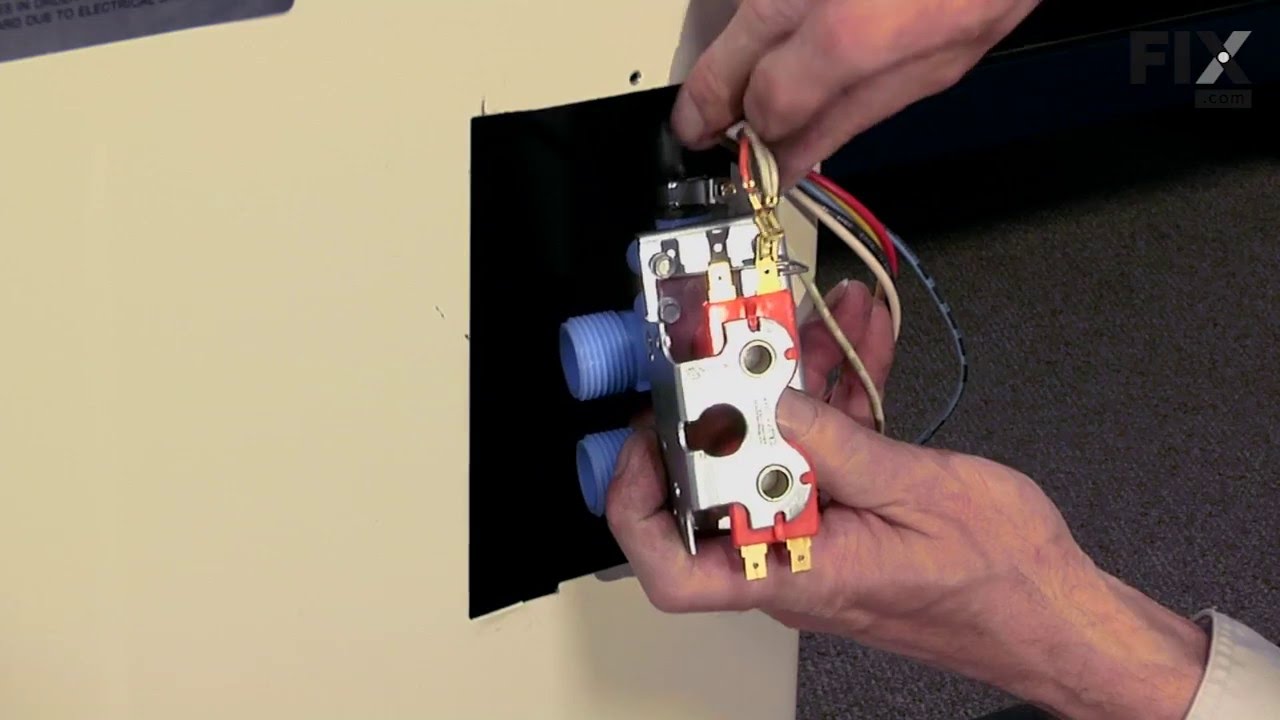
Water Inlet Valve
Part #205613
This is a water inlet valve which is used in washing machines. The valve controls and monitors the flow of water into the washer. It has a multi-mount bracket and outlet adaptor. The tools needed for this repair are: a 5/16 nut driver, 1/4 nut driver, and a small flat blade screwdriver. If cold water does not flow into washer, or the wash...Read moreing machine will not fill with hot water, replacing the valve can be the solution. To gain access to the water valve, locate the back of the washer and remove the hot and cold hoses, as well as the whole assembly. Next, remove the four wires and loosen up the clamp. After removing the old valve, replace it with the new one and reconnect the wires and hose. Remember to disconnect the washer from the power source before starting this project.
Read less

$7.47
In Stock

$7.47
In Stock
Washer Hose Clamp
Part #WP596669
This hose clamp is used in a wide variety of household appliances. Most often it is found in washers, dishwashers, refrigerators, freezers, dehumidifiers, garbage disposals, or air conditioners. This clamp is used to securely attach a hose to another part of your appliance, which helps prevent leaks from those connections. Depending on th...Read moree appliance, it can attach hoses to drain pumps, water inlet valves, pressure switches, and injector nozzles. We recommend you refer to model-specific diagrams for appropriate uses and exact placement. This hose clamp is made of metal, and is sold individually. To access and replace this part you will need a nut driver, pliers, and screwdrivers. Before you begin any repair work, make sure you have unplugged your appliance, and shut off the water supply if applicable.
Read less

$17.15
In Stock
Adjustable Leveling Leg
Part #22003428
If your washer shakes or vibrates loudly when it reaches its max speed, make sure the 4 levelling legs are even. Adjust the legs so that the machine is level, and tighten the locking nuts on the legs that are threaded. Your washer should be kept as close to the floor as possible. Your model might have rear legs that level themselves, or i...Read moret might have threaded legs all around. Make sure the rubber feet have not worn out. Replace any missing or damaged legs and feet. This genuine OEM replacement part is sold individually, so be sure to order the amount you need.
Read less

$9.62
In Stock
Hose Clamp
Part #WP285655
The hose clamp is used to hold the water hose in place which will prevent the hose from leaking water. Sometimes the clamp may lose its ability to latch on, causing a leaking washer. For the installation, you will need a flat head screw driver to replace the clamp and a drill to access the screws to remove the front of the washer. Be care...Read moreful if you do not have specific clamp pliers as the clamp could fly off. Once the front of the washer has been removed, take a quick look for water damage or any obvious signs of where the leak is coming from. If it is not obvious, run water to test.
Read less

No Longer Available
Washer Inlet Hose Washer
Part #WPY013783
This inlet hose washer, also known as a high pressure inlet hose washer, is used in washing machines, refrigerators, freezers, and dishwashers. The function of this part is to create a watertight seal in the appliance. If your gasket gets dry and brittle over time it will start to crack and will lose its function. In this case, it is impo...Read morertant to replace it. Refer to the manual provided by the manufacturer for further installation instructions and accurate guidance. As a safety precaution, remember to unplug your washer from the power source before beginning.
Read less

No Longer Available

$7.47
In Stock

$9.62
In Stock

$7.47
In Stock
Washer Screw Ground
Part #WP3351614

$7.47
In Stock

$7.47
Special Order
Common Symptoms of the DA9103
How this model fails, and the parts that fix it.
Leaking
Fixed by
these parts
these parts


Show All
No hot or cold water
Fixed by
these parts
these parts
Show All
Water Filling Issues
Fixed by
these parts
these parts
Show All
Will not drain
Fixed by
these parts
these parts
Show All
Watch our pros, then fix it yourself.


See how others fixed this model. Time, tools, difficulty, and steps that lead to victory!
View More