


 My Orders




D1539TU LG Dishwasher - Overview

Enter a part description. DIY Heroes keep it simple, eg. "belt" or "pump".
Search filter:
Clear Filter
Your search term must have 3 or more characters.

$65.73
In Stock
Gasket
Part #3920DD3005H
This dishwasher door gasket is designed to form a secure, watertight seal around the tub, preventing leaks and enhancing overall wash efficiency. Constructed from flexible, heat-resistant black rubber, it withstands temperatures up to 150°F and resists wear over time. By maintaining a tight seal, the gasket ensures that water and steam re...Read moremain contained within the dishwasher during operation, contributing to more effective cleaning cycles and reduced energy waste. A worn or damaged gasket can lead to water pooling, inefficient washing, and potential damage to surrounding cabinetry. Replacing it restores proper function and helps extend the appliance’s lifespan. Installation is straightforward, requiring the gasket to be pressed into the door channel for a snug fit.
Read less

$87.98
In Stock
Drain Pump Assembly
Part #ABQ73503004
This drain pump assembly is a genuine OEM replacement part for your dishwasher. In order to complete this repair you will need a Phillips screwdriver, pliers, and a socket. You will need to pull the dishwasher out from the cabinet and lay it on its back in order to access through the bottom and replace the drain pump.

$53.20
In Stock
Diverter Motor - 120V 60Hz
Part #4681ED3001D
This diverter motor, or stepper motor, controls the movement of the spray arms in your dishwasher. It directs water between the drain pump and the spray arms by turning a check valve inside the pump, managing the flow of water to these spray arms. This diverter motor runs on 120 volts and 60 Hz. When this motor fails, the dishwasher will ...Read morenot wash or drain properly. Please keep in mind that this genuine OEM replacement part is sold separately from the spray arms.
Read less

No Longer Available
Dishwasher Drain Hose
Part #AEM69493808
This corrugated drain hose assembly directs wastewater from your dishwasher to the household drainage system. Positioned at the rear of the unit, it connects the pump to the sink drain or garbage disposal. If the hose becomes damaged or punctured, you may observe water leakage beneath the dishwasher or standing water within it. Please kee...Read morep in mind that this genuine OEM replacement part is sold separately from the drain pump.
Read less

$76.17
In Stock
Dishwasher Locker Assembly
Part #4027ED3002J
This genuine dishwasher door latch locker assembly is designed to keep the door securely closed during operation, ensuring a proper seal and preventing water leaks. Located at the top of the dishwasher door, it plays a critical role in maintaining safe and efficient performance. If the latch is broken or misaligned, the dishwasher may fai...Read morel to start or leak during a cycle. This OEM part, manufactured by LG, is built to meet original specifications and restore reliable functionality. It’s an ideal solution for homeowners experiencing issues with a door that won’t lock or seal properly. Installation is straightforward for DIYers: unplug the dishwasher, shut off the water supply, and wear gloves for safety. Once installed, the latch ensures the door remains firmly shut throughout the wash cycle, helping prevent accidental openings and water damage. Always confirm compatibility with your model number before purchasing to ensure a proper fit.
Read less

$45.29
In Stock

$76.17
In Stock

No Longer Available

$105.35
In Stock
HEATER ASSEMBLY
Part #AEG72950001

No Longer Available
Common Symptoms of the D1539TU
How this model fails, and the parts that fix it.
Leaking
Fixed by
these parts
these parts


Show All
Not draining
Fixed by
these parts
these parts

Show All
Not cleaning dishes properly
Fixed by
these parts
these parts

Show All
Noisy
Fixed by
these parts
these parts
Show All
Door latch failure
Fixed by
these parts
these parts

Show All
Will not dispense detergent
Fixed by
these parts
these parts

Show All
Not drying dishes properly
Fixed by
these parts
these parts

Show All
Door won’t close
Fixed by
these parts
these parts
Show All
Watch our pros, then fix it yourself.

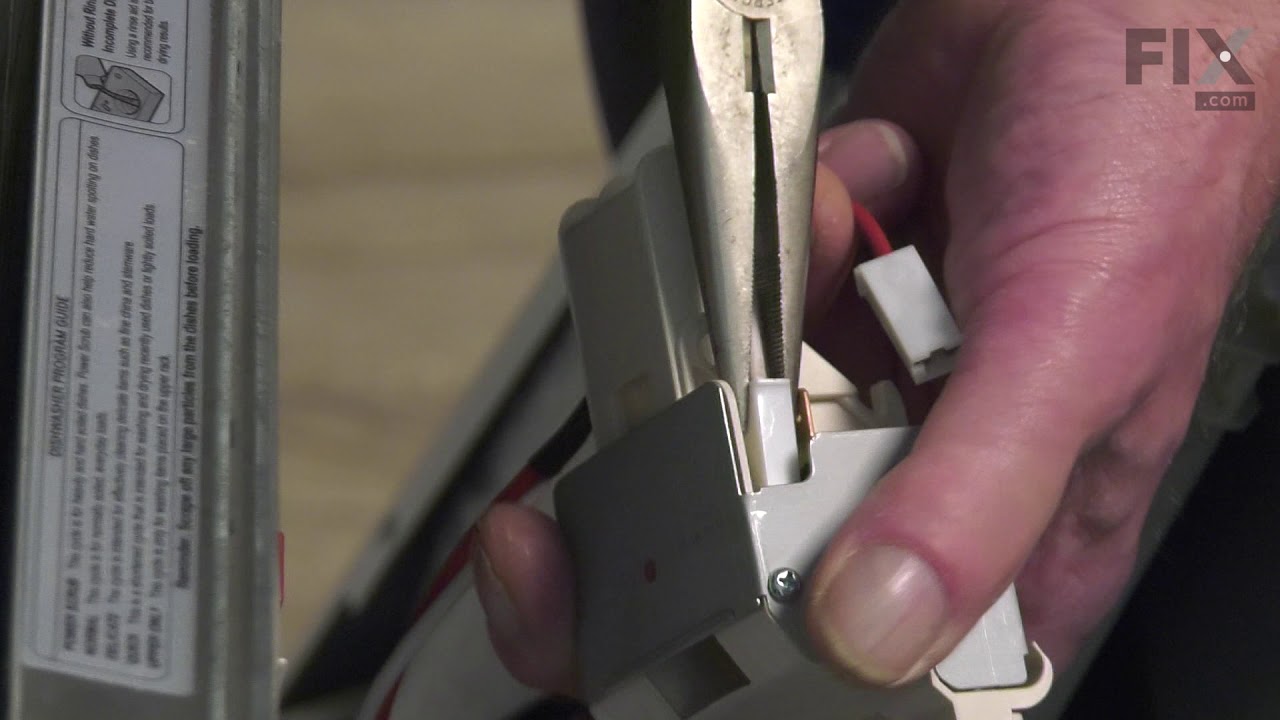
See how others fixed this model. Time, tools, difficulty, and steps that lead to victory!
View More