


 My Orders




D1435TB LG Dishwasher - Overview

Enter a part description. DIY Heroes keep it simple, eg. "belt" or "pump".
Search filter:
Clear Filter
Your search term must have 3 or more characters.

$18.22
In Stock
Hinge Cable
Part #4933DD3001B
This dishwasher door hinge cable assembly connects the door to the spring. The door hinge cable and the door spring apply tension to the door to prevent it from dropping open too quickly. This part contains two plastic pieces which are approximately 2 inches in length by 3/4-inch in width, as well as a rope portion that measures approxima...Read moretely 8 inches in length. When beginning this repair, be sure to use caution when replacing the door hinge cable. The spring to which the door hinge cable attaches is under tension and could snap. This part is sold individually.
Read less

$15.00
In Stock
Dishwasher Roller Assembly
Part #4581DD3003C
The dishwasher roller assembly connects to the dishrack, and is located in the lower level of the dishwasher. It allows the dishrack to easily slide in and out. If the lower rack keeps falling off the track in your dishwasher, makes noises, the door will not close, or the dishes are not getting clean, then it is best to replace it for mor...Read moree security. A flat blade screw driver is the only tool needed for this installation. Open the lower dishwasher rack and remove retaining tabs from both ends of the rack and slide it out. Locate the older roll assembly, remove it and replace the rollers. Remember to put the tabs on each side back before sliding it back in. Make sure the dishwasher is off before starting this installation project.
Read less

$105.35
In Stock
MOTOR ASSEMBLY,AC,PUMP
Part #EAU61383518
On a washer, this part is used for circulating the water. On a dishwasher, it is used for draining the water during operation. If you notice your appliance is not draining properly, the circulation pump motor may need to be replaced. If this part is for your washer, you may notice your clothes are not cleaning properly. In your washer, to...Read more access this part you will need to remove the entire front panel. The circulation pump is 120 volts and 30 watts. The part is white in color and is sold individually. This OEM part comes directly from the manufacturer.
Read less

$65.73
In Stock
Gasket
Part #3920DD3005H
This dishwasher door gasket is designed to form a secure, watertight seal around the tub, preventing leaks and enhancing overall wash efficiency. Constructed from flexible, heat-resistant black rubber, it withstands temperatures up to 150°F and resists wear over time. By maintaining a tight seal, the gasket ensures that water and steam re...Read moremain contained within the dishwasher during operation, contributing to more effective cleaning cycles and reduced energy waste. A worn or damaged gasket can lead to water pooling, inefficient washing, and potential damage to surrounding cabinetry. Replacing it restores proper function and helps extend the appliance’s lifespan. Installation is straightforward, requiring the gasket to be pressed into the door channel for a snug fit.
Read less

$15.00
In Stock
Pump Gasket
Part #MFZ32863101
This is a pump gasket, also known as a pump housing seal, for a dishwasher. The gasket is fitted around the edge of the pump, preventing leakage between the pump housing and the filter housing. Located at the bottom of the dishwasher, the pump circulates and drains water from the dishwasher. Age and dishwasher detergents can dry out the p...Read moreump gasket and cause it to fail and leak. Leak from the pump is not always noticeable until you remove access panels from your appliance. This part is made of rubber and is black in color. It is an OEM part from the genuine manufacturer.
Read less

$52.67
In Stock
Drain Hose Assembly
Part #AEM69493807
Replacement dishwasher drain hose. Per the manufacturer if the drain hose being replaced does not have the vent tube going to the water inlet assembly a new water inlet will be needed.

$53.20
In Stock
Diverter Motor - 120V 60Hz
Part #4681ED3001D
This diverter motor, or stepper motor, controls the movement of the spray arms in your dishwasher. It directs water between the drain pump and the spray arms by turning a check valve inside the pump, managing the flow of water to these spray arms. This diverter motor runs on 120 volts and 60 Hz. When this motor fails, the dishwasher will ...Read morenot wash or drain properly. Please keep in mind that this genuine OEM replacement part is sold separately from the spray arms.
Read less

$29.47
In Stock

No Longer Available

$76.17
In Stock
Dishwasher Locker Assembly
Part #4027ED3002J
This genuine dishwasher door latch locker assembly is designed to keep the door securely closed during operation, ensuring a proper seal and preventing water leaks. Located at the top of the dishwasher door, it plays a critical role in maintaining safe and efficient performance. If the latch is broken or misaligned, the dishwasher may fai...Read morel to start or leak during a cycle. This OEM part, manufactured by LG, is built to meet original specifications and restore reliable functionality. It’s an ideal solution for homeowners experiencing issues with a door that won’t lock or seal properly. Installation is straightforward for DIYers: unplug the dishwasher, shut off the water supply, and wear gloves for safety. Once installed, the latch ensures the door remains firmly shut throughout the wash cycle, helping prevent accidental openings and water damage. Always confirm compatibility with your model number before purchasing to ensure a proper fit.
Read less

$96.17
In Stock
Dishwasher Water Inlet Valve
Part #5221DD1001E
This part is the replacement inlet valve for your dishwasher. It is approximately 4-1/2 inches by 3-1/2 inches. The water inlet valve in your dishwasher connects to the water source and solenoid wires, and ensures the tub has the right amount of water entering it. If your dishwasher continues to fill after it is full, or if it fills slow...Read morely, you may need to replace this valve. Another indication that your valve is damaged and will need to be replaced, is if you notice it is leaking when the dishwasher fills up. Before you begin this repair, be sure to disconnect the water and power sources from your washer. This part is sold individually and is an authentic OEM part.
Read less

No Longer Available
Tub Seal
Part #3920DD3002B
This sound dampening door seal creates a watertight barrier around the dishwasher door, preventing leaks and keeping moisture, heat, and odors contained inside the appliance. In addition to sealing, it acts as an insulation layer to reduce noise and vibration during operation, ensuring a quieter kitchen environment. Made from durable mate...Read morerials for long-lasting performance, this seal is designed to fit specific dishwasher models and restore proper function when the original gasket is worn or damaged. Common signs of failure include visible leaks, musty odors, or a door that doesn’t close tightly. Installation is simple—remove the old seal and press the new one into place for a secure fit.
Read less
Common Symptoms of the D1435TB
How this model fails, and the parts that fix it.
Leaking
Fixed by
these parts
these parts


Show All
Door latch failure
Fixed by
these parts
these parts


Show All
Not cleaning dishes properly
Fixed by
these parts
these parts


Show All
Not draining
Fixed by
these parts
these parts


Show All
Door won’t close
Fixed by
these parts
these parts
Show All
Noisy
Fixed by
these parts
these parts
Show All
Will not drain
Fixed by
these parts
these parts
Show All
Will Not Start
Fixed by
these parts
these parts

Show All
Not drying dishes properly
Fixed by
these parts
these parts

Show All
Will not fill with water
Fixed by
these parts
these parts

Show All
Will not dispense detergent
Fixed by
these parts
these parts

Show All
Watch our pros, then fix it yourself.
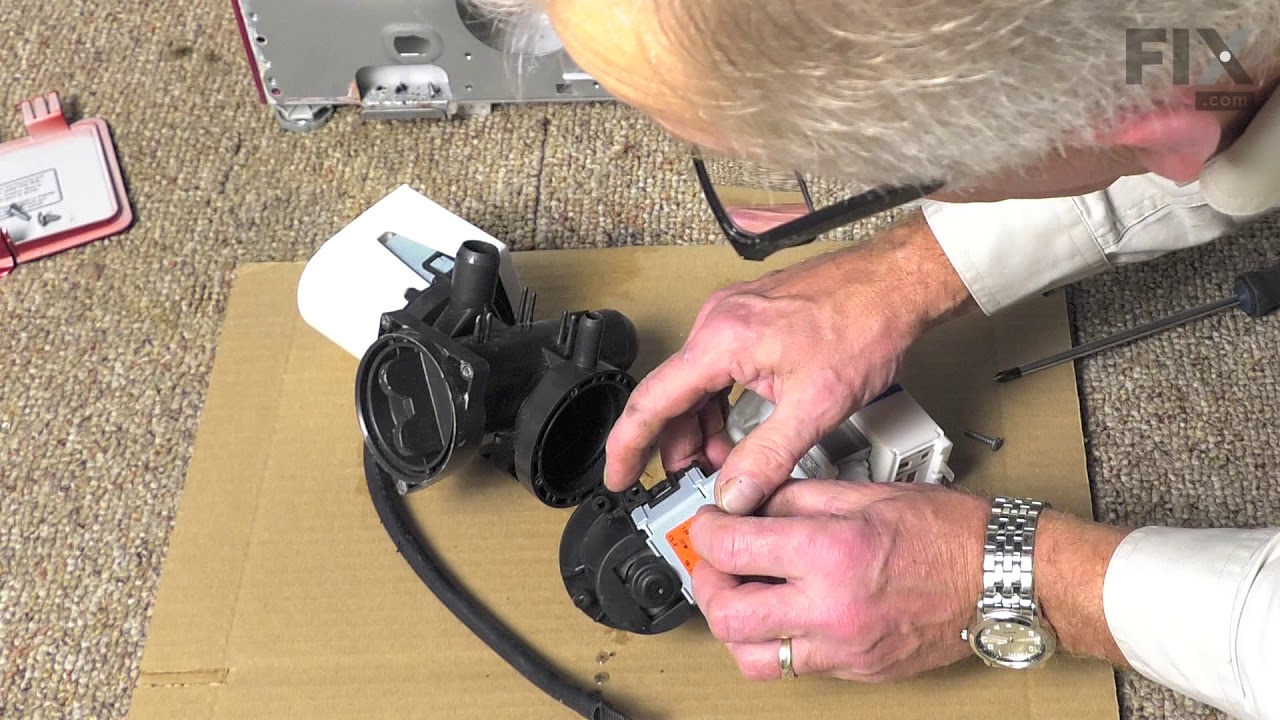
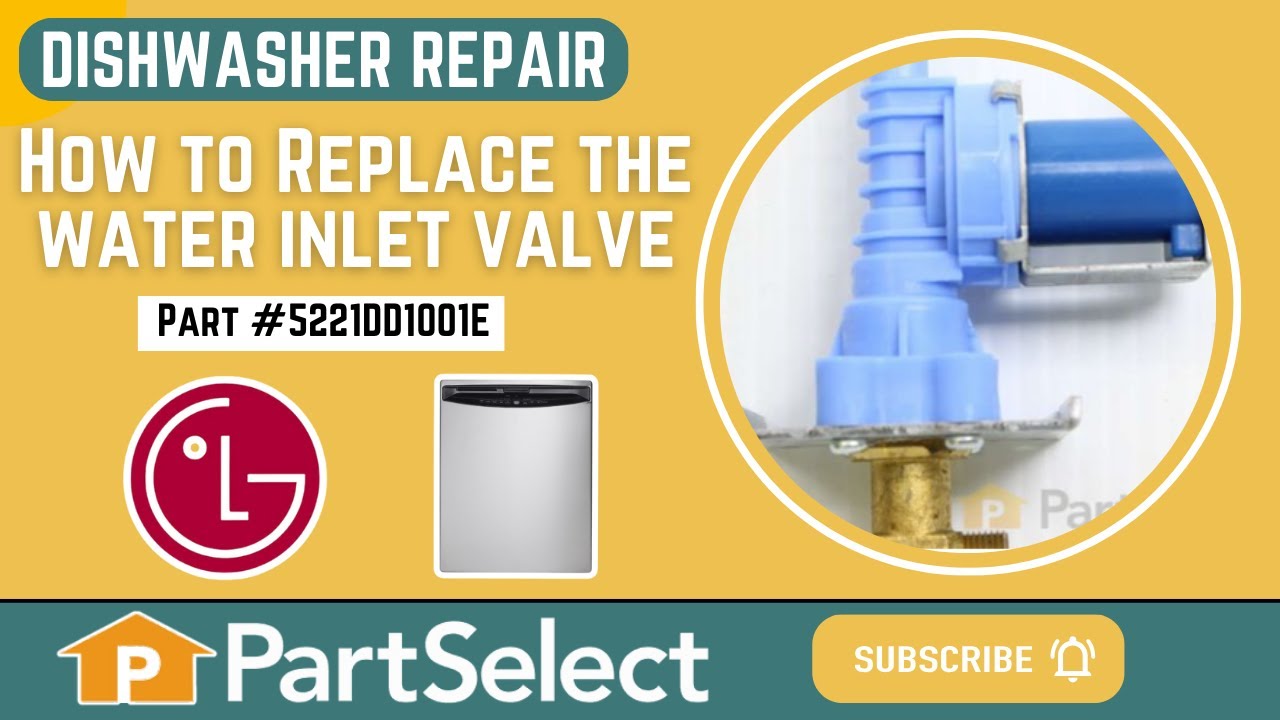
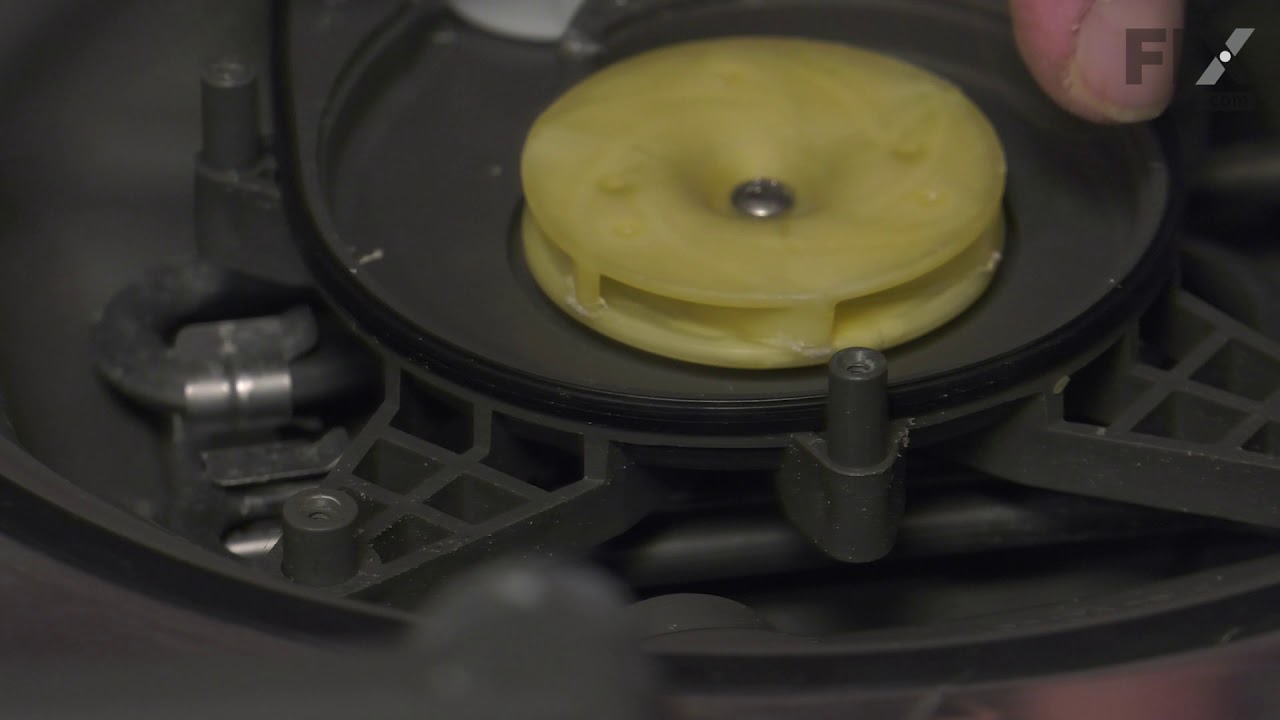

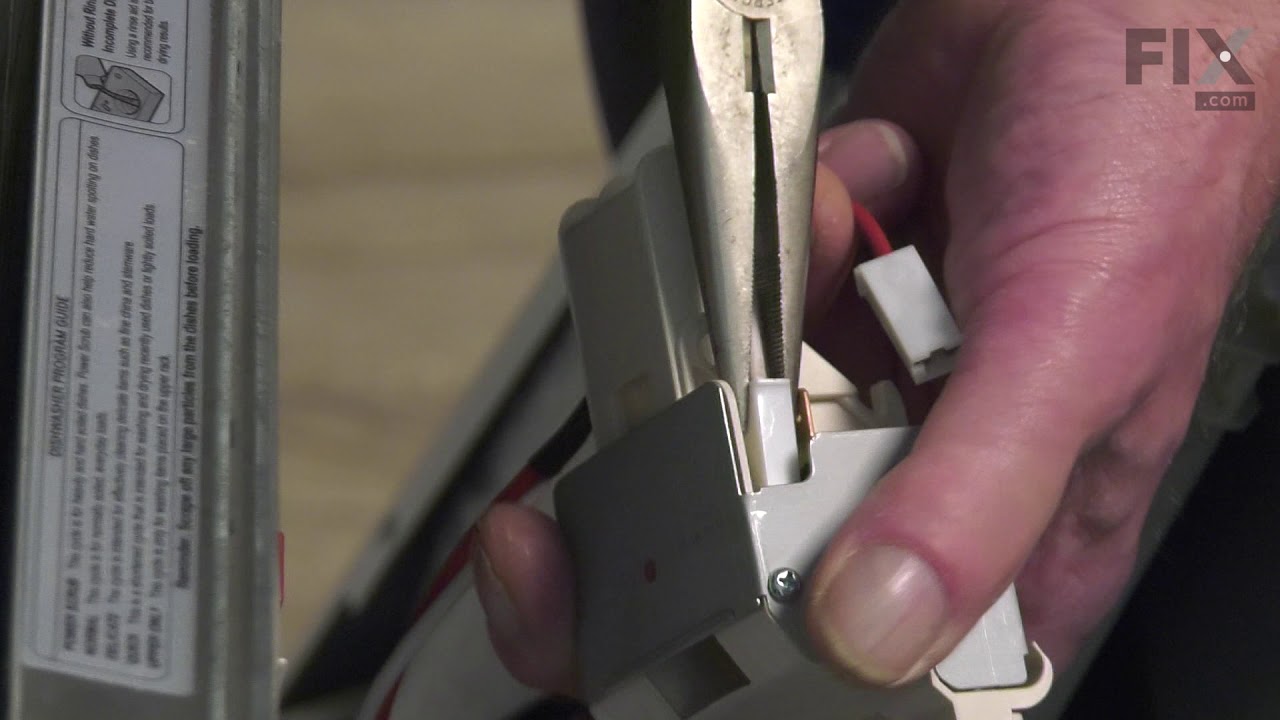
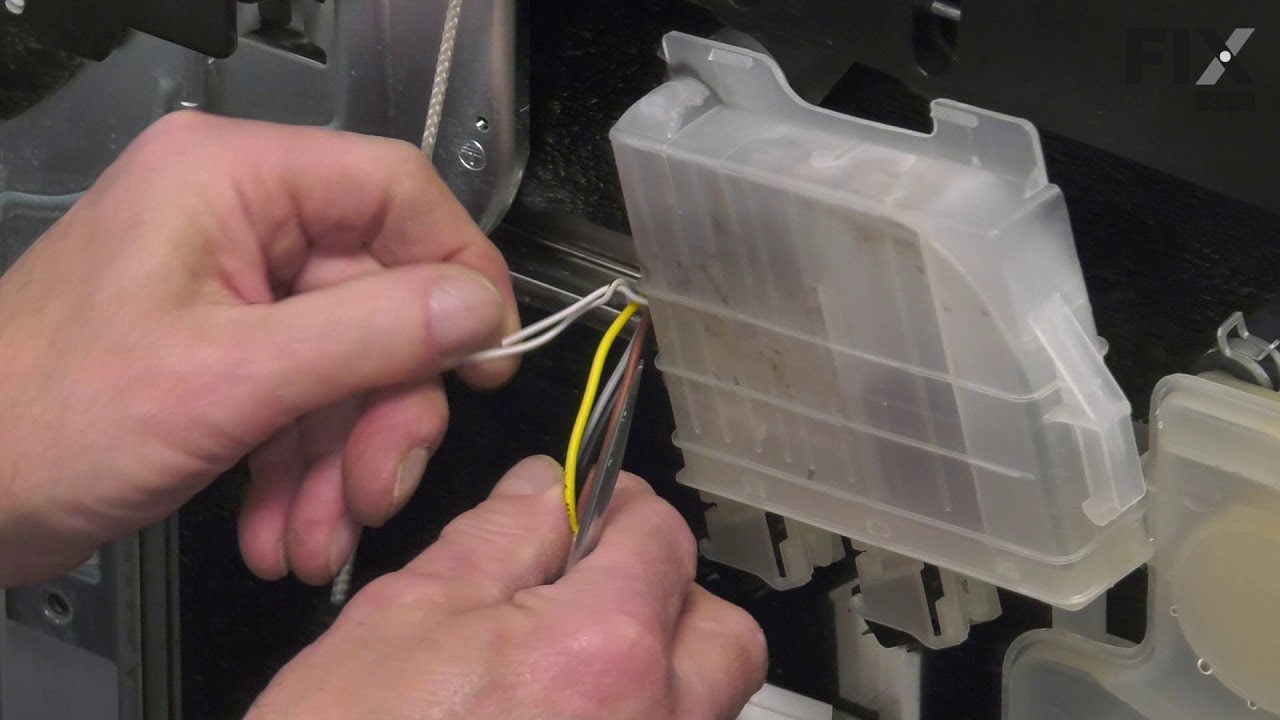
See how others fixed this model. Time, tools, difficulty, and steps that lead to victory!
View More
Search repair tips from other customers using simple keywords like "replace", "fit", "remove", "inspect". DIY doesn't mean you have to do it alone!
Search filter:
Clear Filter
Your search term must have 3 or more characters.
Dishwasher door became heavy and would fall to the floor if you didn't hold it up.
32 of 36 people
found this instruction helpful.
Removed mounting screws from sides of disher. Removed broken piece of connector assy still attached to hinge. Attached new connector assy to hinge then looped it around pulley with spring attached to opposite end. Need both hands to pull spring up to side of tub and connect it. I would suggest replacing both connector assemblies while yo
... Read more
u have the dishwasher pulled out. Push dishwasher back in and mount with screws.
Read less
Other Parts Used:
Was this helpful?
Thank you for voting!
The hinge spring and/or connector assembly were not functioning, so the dishwasher door was extremely heavy.
11 of 14 people
found this instruction helpful.
Replacing the spring and connector assembly (the cord had frayed and broken) was easy and took only a matter of minutes to do. Wrestling the dishwasher in and out of its space under the counter was very difficult. Because my kitchen is compact, I had to move the refrigerator first, then disconnect the Romex cable and water lines from th
... Read more
e dishwasher before I could pull it fully from under the counter. The side panels have screws in the front and the back, so the appliance had to be moved out until its back was exposed. But I got the job done and the door works just like a new one now!
Read less
Other Parts Used:
Was this helpful?
Thank you for voting!