


 My Orders




CWE7000ACB Maytag Wall Oven - Overview
Diagrams for CWE7000ACB
See every part. Know exactly what you need.


Enter a part description. DIY Heroes keep it simple, eg. "belt" or "pump".
Search filter:
Clear Filter
Your search term must have 3 or more characters.

$19.54
In Stock
Light Bulb - 40W
Part #8009
This an authentic OEM 40-Watt replacement light bulb, used in a number of household appliances. It is specially designed to withstand extreme temperatures, which is why these replacement bulbs are most often used to light the inside of refrigerators and ranges. It features a standard socket base, which means you simply unscrew the burnt-o...Read moreut bulb and screw in the replacement. Depending on the appliance you may require a screwdriver or nut driver to access the light bulb. We recommend you wear work gloves while handling this replacement part. It is constructed of glass and metal and is sold individually. Depending on the appliance and location of the bulb within it, you may want to consider disconnecting power and using a flashlight for easier access to unscrewing and re-screwing in your bulb during this repair.
Read less

$43.18
In Stock
Long Oven Sensor
Part #12001656
This long oven sensor is also commonly known as a temperature sensor. It is designed for use with ovens and ranges. It is similar to a thermostat; it measures and regulates the internal temperature of your oven cavity. There is an adapter at one end, a probe at the other, and they are connected by an insulated wire. The probe is approxima...Read moretely 7 inches long. You can test the sensor with a multi-meter for functionality. You need to check the model-specific manual to determine what the proper resistance is for your specific appliance. This oven sensor comes with two wire harness adapters and a set of instructions.
Read less

$21.45
In Stock
Screw
Part #W11233072
This is a multi-use and multi-appliance screw. It can be used on a microwave, refrigerator, range/oven, air conditioner, dehumidifier, washer, or dryer. The measurements of this screw are 8 x 1/2 inch. It has 6 threads. Refer to the manual provided by the manufacturer for further information on repair and accurate guidance. Remember to wear work gloves as a safety precaution.

$7.47
In Stock

$7.47
In Stock
Range Screw
Part #WP179051
Sold individually. Lock washers are used with screws when vibration from an appliance may cause the screw to loosen. Lock washers are also used in the electrical components of an appliance to ensure an electrical connection is not lost.

$49.50
In Stock
2 Piece Broiler Pan
Part #4396923
This broiler pan and roasting rack set is designed to help reduce mess while cooking by allowing grease to drain away from food. Its durable porcelain-coated construction stands up to high temperatures and makes cleanup simple. With approximate dimensions of 16 3/4 inches long, 12 3/4 inches wide, and 1 3/4 inches high, it offers a convenient size for everyday broiling and roasting.

$97.14
In Stock
Bake Element
Part #WPY04100020
This lower bake element provides heat from the bottom of your electric oven, ensuring even cooking and baking. Made from a durable metal coil, it heats up as electricity flows through it. Located at the base of the oven cavity, it’s easy to replace and helps restore proper oven function when heating issues arise.

No Longer Available
Oven Rack
Part #Y704660
This is an oven rack for various models of ranges and ovens and is sold individually. This oven rack allows you to lay different kitchen items on it to cook or bake within your range, and over time these racks can become discolored, stained and even damaged. Since there are normally multiple racks within your oven and this rack is sold as...Read more an individual, it is ideal to replace all of the racks at the same time to ensure a similar condition to each rack simultaneously. Measuring approximately 15.75-inches long and 21-inches wide, this oven rack is made of high-quality metal and can replace a bent or broken oven rack by simply sliding the old rack out, and sliding the new rack in.
Read less

$103.98
In Stock
Oven Door Seal
Part #WPY702338
This oven door seal prevents heat from escaping the oven cavity when in use.

$17.15
In Stock
Clock Knob - black
Part #WP7711P492-60
The clock knob attaches to the center of the oven control panel and is used to adjust the built-in clock. This clock knob is less than an inch in diameter. It is all black in color and is made of plastic. This knob will accept a D-shaped shaft. It is worth noting that the clock knob does not work in place of the temperature knob, as they ...Read moreare designed differently. Many of our customers described this repair as easy. To complete the repair, simply pull off the damaged knob and replace it with the new one.
Read less

$7.47
In Stock

$7.47
Special Order
Common Symptoms of the CWE7000ACB
How this model fails, and the parts that fix it.
Little to no heat when baking
Fixed by
these parts
these parts


Show All
Oven not heating evenly
Fixed by
these parts
these parts
Show All
Oven is too hot
Fixed by
these parts
these parts
Show All
Element will not heat
Fixed by
these parts
these parts

Show All
Will Not Start
Fixed by
these parts
these parts
Show All
Touchpad does not respond
Fixed by
these parts
these parts
Show All
Little to no heat when broiling
Fixed by
these parts
these parts
Show All
Will not program
Fixed by
these parts
these parts
Show All
Door won’t open after self cleaning cycle
Fixed by
these parts
these parts
Show All
Door won’t close
Fixed by
these parts
these parts

Show All
Watch our pros, then fix it yourself.

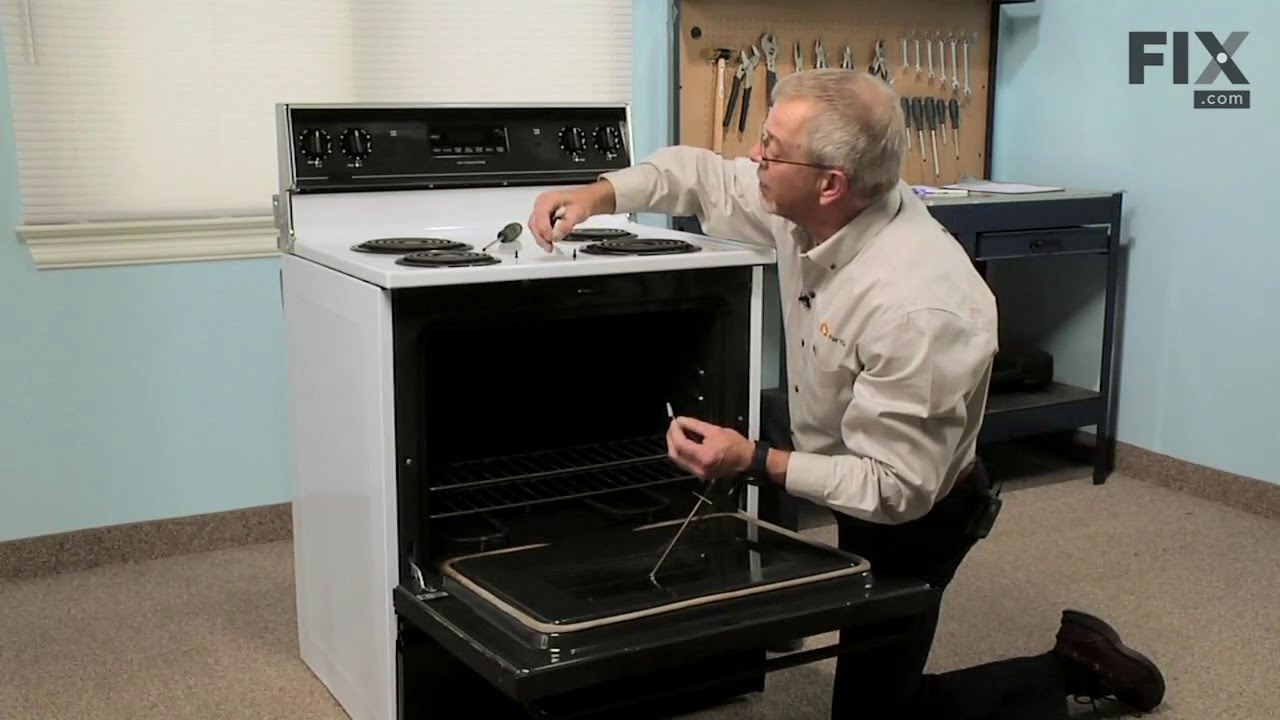

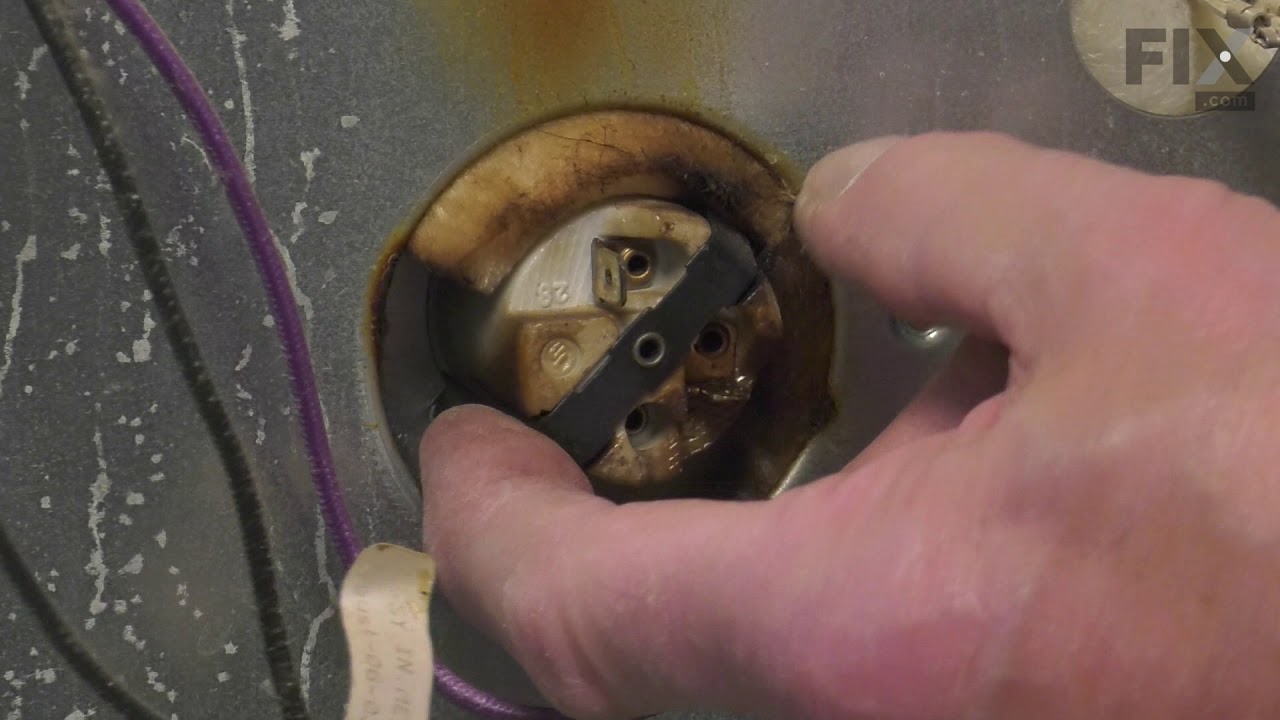
See how others fixed this model. Time, tools, difficulty, and steps that lead to victory!
View More