


 My Orders




CVM1750SH1SS General Electric Microwave - Overview
Diagrams for CVM1750SH1SS
See every part. Know exactly what you need.


Enter a part description. DIY Heroes keep it simple, eg. "belt" or "pump".
Search filter:
Clear Filter
Your search term must have 3 or more characters.

$21.81
In Stock
Microwave Fuse
Part #WB27X10928
This ceramic microwave fuse is just over an inch in length. It is white in the center, and metal on both ends. This is a 20-amp fuse, and is used to power your microwave. If the touch pad on the microwave becomes unresponsive, the microwave produces little to no heat, or the appliance simply does not turn on, it could mean that your fuse ...Read moreis at fault and needs to be replaced. Because this part contains an electrical charge, remember to disconnect power to the microwave unit before you begin this repair.
NOTE: Before you start this repair, ensure that the microwave is unplugged, and the capacitor is discharged. A capacitor stores large amounts of electricity even after your microwave is unplugged.
Read less

$51.61
In Stock
Grease Filter
Part #WB06X10359
Maintain a cleaner kitchen environment with this multi-layer aluminum microwave grease filter. Designed to effectively trap grease particles and reduce odors, it helps prevent buildup in the recirculation system, keeping your microwave running efficiently. Ideal for replacing worn or clogged filters, this part supports a fresher cooking experience and is easy to install.

$27.56
In Stock
HALOGEN LAMP
Part #WB02X35488
This genuine OEM halogen lamp is designed to provide bright, reliable lighting inside the microwave cavity or over the cooktop surface. Rated for high-temperature operation, it helps ensure clear visibility while cooking and venting. Replacing a burned-out or dim bulb restores proper illumination and improves everyday usability. Installat...Read moreion is straightforward once power is disconnected, and care should be taken to handle the bulb properly to ensure safe, long-lasting performance.
Read less

$54.07
In Stock

$74.08
In Stock
Glass Turntable Tray
Part #WB49X10176
This tray rotates in your microwave ensuring more even temperatures.

$37.20
In Stock

$56.33
In Stock
Rotating Ring
Part #WB06X10705
The rotating ring in your microwave rests under the microwave plate, and allows it to rotate when the microwave is running. It is a round plastic ring with 3 wheels spaced out around the perimeter. If your microwave plate or tray is not turning, you could have a broken or damaged rotating ring. This plastic ring is gray in color and is ap...Read moreproximately 10 inches in diameter. The 3 wheels are made of white plastic. This part is sold individually.
Read less

$16.08
In Stock
Microwave Exhaust Adapter
Part #WB02X32715
This is the replacement damper bracket for your microwave. It is made of plastic and is approximately 11 inches wide and 3 inches long. The damper bracket attaches to the outer cabinet and directs airflow through the vent duct. The main reason you would replace the damper bracket is if it is damaged and will not hold the damper in place p...Read moreroperly. This part is sold individually and is a genuine OEM part sourced directly from the manufacturer.
Read less

$39.45
In Stock
Monitor Interlock Switch
Part #WB24X25397
This switch monitor interlock is a critical safety component designed to ensure proper communication between the microwave door latch and the control board. When functioning correctly, it confirms that the door is securely closed before allowing the microwave to operate. A damaged or faulty switch may prevent the unit from starting, even ...Read moreif the door appears latched. Replacing this genuine part restores safe and reliable operation. Installation should be performed with care, and it's recommended to disconnect power before beginning any repair.
Read less

$25.28
In Stock
Damper
Part #WB06X10565
This vent damper is a manufacturer-approved replacement part for your above-range microwave. This part helps vent air from the microwave to the exterior of your home, and helps keep exterior wind out of the vent. Replacing the vent damper will require some disassembly of your microwave/ Unplug the unit before beginning work on it.

$22.96
In Stock

$24.05
In Stock
Common Symptoms of the CVM1750SH1SS
How this model fails, and the parts that fix it.
Won’t turn on
Fixed by
these parts
these parts


Show All
No heat
Fixed by
these parts
these parts

Show All
Touchpad does not respond
Fixed by
these parts
these parts
Show All
Doesn’t shut off
Fixed by
these parts
these parts

Show All
Tray won’t turn
Fixed by
these parts
these parts


Show All
Door not closing properly
Fixed by
these parts
these parts

Show All
Watch our pros, then fix it yourself.

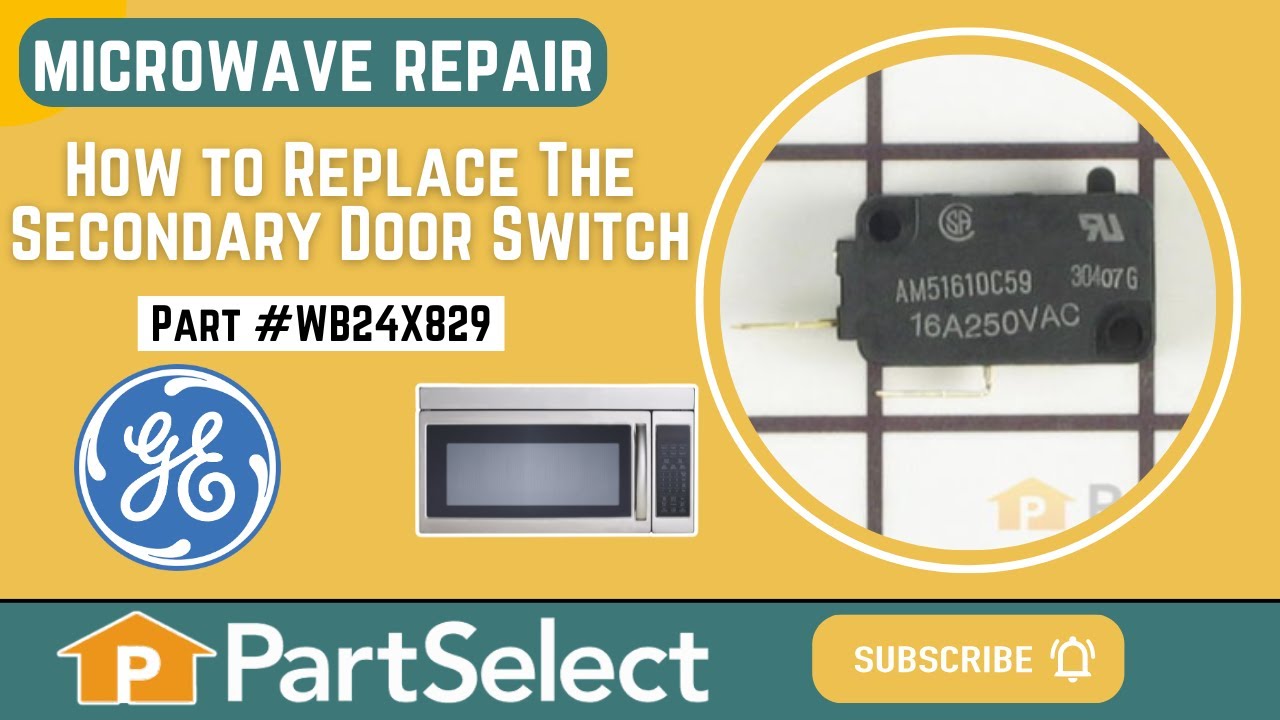
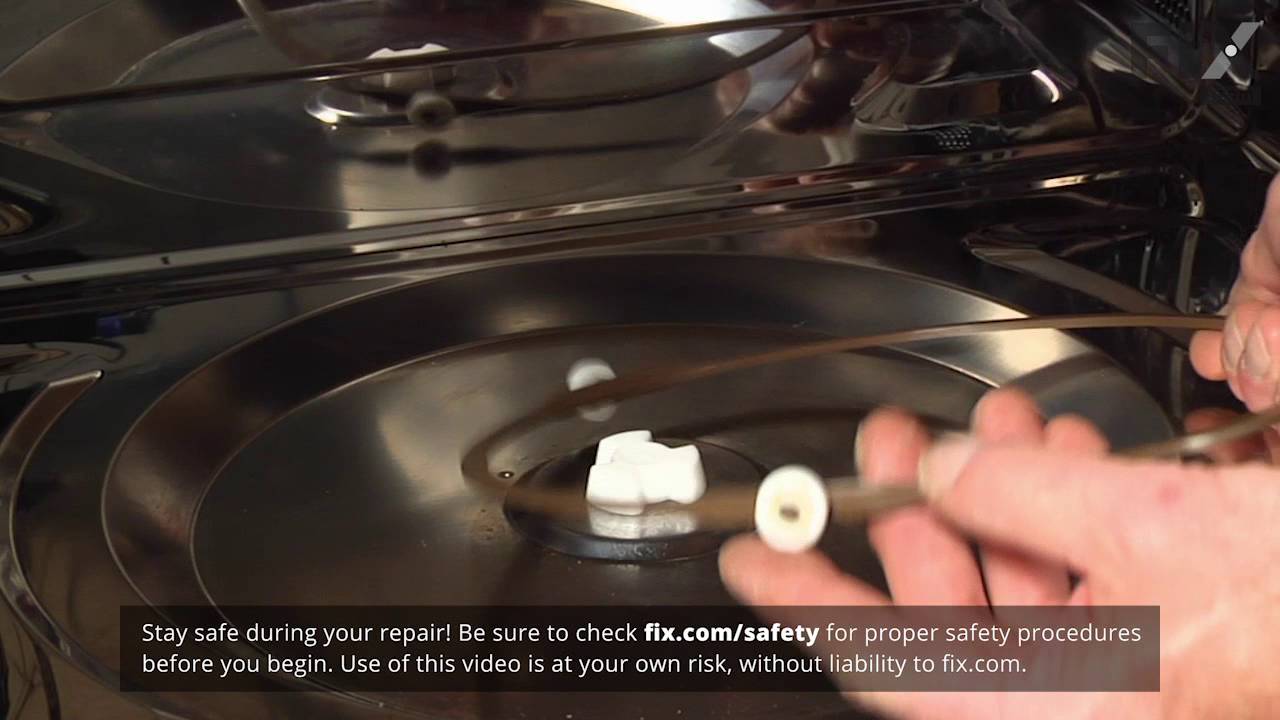
See how others fixed this model. Time, tools, difficulty, and steps that lead to victory!
View More