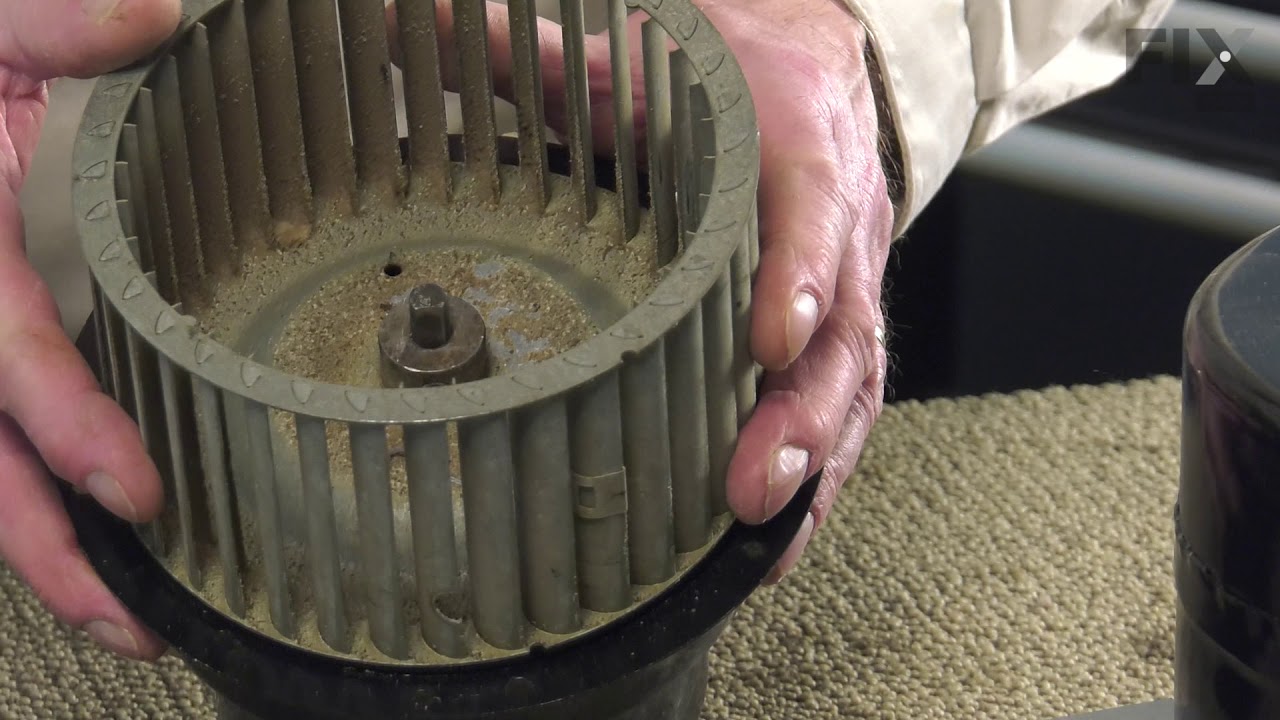
This is a grease filter, and it works with your range/stove/oven. This part is chrome-colored and measures 16.5 inches long by 9 inches wide. It is made of metal and is intended for use with downdraft ranges and cooktops. The function of this part is to ventilate the air while cooking. By doing this, the grease filter will trap debris and...Read more cooking residue from the exhaust air. There are no tools required for you to complete this installation. Before putting in your new filter, it is best practice to wipe the area down after your old piece was removed.
A burner that will not turn on or off may have a bad control switch. The switch sends 240-volt power to the element based on the knob setting. First inspect the burner, wire ends, socket, and control knob because these parts can cause the same problem. Match the updated switch to the complete range model, even if its shape or terminal lay...Read moreout has changed. Disconnect power at the breaker and confirm the circuit is dead. Take a clear photo of the old wires, follow the supplied instructions, and close every panel before restoring power.
This bottle of non-abrasive cooktop cleaner breaks down and gets rid of the hardest baked-on stains and residue without causing any harm to your appliance. The bottle is 10 oz and does not require a large amount of product to do the job. This cleaner is perfectly safe to use on any glass, ceramic, stainless steel, chrome, or porcelain coo...Read morektop surface. The cleaner is creamy in texture and provides a protective coat of silicone on smooth surfaces. To apply, use a gentle scrub, sponge, or rag and gently press in a circular motion until the stains are removed.
The Dual Radiant Surface Element with Limiter is an essential OEM replacement part for ranges, designed to provide consistent heat to the cooking surface. This element features a dual radiant design, which allows for greater versatility in cooking by efficiently distributing heat across a wider area. It is equipped with a limiter to prote...Read morect against overheating, ensuring safe and reliable operation. When replacing the surface element, it's critical to disconnect the range from the electrical power supply by either unplugging it or turning off the house circuit breaker to avoid electrical hazards. Always verify compatibility with your specific model before purchasing, as variations in size and shape may exist. Be sure to handle the element carefully, as it may have sharp edges. For added safety, wear work gloves during installation and follow the manufacturer’s instructions to ensure a secure and proper fit.
Struggling with inconsistent oven temperatures? Our GE Electronic Oven Control Board might be the solution you've been searching for. Designed to closely monitor and skillfully regulate your oven's temperature, this component helps your oven deliver perfect cooking results, time after time. For your safety during installation, remember ...Read moreto disconnect your oven from the power supply or turn off the appropriate circuit breaker. We also suggest wearing protective gloves when handling this control board, for added security. The GE Electronic Oven Control Board, also known as CONTROL OVN ASM, is an original GE product?so you can trust in its quality and long-lasting performance. This replacement part will help you bring the efficiency back to your oven and take your cooking skills to the next level with precise heat management. So go on, breathe new life into your oven with our dependable GE Oven Control Assembly?it's the key to cooking consistency, and to making your kitchen the heart of your home again.
Ask our experts a question about this model and we'll get back to you as soon as possible!
We may have answered a similar question already! Search questions and answers left by others using simple keywords like "fit", "broken", "easy", or "quality" to find questions that match.
Search filter:
Clear Filter
Your search term must have 3 or more characters.
Sort by:
Prev
1
Next
Sorry, we couldn't find any existing answers that matched.Try using some different or simpler keywords, or submit your new question by using the "Ask a Question" button above!
Derek - For model number CVE3401B
September 14, 2022
Hello!
I have a Jenn air with a cracked stove top! The model number is CVE3401 and it is black. Is the CVE3401B the correct part for this? I wondered whether the “B” describes the color or some design upgrade that would make it incompatible. Please advise. Thanks!
Hello Derek, Thank you for your inquiry. We have researched the model number that you have provided and the B would indicate the black version. The compatible black cooktop glass is part# PS2084686. We hope this helps and if you need help placing an order for a part, customer service is open 7 days a week. Please feel free to give us a call. We look forward to hearing from you!
Do you have to remove the down draft and every thing that is connected to the glass top to repair a burner switch or can you just remove the glass top and how?
Hello Marilyn, Thank you for the question. You just need to remove the Glass Cooktop to access the Switches for the Burners. We hope this helps!
Exhaust fan does not turn on when tapping the fan exhaust knob, any suggested solutions ?
Hi John, thank you for contacting us. Ensure that the knob itself is working properly. If it is fine, the issue could be with the fan control switch, part number PS11744308. You may need to replace it to fix the issue. We hope this solves your problem!
See how others fixed this model. Time, tools, difficulty, and steps that lead to victory!View More
Search repair tips from other customers using simple keywords like "replace", "fit", "remove", "inspect". DIY doesn't mean you have to do it alone!
Search filter:
Clear Filter
Your search term must have 3 or more characters.
Outer element of dual element burner didn't work
141 of 184 peoplefound this instruction helpful.
Michael from Collierville, TN
A Bit Difficult
30 - 60 mins
Nutdriver, Pliers, Socket set
Remove Ceran Galss top by removing hex screws below the rim. Also remove the two opposing screws in the center of the downdraft opening. Ceran top comes off easily now. The instructions with the new switch were very poorly written, so here is how I got the new switch to work: Attach the black wire(s) from the old switch (termi
... Read morenal 2) to the new switch terminal P1. Also attach the jumper cable to P1 and "jump" it to S1.
Attach the orange wire (old switch terminal 5) to S2 Attach the yellow wire (old switch terminal 4) to 4a Attach the tan/(white?) wire (old switch terminal 3) to terminal 4 on the new switch Attach the single red wire from the right front element to terminal 2 on the new switch. Attach the 'compound' red wires (the ones that come from the left rear/outlet connection and is also attached to the right rear switch) to terminal P2 on the new switch. There is no need to seperate the compound red wires as the instructions might lead you to believe. Good Luck
Read less
Was this helpful?
Thank you for voting!
The repair itself was very easy. “How to connect” was very hard to get.
54 of 63 peoplefound this instruction helpful.
Igor from Campbell, CA
Really Easy
15 - 30 mins
Nutdriver, Pliers, Screw drivers
The repair itself was very easy. “How to connect” was very hard to get.
To get access to the switch, unscrew 2 screws from each side of front panel and then 4 screws from the bottom of it (open the door first). Have a box or a small table about 30” high to use it as support for the front panel.
The end result
... Read more(colors for the Right Front- R.F.- burner) : Old label -> New label
1. Double RED: N -> P2 (incoming power, Line 1) 2. Single RED: N -> 2 (to Inner AND Outer heating elements common wire) 3. Single BLK: L1 -> P1 (incoming power, Line 2) 4. Single TAN: H1 -> 4 (to the Inner heating element) 5. Single YEL: H2-> 4a (to the Inner heating element) 6. Single BLK: P -> S2 (to the R.F. indicator control light) 7. Attach jumper black wire (included with new switch) from P1 (P1 has two connectors close together) to S1.
Done.
Read less
Was this helpful?
Thank you for voting!
Outer Ring of Dual Radiant Burner Does Not Come On
43 of 61 peoplefound this instruction helpful.
Christopher from Fredericksburg, VA
Really Easy
15 - 30 mins
Nutdriver, Pliers
Undid two screws on underside of cook top, lifted and exposed underside. Transferred wires from the faulty burner to the new burner, one at a time, paying close attention to their respective position on the wiring posts/terminals. Undid two screws holding old burner and then mounted the new burner to underside of cook top. Was really simp
... Read morele to do. :)




 My Orders