



 My Orders




CTX22DKER Hotpoint Refrigerator - Overview

Enter a part description. DIY Heroes keep it simple, eg. "belt" or "pump".
Search filter:
Clear Filter
Your search term must have 3 or more characters.

$38.32
In Stock
LIGHT SWITCH
Part #WR23X37285
The interior light of your refrigerator is controlled by a switch that is activated when the door is opened and closed. If your refrigerator light will not turn on, there could be an issue with the switch. The switch is spring loaded and is a generally closed type of switch meaning there should be no continuity when the button is depresse...Read mored, and continuity through the switch when the button is not depressed. This plastic, white, OEM switch is sourced directly from the manufacturer, is sold individually and is easy to replace. The repair usually takes less than 15 minutes and requires a flat blade screwdriver and needle nose pliers.
Read less

$56.34
In Stock
Refrigerator Outlet Valve Kit
Part #WR57X10033
The water inlet valve on your refrigerator allows water to enter the ice maker and water dispenser. If your ice maker or water dispenser is not functioning properly, or you notice a leak, you may need to replace the single outlet valve. This single outlet valve has 1/4-inch compressions fittings and is intended for use with refrigerators ...Read morethat make crescent-shaped ice cubes. As per the manufacturer, this valve has a new quick connection. You must cut the retaining nut off your current plastic water line, and gently push it into the new valve. Be sure to disconnect the water and power sources from the refrigerator before you begin this repair.
Read less

No Longer Available
Package of 12 Screws
Part #WZ4X244D
This is a package of twelve Phillips-head screws. They can be used as replacement screws in refrigerators, ice makers, or freezers. Be sure to check that your appliance model is compatible with these screws. The screws are approximately ¾ of an inch in length.

$23.16
In Stock
Light Socket
Part #WR2X9391
This part is a replacement light socket for your refrigerator. It connects to the power source, and holds the light bulb. If the light in your refrigerator is not working, you could have a faulty socket. It is important to determine if the light bulb is simply burned out, or if the socket is causing the issue. Be sure to disconnect your r...Read moreefrigerator from the power source before you begin this repair. This socket is black in color and is sold individually. This is an OEM part sourced directly from the manufacturer.
Read less

No Longer Available
Ice Dispensing Drive Cup
Part #WR2X4550
Found at the end of the auger in the ice container - replace when the icemaker doesn't dispense ice.

$146.25
In Stock
Fresh Food Door Gasket
Part #WR24X446
This white fresh food door gasket used to seal the refrigerator door when closed.

$106.80
In Stock
Ice Dispenser Solenoid Service Kit
Part #WR62X23154
This kit includes 1 cube solenoid, 1 armature, 2 tooth washers and 2 1/4 hex head screws.

$34.93
In Stock
Evaporator Fan Blade Kit
Part #WR60X114
This kit features a 5-blade plastic evaporator fan blade that rotates CCW and measures 4.5-inches in diameter and has a 3/8-inch-tall shaft. This kit also has a metal compression ring that secures the fan to the evaporator. The evaporator mechanism is normally located in the freezer and is responsible for pulling the warmer air over the c...Read moreondenser coils, cooling it off and then blowing and circulating that cooler air through the rest of the refrigerator. If the freezer compartment has a frost buildup or if there is a lack of cooling and airflow in your refrigerator, this fan likely needs to be replaced. To replace your evaporator fan, you will likely need a screwdriver and a set of pliers and check your user manual for the exact location of your evaporator fan.
Read less

$17.15
In Stock
Refrigerator Plastic Tubing
Part #WPB5705307
This part supplies water to refrigerator components that require water, such as the ice maker and water dispenser. If you notice a leak coming from your refrigerator, the plastic tubing that feeds your water and ice dispenser might need to be replaced. This part is made of clear plastic and is 1/4 inch thick, and 8 1/2 feet long. Make sur...Read moree to disconnect power to the refrigerator and shut off the water supply prior to installing this part. Safely store any perishable food items that could deteriorate while the power to the refrigerator is disconnected. Work gloves are recommended to protect your hands during this installation.
Read less

$46.34
In Stock
Sheet Metal Screws - 12 per pack
Part #WR1X1726D
This is a replacement pack of sheet metal screws for your refrigerator. These are Phillips-head screws, and are approximately ¾ of an inch long. This package contains 12 screws. These screws are typically used to attach your refrigerator or freezer door handles to the door. These screws are OEM parts sourced directly from the manufacturer.

$15.00
Special Order
1/4 Tubing Nut
Part #WR57X57
This is a quarter tubing nut and is sold individually. The tubing nut works in conjunction with your refrigerator/freezer and is made entirely of plastic. The function of this part is to connect the lines that supply water to your ice maker and water dispenser. The most common reason or needing to replace this part is if fluid is leaking ...Read morefrom the water line to your icemaker or water dispenser. The tools you will need to make this repair include a nut driver, a pair of pliers, and a screwdriver set.
Read less

$54.06
In Stock
Capacitor
Part #WR55X24065
This part helps the compressor kick on and off while maintaining a constant temperature to keep things frozen in your freezer.
Common Symptoms of the CTX22DKER
How this model fails, and the parts that fix it.
Light not working
Fixed by
these parts
these parts


Show All
Leaking
Fixed by
these parts
these parts


Show All
Ice maker not making ice
Fixed by
these parts
these parts


Show All
Fridge too warm
Fixed by
these parts
these parts


Show All
Noisy
Fixed by
these parts
these parts


Show All
Ice maker won’t dispense ice
Fixed by
these parts
these parts
Show All
Will Not Start
Fixed by
these parts
these parts


Show All
Door Sweating
Fixed by
these parts
these parts

Show All
Freezer section too warm
Fixed by
these parts
these parts
Show All
Not dispensing water
Fixed by
these parts
these parts
Show All
Fridge runs too long
Fixed by
these parts
these parts
Show All
Freezer not defrosting
Fixed by
these parts
these parts
Show All
Watch our pros, then fix it yourself.

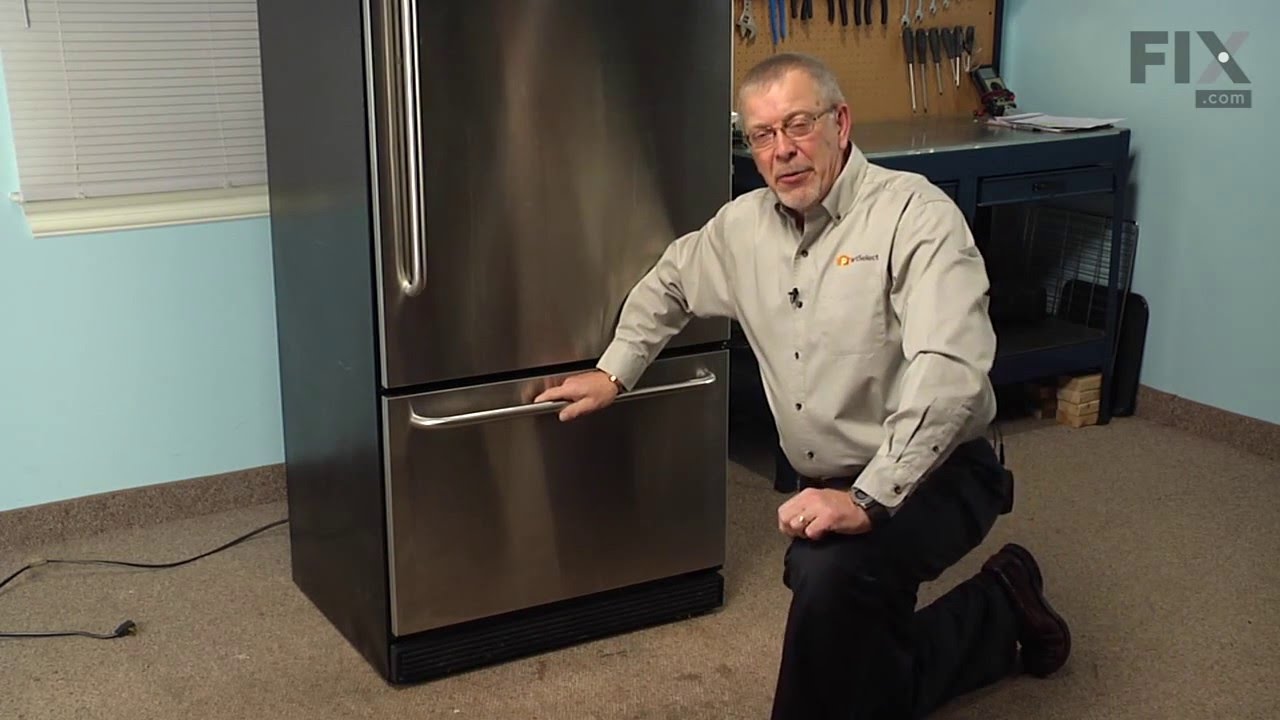
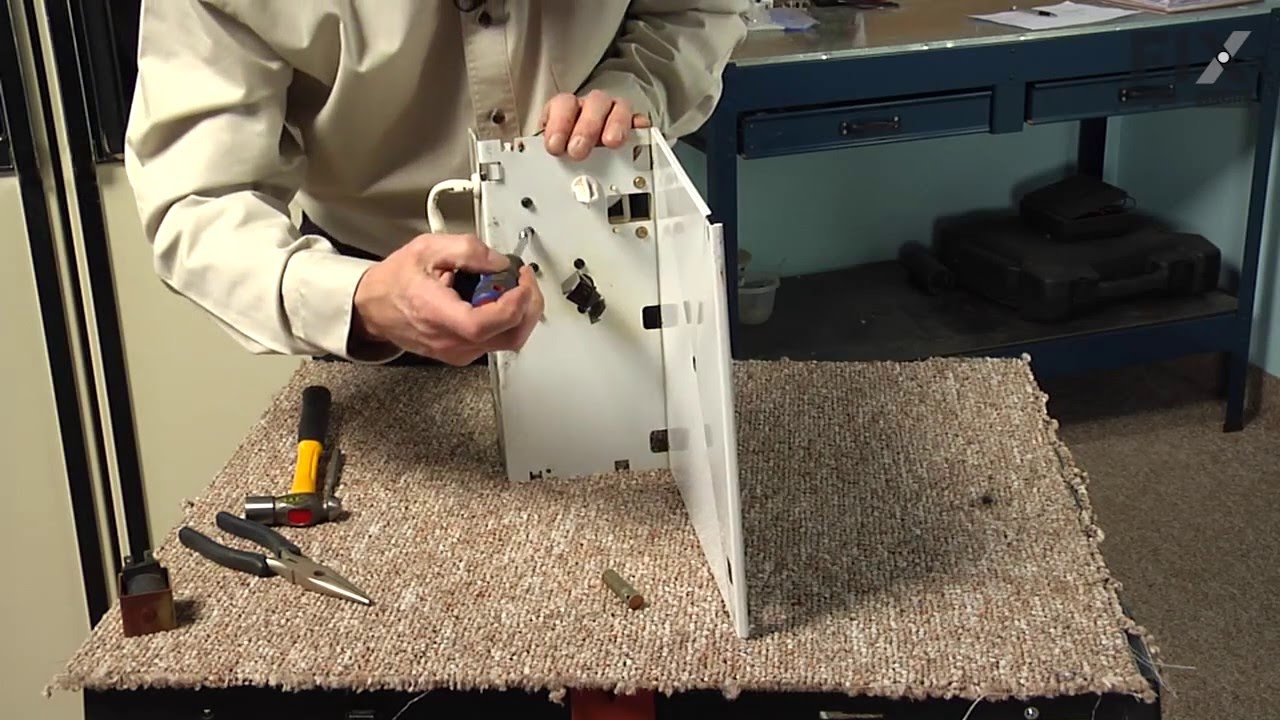

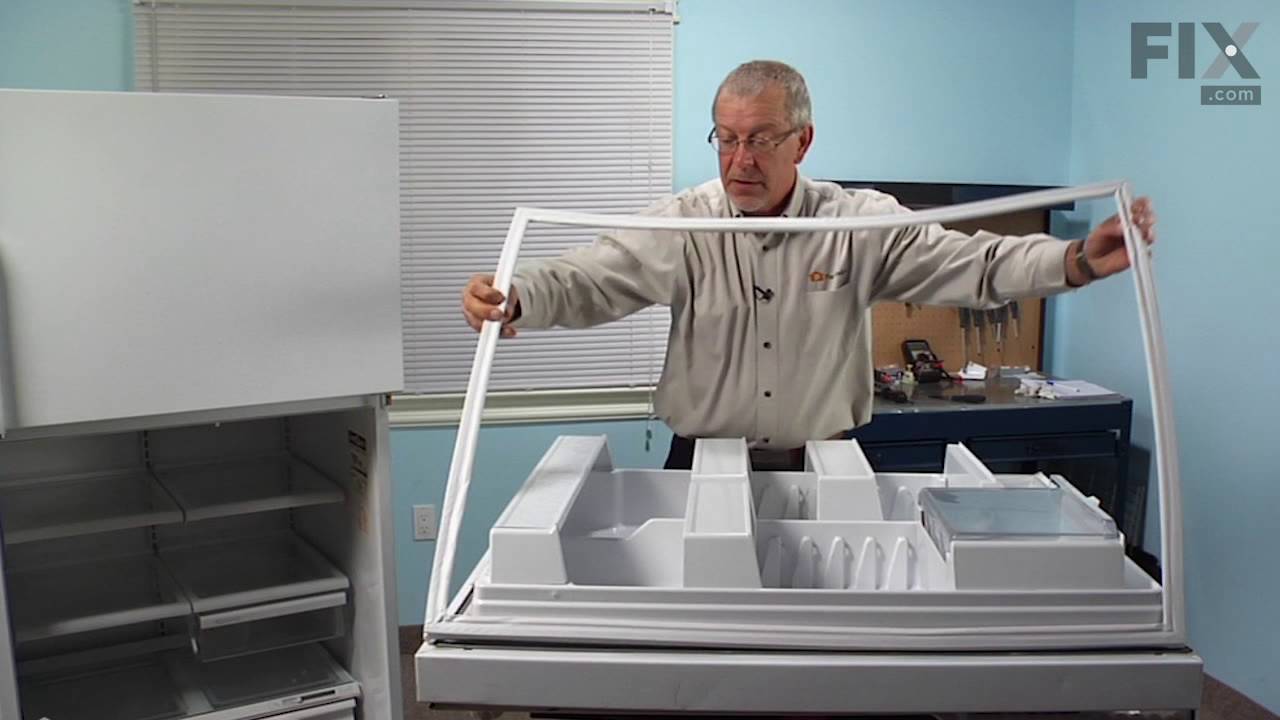

See how others fixed this model. Time, tools, difficulty, and steps that lead to victory!
View More