



 My Orders




CTX18LYZSRWH Hotpoint Refrigerator - Overview


Enter a part description. DIY Heroes keep it simple, eg. "belt" or "pump".
Search filter:
Clear Filter
Your search term must have 3 or more characters.

$16.05
In Stock
Evaporator/Condensor Fan Grommet
Part #WR02X10098
This evaporator fan motor grommet, or condenser fan grommet is built for refrigerators. It provides a cushion between the fan motor and the motor mounting bracket. It is made or round, black plastic and is approximately one inch in diameter. If your grommet is torn or damaged and you are getting noise from the fan motor, you may need to replace it. This is an OEM part sourced directly from the manufacturer.

$21.95
In Stock
Light Bulb - 40W
Part #40A15
This 40-Watt light bulb is sold individually.
It is specially designed to withstand extreme temperatures, so this bulb is compatible with a variety of appliance types including refrigerators, ranges, microwaves, and dryers. It features a frosted glass bulb with a standard metal socket base, which allows you to easily unscrew the burnt-out light and twist the new bulb into place.

$55.29
In Stock
Condenser Fan Motor
Part #WR60X10168
This fan motor circulates the air through the refrigerator grille and cools the compressor and condenser coils. It also helps to evaporate extra water in the drain pan.

$16.05
In Stock
Door Hinge Nylon Washer
Part #WR01X27364
This is the replacement hinge washer for your refrigerator. The hinge washer is mounted on the top of the door hinge pin, and supports the refrigerator door, allowing it to open and close easily. The main reason you would need to replace the hinge washer is if it is worn out, causing the refrigerator door to be more difficult to open and ...Read moreclose. You may also hear an unpleasant noise when you open your refrigerator door. The washer is a little less than an inch in diameter and is sold individually. This is an authentic OEM part sourced directly from the manufacturer.
Read less

$89.13
In Stock
Fresh Food Door Gasket
Part #WR24X10236
This white fresh food door gasket is used to seal the refrigerator door when closed to keep the cool air inside and the room air out.

$87.68
In Stock
Freezer Door Gasket
Part #WR24X10228
This white door gasket is used to seal the freezer door when closed.

$50.56
In Stock
Temperature Control
Part #WR09X20002
This part establishes and maintains the internal temperature of the refrigerator.

$168.49
In Stock
Stationary Wire Shelf
Part #WR71X10378
This part is the replacement stationary wire shelf for your refrigerator. It is white in color and is approximately 24 1/2 inches by 14 3/8 inches. The stationary wire shelf rests on grooves in the refrigerator side wall and allows you to store food. The reason you would want to change out this shelf, is if it is bent, broken, or missing....Read more This is an OEM part sourced directly from the manufacturer and is sold individually.
Read less

$40.02
In Stock
Door Shelf Retainer Bar
Part #WR17X3880
This door shelf retainer bar is a manufacturer-approved replacement part for your refrigerator. This bar is made of white plastic and is about 21 1/4 inches in length and 2 inches deep. It helps keep your refrigerator door shelf in place. To access the retainer bar, remove the door bin by pulling it out from the mounting tabs.

$30.38
In Stock
Dust Cap
Part #WR02X10322

No Longer Available

No Longer Available
Evaporator Motor Kit
Part #WR60X203
This part is located in the back of the freezer and circulates air over the refrigerator coils. These coils will convert the heat into cool air which is then circulated.
Common Symptoms of the CTX18LYZSRWH
How this model fails, and the parts that fix it.
Noisy
Fixed by
these parts
these parts


Show All
Fridge too warm
Fixed by
these parts
these parts

Show All
Fridge too cold
Fixed by
these parts
these parts
Show All
Door won’t open or close
Fixed by
these parts
these parts


Show All
Door Sweating
Fixed by
these parts
these parts

Show All
Freezer section too warm
Fixed by
these parts
these parts
Show All
Fridge runs too long
Fixed by
these parts
these parts
Show All
Fridge and Freezer are too warm
Fixed by
these parts
these parts
Show All
Will Not Start
Fixed by
these parts
these parts
Show All
Clicking sound
Fixed by
these parts
these parts
Show All
Frost buildup
Fixed by
these parts
these parts
Show All
Leaking
Fixed by
these parts
these parts
Show All
Watch our pros, then fix it yourself.
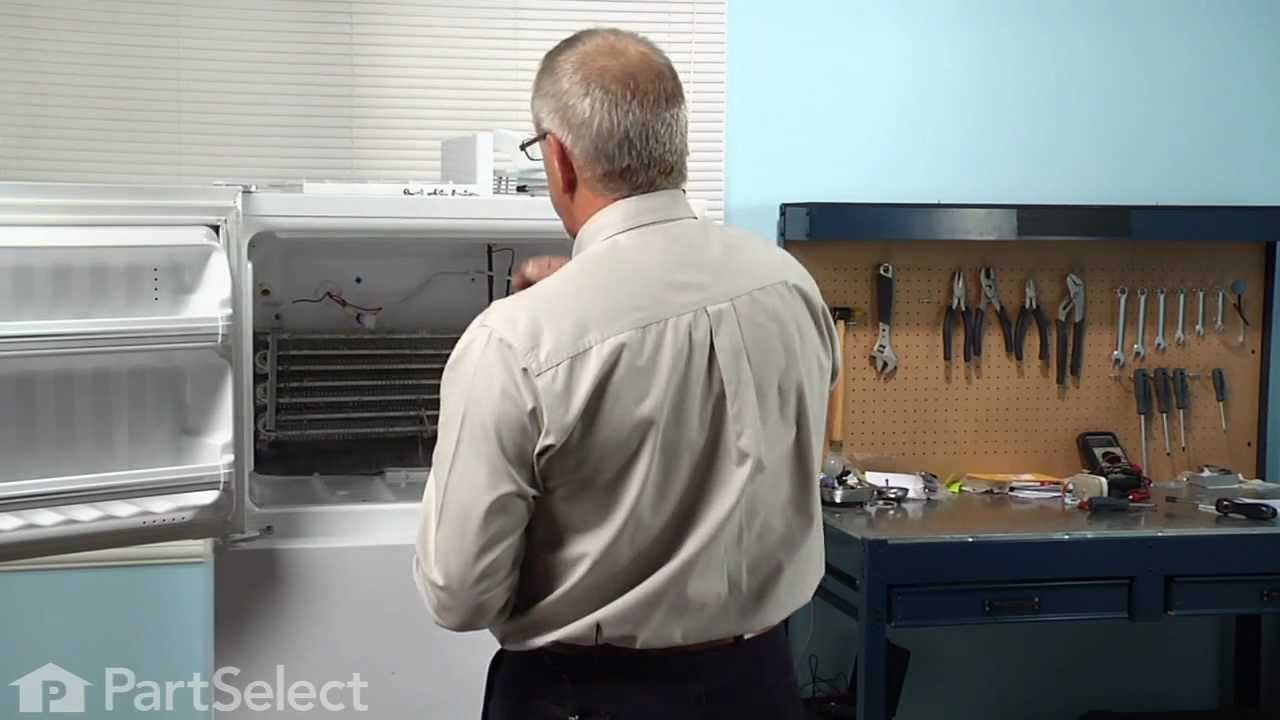
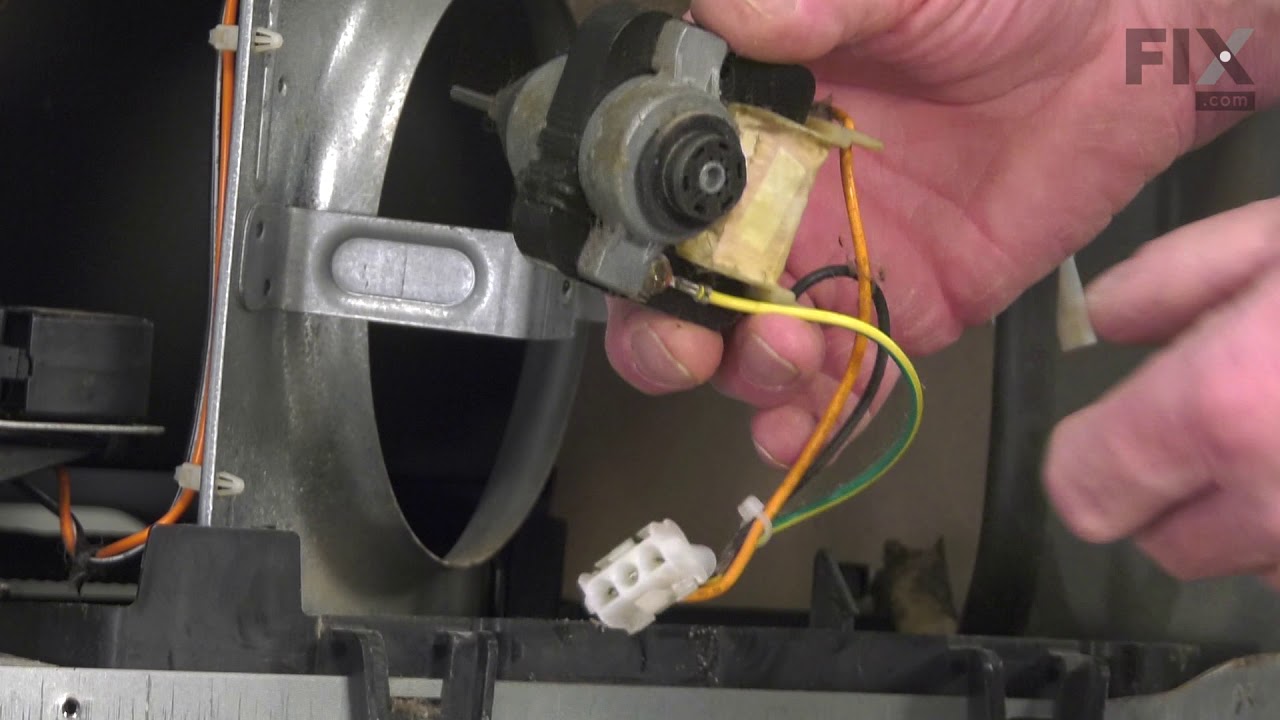
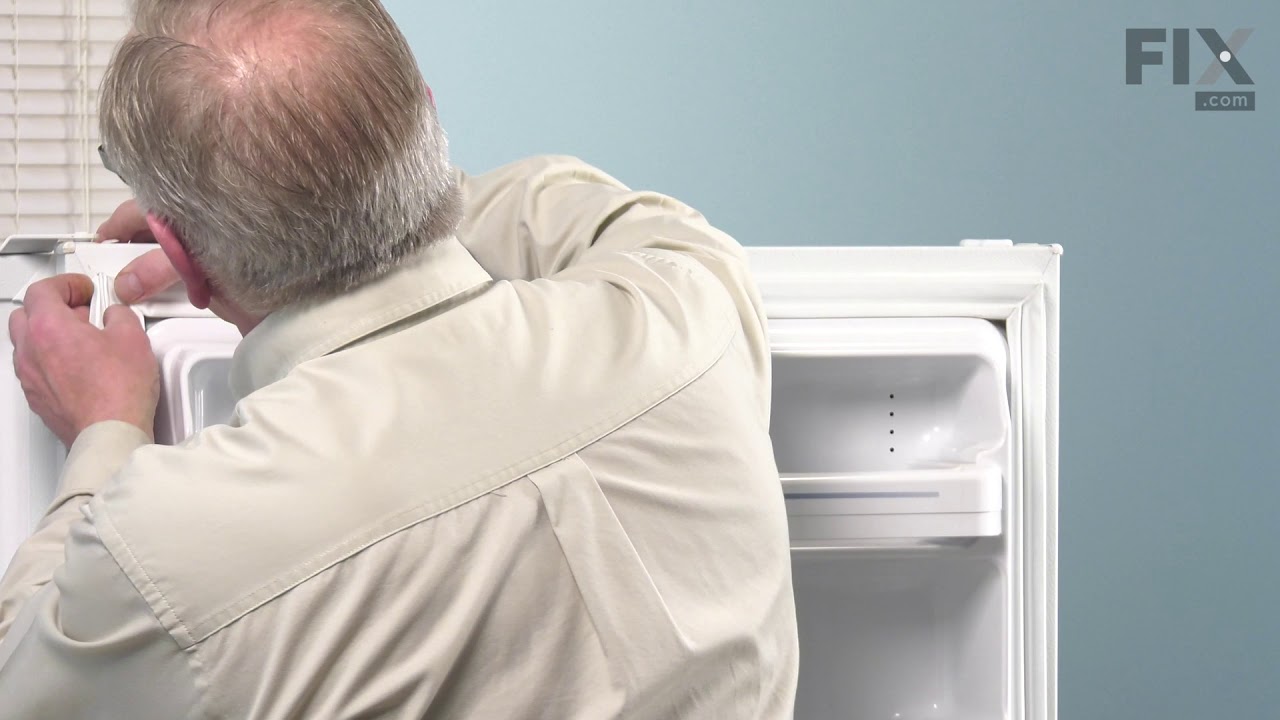
See how others fixed this model. Time, tools, difficulty, and steps that lead to victory!
View More