


 My Orders




CTN1511BEW Magic Chef Refrigerator - Overview
Diagrams for CTN1511BEW
See every part. Know exactly what you need.


Enter a part description. DIY Heroes keep it simple, eg. "belt" or "pump".
Search filter:
Clear Filter
Your search term must have 3 or more characters.

$18.22
In Stock
Shelf Retainer Bar End Cap
Part #WP61002112
The shelf retainer bar end cap is used to keep the retainer bar in place, and can be used on either the right or left hand side of the bar. This white, OEM end cap is approximately 2 inches long, and made entirely of plastic. The shelf bar and cap snap into place on the door to attach the door shelf bar to the inner door liner. This part ...Read moreis also known as a rail end cap. If the door bar is not properly attached to the inner door liner, your items will not be secure on the shelf, and are likely to fall.
Read less

$30.53
In Stock

$65.73
In Stock
Refrigerator Condenser Fan Motor Kit
Part #833697
This condenser fan motor kit is designed for use with refrigerators. This fan draws air through the condenser coils and over the compressor. It does this with the goal of cooling the warm refrigerant before it enters the evaporator. When your fan or fan motor is not working your refrigerator will not cool properly. This is a 2-Watt, 115 V...Read moreolt motor that rotates the fan in a counter clockwise direction. This kit includes the hardware needed for installation, and a set of instructions. Before you begin any repair work make sure to unplug your appliance.
Read less

$52.67
In Stock
Door Shelf Retainer Bar
Part #W11045462
This refrigerator door shelf trim is approximately 28 inches long. It is all white in color, and it is made entirely of metal. NOTE: The image may not be of the exact product but will function properly.

$21.45
In Stock
Screw
Part #W11233072
This is a multi-use and multi-appliance screw. It can be used on a microwave, refrigerator, range/oven, air conditioner, dehumidifier, washer, or dryer. The measurements of this screw are 8 x 1/2 inch. It has 6 threads. Refer to the manual provided by the manufacturer for further information on repair and accurate guidance. Remember to wear work gloves as a safety precaution.

$54.24
In Stock
Refrigerator Run Capacitor
Part #WP65889-4
This part helps the compressor kick on and off while maintaining a constant temperature to keep things frozen in your freezer. If you are noticing temperature issues with your refrigerator or freezer, the run capacitor may need replacing. This repair is fairly easy to complete, and the only tools you will require are a 1/4 inch nut driver...Read more, and a 1/4 inch socket with a small ratchet. The run capacitor is located in the back of the fridge, so you will need to make sure you have room to work on this repair. Make sure to unplug the fridge prior to beginning the repair.
Read less

$7.47
In Stock

$116.49
In Stock
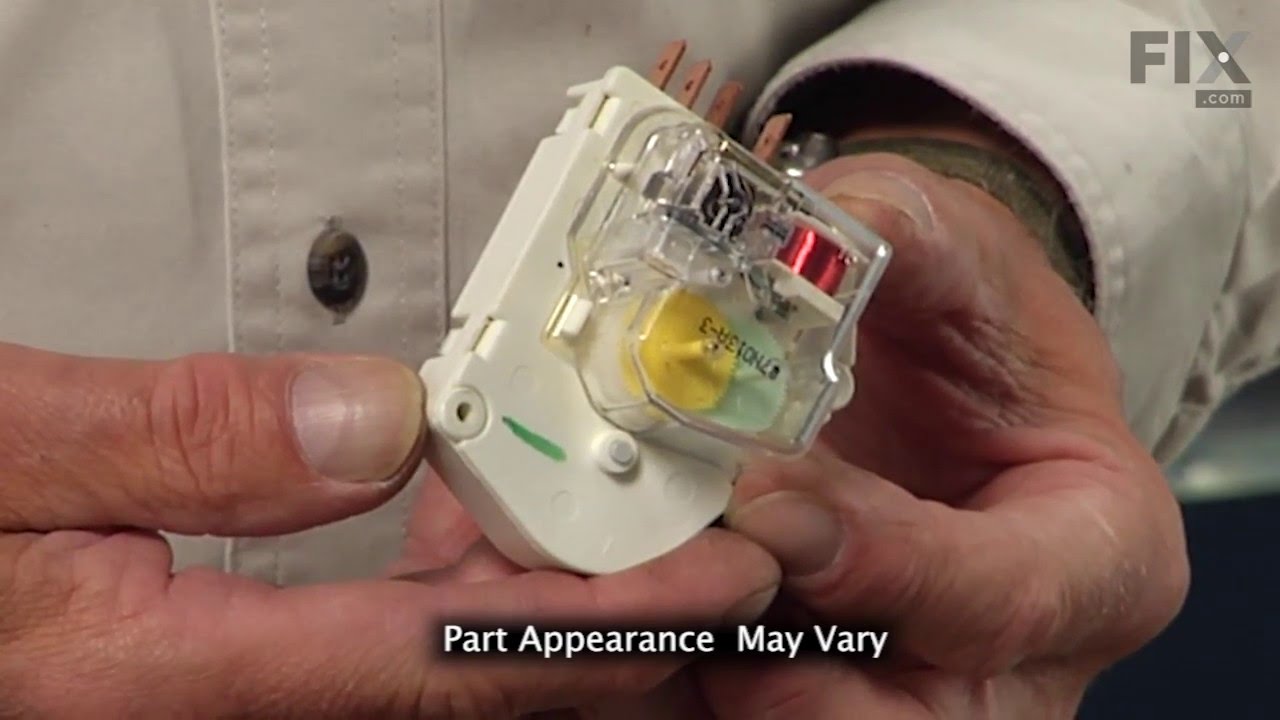
Defrost Timer - 120V 60Hz
Part #WP68233-3
This defrost timer will cycle for twenty-one minutes after every ten hours of run time.
The defrost timer acts like a clock. It continually advances and alternates between activating the cooling cycle and the defrost heater.

$12.85
In Stock
Hinge Washer
Part #WP61002231
This hinge can be used for washers and refrigerators. The hinge is used to easily open and close your appliance door. If you put too much pressure or weight on the door, it can break the hinge or the hinge bearing. If this is the case, replacing this part can solve the issue. This hinge is 1 inch in diameter, is black in color and made fr...Read moreom plastic. Remember to unplug your appliance from the power source before beginning this installation project. Refer to the manual provided by the manufacturer for further installation instructions.
Read less

$49.50
In Stock
Cold Control Knob - Fresh Food
Part #WP61006074
This clear fresh food control knob is almost three inches in diameter. There is blue numbering around the perimeter of the knob denoting the level of coldness inside the refrigerator.

$76.03
In Stock
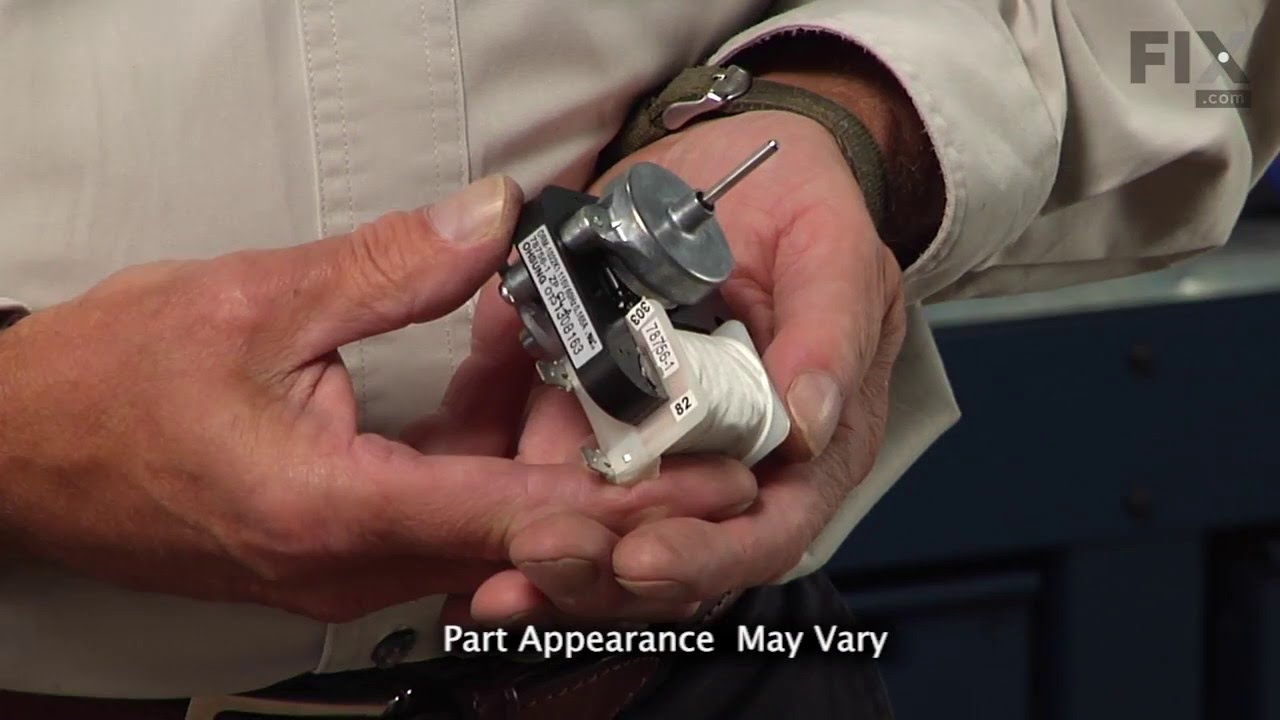
Evaporator Fan Motor - 115V 60Hz - Blade NOT Included
Part #WP61004888
This is an evaporator fan motor for a refrigerator. The fan motor circulates air through the refrigerator to the fresh food compartment for efficient cooling. It is just over three inches long. It is made of both metal and plastic, and is made up of black, white, and metallic pieces. Disconnect power from your refrigerator before starting...Read more the repair because you will be working near electrical circuits. This is an authentic replacement part that is sourced directly from the original manufacturer. It is important to note that the blade is sold separately and is not included with the evaporator fan motor.
Read less

$40.65
In Stock
Refrigerator Tray
Part #WP841180A
This fourteen cube ice cube tray is eleven inches long. It is all white in color and is made entirely of plastic.
Common Symptoms of the CTN1511BEW
How this model fails, and the parts that fix it.
Light not working
Fixed by
these parts
these parts


Show All
Fridge too warm
Fixed by
these parts
these parts


Show All
Freezer section too warm
Fixed by
these parts
these parts
Show All
Will Not Start
Fixed by
these parts
these parts

Show All
Noisy
Fixed by
these parts
these parts

Show All
Fridge and Freezer are too warm
Fixed by
these parts
these parts
Show All
Fridge runs too long
Fixed by
these parts
these parts
Show All
Freezer not defrosting
Fixed by
these parts
these parts


Show All
Clicking sound
Fixed by
these parts
these parts
Show All
Fridge too cold
Fixed by
these parts
these parts


Show All
Too warm
Fixed by
these parts
these parts
Show All
Door won’t open or close
Fixed by
these parts
these parts

Show All
Leaking
Fixed by
these parts
these parts
Show All
Watch our pros, then fix it yourself.



See how others fixed this model. Time, tools, difficulty, and steps that lead to victory!
View More