


 My Orders




CSX22DMC Hotpoint Refrigerator - Overview
Diagrams for CSX22DMC
See every part. Know exactly what you need.


Enter a part description. DIY Heroes keep it simple, eg. "belt" or "pump".
Search filter:
Clear Filter
Your search term must have 3 or more characters.

$33.78
In Stock
Door Closing Cam
Part #WR2X4901
This refrigerator door hinge cam riser is designed to ensure smooth and consistent door movement. Installed directly on the door, it helps the appliance open and close properly by guiding the door to rise and fall gently, which also supports a secure seal. Made from durable plastic, this part is ideal for resolving issues such as doors that stick, fail to seal correctly, or make unusual noises during operation.

$21.95
In Stock
Light Bulb - 40W
Part #40A15
This 40-Watt light bulb is sold individually.
It is specially designed to withstand extreme temperatures, so this bulb is compatible with a variety of appliance types including refrigerators, ranges, microwaves, and dryers. It features a frosted glass bulb with a standard metal socket base, which allows you to easily unscrew the burnt-out light and twist the new bulb into place.

$106.80
In Stock
Ice Dispenser Solenoid Service Kit
Part #WR62X23154
This kit includes 1 cube solenoid, 1 armature, 2 tooth washers and 2 1/4 hex head screws.

No Longer Available
Ice Bucket Auger Kit
Part #WR17X2740
This ice bucket auger kit come with an auger and a blade. Please note: As per manufacture the part shown in the picture is no longer available. The updated helix coil is now approximately 5". If you currently have the original part you will need to order the complete auger/bucket assembly.

$60.30
On Order
ARMATURE KIT
Part #WR62X26536

$15.00
Special Order
1/4 Tubing Nut
Part #WR57X57
This is a quarter tubing nut and is sold individually. The tubing nut works in conjunction with your refrigerator/freezer and is made entirely of plastic. The function of this part is to connect the lines that supply water to your ice maker and water dispenser. The most common reason or needing to replace this part is if fluid is leaking ...Read morefrom the water line to your icemaker or water dispenser. The tools you will need to make this repair include a nut driver, a pair of pliers, and a screwdriver set.
Read less

$16.05
Special Order

No Longer Available

No Longer Available
Fresh Food Door Gasket
Part #WR24X5231
This white fresh food door gasket is used to seal the fridge door when closed .

No Longer Available
Freezer Wire Shelf
Part #WR71X10715
Let's talk about your GE appliance and its predicament. Facing a little water issue? Not sure how to handle it? Relax. We have just the solution for you - our trusted GE Float Switch Assembly. It plays a crucial role in keeping your appliance safe and sound. Here's why it's so important: Think of this component as a vigilant guard on dut...Read morey 24/7. Its job is to control your water fill valve, stepping in to shut it off if the water level gets too high before the fill timer says it's fine. In simple terms, it helps prevent flooding. No excess water, no nasty floods, and no damage to your precious appliance ? isn?t that a relief? Robust and reliable, the GE Float Switch Assembly certainly proves it's worth its weight in gold when it comes to preventing water-related disasters. So upgrade to this little lifesaver now and secure the safety and functionality of your dishwasher. Trust us, your appliance will thank you with a smooth and flawless performance.
Read less

No Longer Available

$53.20
Special Order
Common Symptoms of the CSX22DMC
How this model fails, and the parts that fix it.
Door won’t open or close
Fixed by
these parts
these parts

Show All
Leaking
Fixed by
these parts
these parts


Show All
Ice maker won’t dispense ice
Fixed by
these parts
these parts

Show All
Fridge too warm
Fixed by
these parts
these parts

Show All
Door Sweating
Fixed by
these parts
these parts
Show All
Ice maker not making ice
Fixed by
these parts
these parts

Show All
Fridge runs too long
Fixed by
these parts
these parts
Show All
Clicking sound
Fixed by
these parts
these parts
Show All
Watch our pros, then fix it yourself.
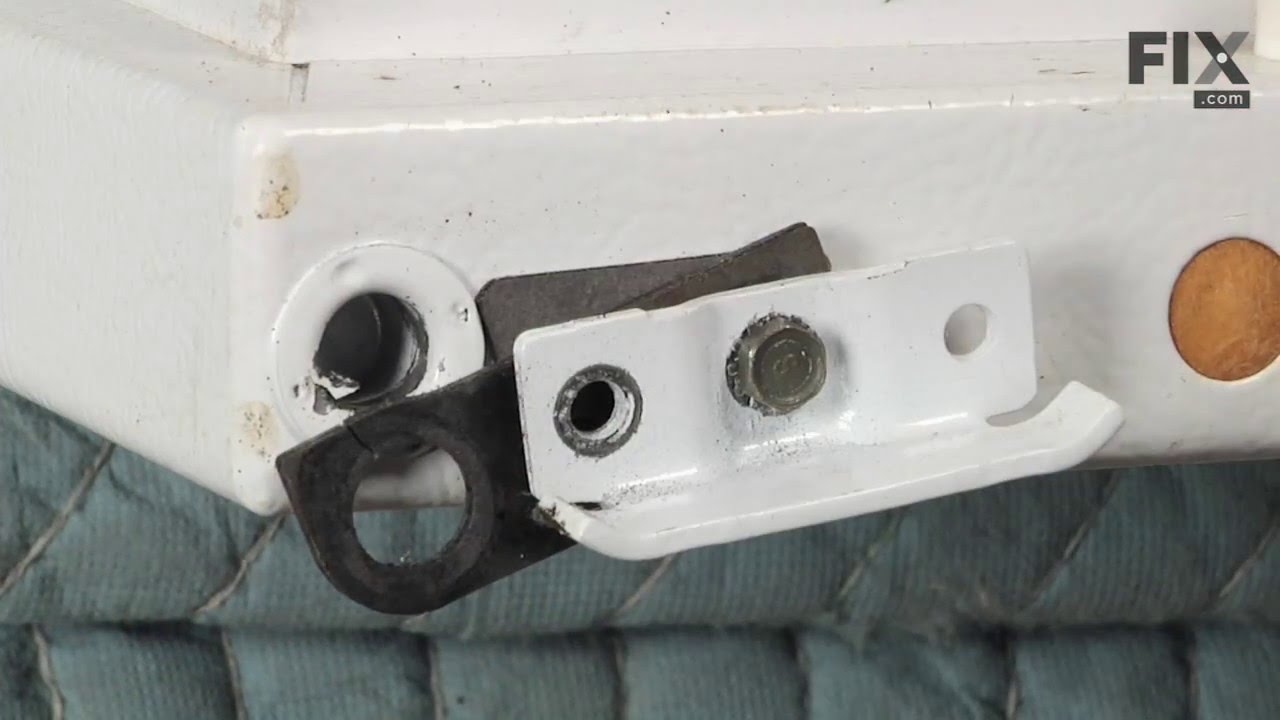
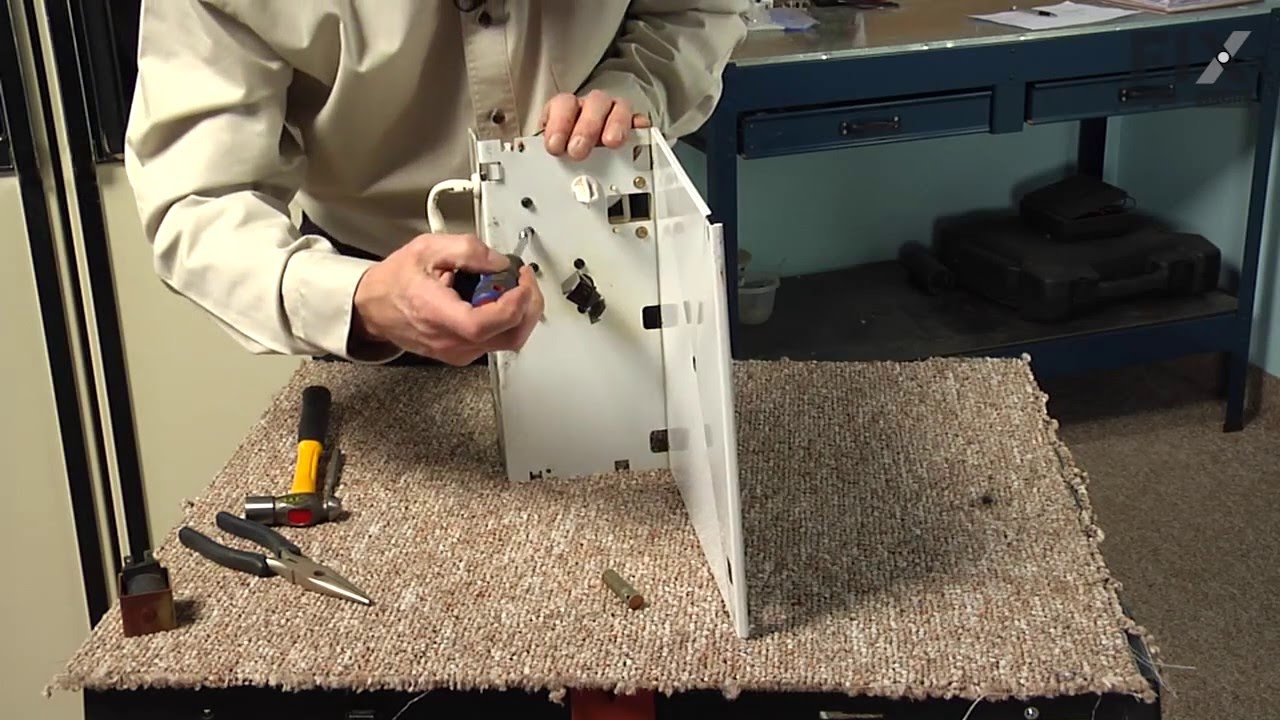
See how others fixed this model. Time, tools, difficulty, and steps that lead to victory!
View More
Search repair tips from other customers using simple keywords like "replace", "fit", "remove", "inspect". DIY doesn't mean you have to do it alone!
Search filter:
Clear Filter
Your search term must have 3 or more characters.
Door would not close and seal properly
42 of 53 people
found this instruction helpful.
I found a little piece of the door closing cam broke off. While inspecting the door I found the bottom section of the seal cracked.
Parts were received within 3 days. Door cam was simple to replace. Door seal was a little tricky but tips on packaging helped me prepare the seal by heating in hot water. Everything went togeth ... Read more er and my 17 yr old fridge works great again.
Parts were received within 3 days. Door cam was simple to replace. Door seal was a little tricky but tips on packaging helped me prepare the seal by heating in hot water. Everything went togeth ... Read more er and my 17 yr old fridge works great again.
Read less
Other Parts Used:
Was this helpful?
Thank you for voting!