CSW45 Scotsman-Residential Ice Maker - Overview
Sections of the CSW45
[Viewing 1 of 1]Keep searches simple, eg. "belt" or "pump".
Thermistor
PartSelect #: PS11755741
Manufacturer #: WPW10503764
This is a bin thermostat made for standalone ice makers to activate the ice maker shut-off when bin is full. It senses how much ice is in the bin to determine if it should produce more ice or activate...
$73.04
In Stock
Door Light Switch
PartSelect #: PS11738900
Manufacturer #: WP2149705
The purpose of the light switch in your refrigerator is to automatically turn on the light when the door is opened. If the light does not come on automatically when you open the door, the contacts ins...
$44.23
In Stock
Complete Ice Cutter Grid Assembly
PartSelect #: PS11740334
Manufacturer #: WP2313637
If your freestanding ice maker is not producing ice properly, the ice cutter grid assembly may need replacing. The cutter grid is located within the main unit of the ice maker and contains thin, heate...
$163.15
In Stock
Condenser Fan Motor
PartSelect #: PS11723170
Manufacturer #: W10822259
NOTE: As per the manufacture the part does not come threaded. A self tapping screw will need to be used to make threads.
$152.20
In Stock
Ice Maker Drain Fastener Cap
PartSelect #: PS11739077
Manufacturer #: WP2185696
This is a drain fastener cap and is used in conjunction with your freezer/refrigerator. This model is almost 1.5 inches in diameter, half an inch thick, and is white in color. This piece will fasten t...
$34.74
In Stock
Water Inlet Valve
PartSelect #: PS11703451
Manufacturer #: W10801996
This part releases water from the supply line when it's activated.
$137.91
On Order
Refrigerator Screw
PartSelect #: PS11747799
Manufacturer #: WP999367
Sold individually.
$7.47
In Stock
Ice Maker Water Distributor Tube
PartSelect #: PS11738017
Manufacturer #: W10863947
The water distributor tube distributes water from the reservoir to the evaporator plate.
$51.61
In Stock
Ice Maker Electronic Control Board
PartSelect #: PS11740236
Manufacturer #: WP2304016
This part is also known as the "brains" of the appliance.
No Longer Available
Ice Maker Screw
PartSelect #: PS11741613
Manufacturer #: WP3400884
Screw size is 8-18 x 5/8". Used with stand-alone ice cube makers.
$7.47
In Stock
Condenser Fan Blade - Steel
PartSelect #: PS11739154
Manufacturer #: WP2190685
This fan blade circulates air over the condenser. It mounts onto the shaft of the condenser fan motor.
No Longer Available
Questions And Answers for CSW45
Be the first to ask our experts a question about this model!
✖
Ask a Question
Ask our experts a question on this model and we'll respond as soon as we can.
Sorry, we couldn't find a match for "".
Here's a guide for finding your model number.
Something went wrong. Please try again later.
Your Question Has Been Submitted!
Our experts will send you an email as soon as your question has been answered.
Common Symptoms of the CSW45
[Viewing 5 of 5]Light not working
Fixed by
these parts
these parts
Show All
Noisy
Fixed by
these parts
these parts
Show All
Fridge too warm
Fixed by
these parts
these parts
Show All
Freezer section too warm
Fixed by
these parts
these parts
Show All
Fridge and Freezer are too warm
Fixed by
these parts
these parts
Show All
Keep searches simple. Use keywords, e.g. "leaking", "pump", "broken" or "fit".
Broken light switch
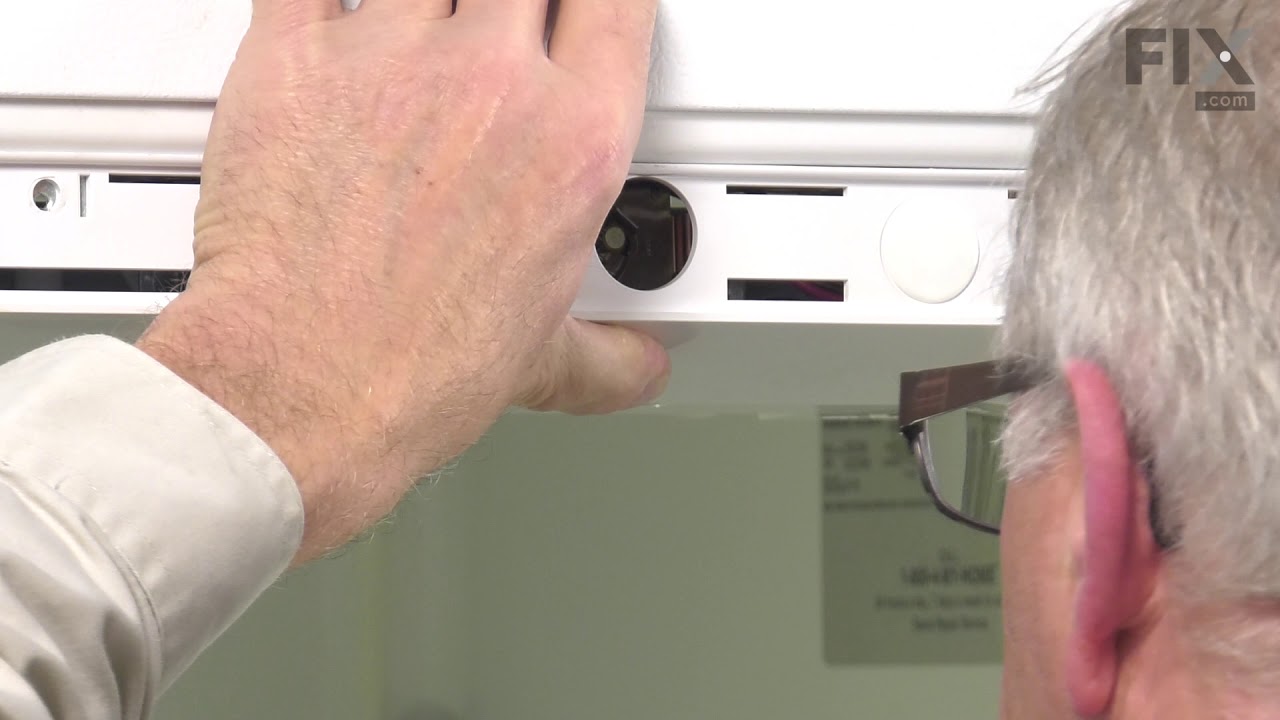
Took all the screws out of the plastic shroud that encloses the switch .There only four that I needed to remove, were the two in front where the switches that go,they go in horizontally and two in the back with large washers on them that hold the back to the top of the box that go in vertically.The switch was a snap ( make that two snaps
... Read more
) the wiring is almost self explanatory. then it gos back to the way you took it off. OH! and don't forget to turn the light bulb all the way back in to the socket , so the light will work after you take the time to install it yourself.I had the water supply line from under the box to the water dispenser in the door and the total bill on that was one hundred thirty seven and a hand full of change.Don't be afraid to do it yourself the savings is enough on one one item to make several months payments on a new one Randy the "Handy Man'
Read less
Parts Used:
-
Randy from Hays, KS
-
Difficulty Level:Really Easy
-
Total Repair Time:15 - 30 mins
-
Tools:Socket set
79 of 131 people
found this instruction helpful.
Was this instruction helpful to you?
Thank you for voting!
Believed the condensor motor was defective and causing strange odor
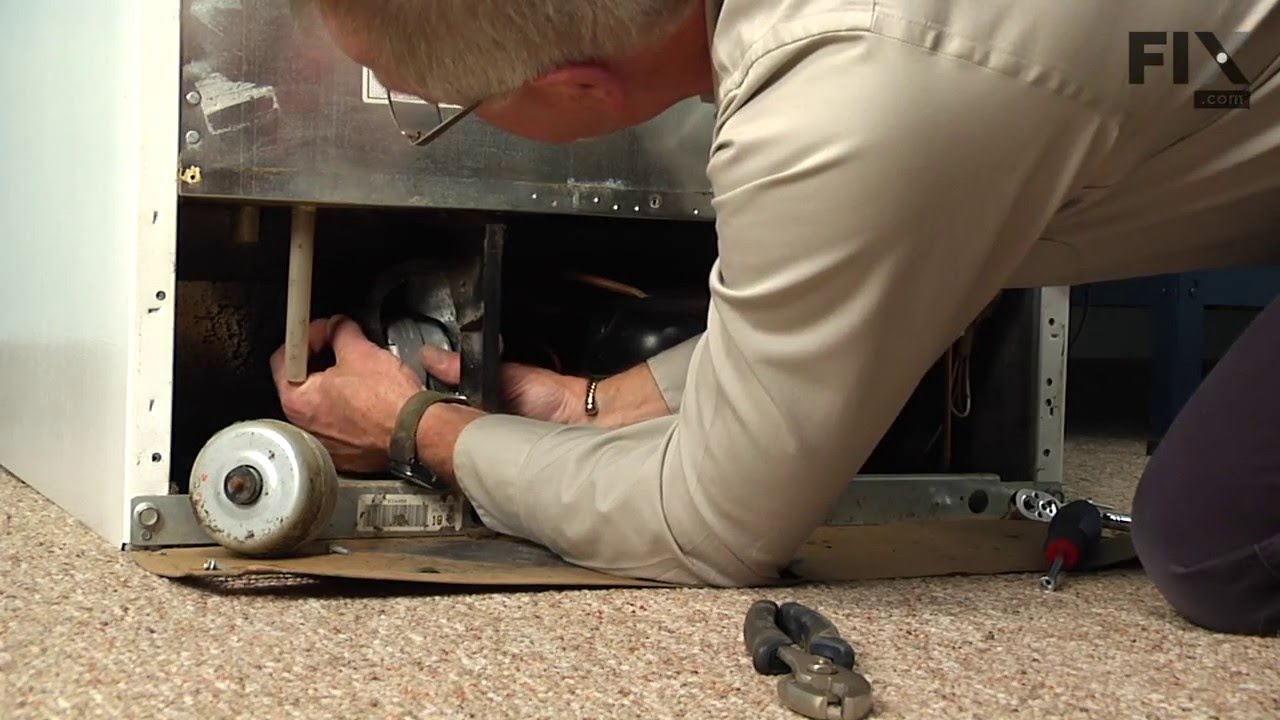
First disconnected the quick release electrical connection. Then loosened the three screws that were holding the motor in the bracket. However, space is limited and even with small hands it was rather difficult as the screws were in there very tight. There are a few sharp edges on the bracket and in the surrounding area of the motor ar
... Read more
ea, and nicked myself a couple of times. Removed the fan blade from the old motor and attached it the new motor with the old flat washer/screw. Reconnected the electrical connection and that was that. All-in-all an easy repair.
Read less
Parts Used:
-
Nicholas from Frankfort, IN
-
Difficulty Level:Easy
-
Total Repair Time:30 - 60 mins
-
Tools:Nutdriver, Pliers, Socket set
46 of 52 people
found this instruction helpful.
Was this instruction helpful to you?
Thank you for voting!
Noisy and the Fan wasn't blowing like it should
I saved my Whirlpool Refrigerator (Model ET21GKXHN00) and learned a lesson. Don’t put off cleaning the refrigerant coils underneath the refrigerator. I replaced the refrigerator about 10 years ago and began to notice that the sound of this one running had changed slightly. I remembered that’s what happened to the first one just before
... Read more
it died. I removed the panel on the bottom front and saw that the refrigerant coils were covered with dust. It was really bad. I vacuumed them with the “radiator attachment” on the vacuum cleaner and plugged the refrigerator back in. It still didn’t sound right and I couldn’t feel the air blowing out like it should. So I rolled the refrigerator out and removed the back lower cover to see the compressor and the cooling fan. The fan was clogged with dust so I vacuumed that as well. But the fan wouldn’t spin freely by hand. The fan motor only had 3 screws holding it onto the plastic fan bezel and was easily removed by unsnapping the electrical connector on the motor. I removed the fan motor and tried to clean it with a few drops of WD40 on the shaft. But when I put it all back and plugged it in the fan just barely started turning. I unplugged the refrigerator and ordered the fan motor from PartSelect.Com (Item Number PS371043). The picture looked exactly like the motor that was in my refrigerator. I threw everything away in the refrigerator, cleaned it out and left it unplugged until the motor came. The motor arrived in a few days and it looked exactly like the one I had removed. It had the same electrical specifications stamped on the back and the electrical connector was the same and in the same location on the motor. I put the fan blade on the new motor and installed it exactly like the old one was. It only took 15 minutes or so and was very easy to install. When I plugged the refrigerator in the compressor started right away and so did the fan. It ran like a champ. In a few hours the refrigerator got cold and began to cycle on and off like normal and the fan blows like new. The sound is normal and the total running sound is quiet again like a new refrigerator. So for $84.67 I saved my $1300 refrigerator and learned not to neglect checking the build up of dust in the compressor fan section. I’m sure that’s what happens to most of the refrigerators people put out for trash pickup in front of their houses. The cause of the problem is when air flow is restricted across the refrigerant coils too much heat returns to the compressor and eventually causes the compressor to fail. I appreciate that we live in a time when you can order exactly what you need on the internet and make home repairs when you need to. Thanks Part Select for sending me the correct part. It’s nice to have milk and cold drinks again.
Read less
Parts Used:
-
William from Centreville, VA
-
Difficulty Level:Really Easy
-
Total Repair Time:15 - 30 mins
-
Tools:Nutdriver, Screw drivers, Socket set
35 of 36 people
found this instruction helpful.
Was this instruction helpful to you?
Thank you for voting!