EasyApplianceParts is now PartSelect! We've merged our sites to provide a better shopping experience for you.   Full Details

Find Parts

Parts Departments

Top Model Types

Top Brands

Repair Help

Expert Repair Videos

Keep typing for more specific results...

CST20KABGAD Hotpoint Refrigerator - Overview

Diagrams for CST20KABGAD

See every part. Know exactly what you need.

Enter a part description. DIY Heroes keep it simple, eg. "belt" or "pump".

Search filter:
Clear Filter
Your search term must have 3 or more characters.
Defrost Heater Harness Kit – Part Number: WR51X10101
$69.02
In Stock
Defrost Heater Harness Kit
★★★★★
★★★★★
(17)
Part #WR51X10101
This dual heater kit replaces the single heater. It's redesigned to use two heating elements for a better defrost cycle.
Bottom Hinge Assembly – Part Number: WR13X10020
$55.23
In Stock
Bottom Hinge Assembly
★★★★★
★★★★★
(30)
Part #WR13X10020
Comes with both cam risers. This hinge kit is suitable for the bottom of either the freezer door or the refrigerator door of some refrigerators.
Light Bulb - 40W – Part Number: 40A15
$21.95
In Stock
Light Bulb - 40W
★★★★★
★★★★★
(10)
Part #40A15
This 40-Watt light bulb is sold individually. It is specially designed to withstand extreme temperatures, so this bulb is compatible with a variety of appliance types including refrigerators, ranges, microwaves, and dryers. It features a frosted glass bulb with a standard metal socket base, which allows you to easily unscrew the burnt-out light and twist the new bulb into place.
Hinge Cam Riser – Part Number: WR02X10140
$17.15
In Stock
Hinge Cam Riser
★★★★★
★★★★★
(10)
Part #WR02X10140
This part helps with the closing of the door and helps keep it in position.
Screw – Part Number: WH2X930
$16.05
In Stock
Screw
★★★★★
★★★★★
(1)
Part #WH2X930
This screw is sold individually.
Drawer Slide Rail - Left Side – Part Number: WR72X10010
No Longer Available
Drawer Slide Rail - Left Side
★★★★★
★★★★★
(2)
Part #WR72X10010
This part is the replacement drawer slide rail for your refrigerator. It is made of white plastic and is approximately 16 inches long and 1.5 inches wide. The crisper draw will slide in and out along this rail. If the rail is damaged or missing, the crisper will either hang from one side, or it will not stay in place at all. The drawer slide rail is for the left side of the drawer only, so be sure to check that you are replacing the correct drawer rail. This part is sold individually and is an OEM part sourced directly from the manufacturer.
Screw – Part Number: WR01X10038
No Longer Available
Screw
Part #WR01X10038
This screw is sold individually. Size 8 -18 ab fltr 5/8.
Drawer Slide Rail - Right Side – Part Number: WR72X10009
No Longer Available
Drawer Slide Rail - Right Side
★★★★★
★★★★★
(2)
Part #WR72X10009
This drawer track supports the right hand side of the sliding drawer.
Defrost Heater with Thermostat – Part Number: WR51X10031
No Longer Available
Defrost Heater with Thermostat
★★★★★
★★★★★
(4)
Part #WR51X10031
This part assembly has 2 functions: The defrost heater keeps the cooling coils from frosting over and the thermostat senses that the heat near the cooling coils has reached the desired temperature.
Screw -  8-18 AB IHW 5/8 S – Part Number: WR01X10652
$15.00
In Stock
Screw - 8-18 AB IHW 5/8 S
Part #WR01X10652
Sold individually.
Screw 12-24 tt hx .811 – Part Number: WR01X10600
$15.00
In Stock
Screw 12-24 tt hx .811
Part #WR01X10600

Common Symptoms of the CST20KABGAD

How this model fails, and the parts that fix it.

Watch our pros, then fix it yourself.
See how others fixed this model. Time, tools, difficulty, and steps that lead to victory! View More

Search repair tips from other customers using simple keywords like "replace", "fit", "remove", "inspect". DIY doesn't mean you have to do it alone!

Search filter:
Clear Filter
Your search term must have 3 or more characters.
Defrost Heater blows out, refrigerator frosts up, then stops cooling
409 of 435 people found this instruction helpful.
  • Stuart from Lynchburg, VA
  • Easy
  • 15 - 30 mins
  • Screw drivers
Disclaimer - if you aren't confident about doing this repair, call a repair specialist in. Also, take care not to damage the freezer coils as they have refrigerant in them that I'm told is harmful if it leaks. It may also be under pressure. The instructions that follow won't require you to touch the coils. There is no need to unplug the r efrigerator or disconnect the water supply to do this repair. The screw driver you will need is a phillips (the one withe the + head).

1st, take out your frozen food (which, if you need to do this repair may not be frozen) and put it in a cooler or the refrigerator.
2nd, remove the ice cube bucket and dump the ice cubes in the cooler to help keep the frozen food cool. Turn the ice cube maker off.
3rd, remove the freezer shelves.
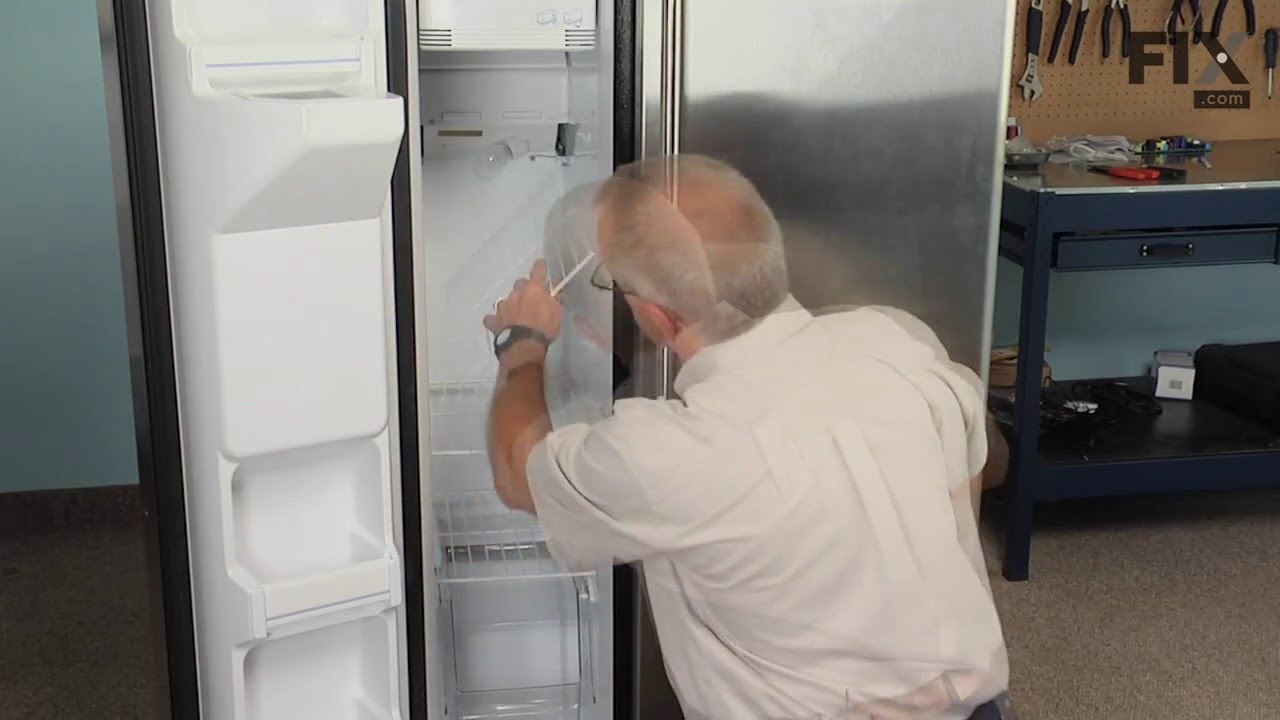
4th, locate the panel covering the freezer coils. It's a panel at the back of the freezer. It hides the freezer coils and protects them from damage. It's held in place by two screws located at the top left and right corners of the panel.
5th, unscrew the screws holding the panel to the refrigerator.
6th, detach the clip at the top of the panel.
7th, remove the panel. You should see the coils now. The coils will be covered in frost if the defroster heater has failed. If the coils are not covered in frost, there may be another reason for the refrigerator failing to cool.
8th, even if the coils are covered in frost, you should also inspect the defroster heater at the bottom, underneath the coils. The business end of it is a long tube running horizontally between two wires. If it's black like a badly burned out light bulb, then it's failed. If the bulb appears fine, you may have a different reason for your refrigerator and freezer frosting up. We'll assume that the defroster heater has blown out, and proceed.
9th, place a towel at the bottom of the panel space, to soak up any water that melts and runs down. There is a drain under the coils. It collects water that melts during the defrost cycle, but I'd rather mop up the water instead of relying on the drain.
10th, use hot air blowing from the hair dryer to defrost the coils. Just play the air from the hair dryer over the coils, starting at the top, and working down. The frost will quickly melt and the water will be soaked up by the towels. If you want things to go faster, you can throw hot water on the coils to melt them faster, but that produces more water to mop up, and makes a big mess. It's also dangerous to have water lying around if you then decide to use the hair dryer to continue defrosting the coils.
11th. MOST IMPORTANT. Don't use your screwdriver or any other sharp object to pick away at the frost on the coils. If you damage the coils the refrigerant could leak out. I'm told that it's dangerous stuff. Furthermore, I expect that you'd have to buy a new refrigerator if you damaged the coils.
12th, once you've defrosted the coils, locate the defroster heater and bracket assembly again. It's held in place by two screws, and has two insulated wires running into it on either side. Unscrew the screws, disconnect the wires and remove the assembly. Throw it away - there are no useful parts in it.
13th, install the new defroster heater and bracket assembly by connecting the wires to it, mounting it back into its place, and rescrewing the screws.
14th, put the panel back in place, replace the clip, and screw the panel back in place.
15th, turn the ice cube maker back on and replace the ice cube bucket and shelves. Put your food back into the freezer.
16th, use the freezer and refrigerator as normal. If the defroster heater fails again (I'm on my third one in less than six years), you'll notice frost building up on the panel at the back of the freezer before your freezer and refrigerator stops cooling. The frost build up is your signal to defrost the freezer and buy another defroster heater and bracket assembly. I don't know why this part is so weak, and don't know any fix except to keep replacing it.
Was this helpful?
Thank you for voting!
The back of my freezer section was covered with ice.
73 of 79 people found this instruction helpful.
  • Brian from Cary, NC
  • Really Easy
  • 15 - 30 mins
  • Nutdriver, Screw drivers
1. Important: First you will need to prepare for water from melted ice. Plug the drain hole in the bottom rear of the freezer. Have plenty of rags near by. A pan or small bucket is helpful.

2. Unplug refrigerator

3. Remove (4) screws (2) w/screwdriver and (2) w/nut driver. You can remove the light cover to get it out of the way but you don't have to.

4. Remove the evaporator cover (The rear wall)

5. Melt and remove any ice build up. Remember those rags?

6. Remove (2) screws from the heater bracket

7. Remove the failed heater. My old heater was a single element. The new heater was a dual element. This made no difference.

8. Disconnect (2) wires.

9. Re-route and reconnect (2) wires. The wires were re-routed because the new heater has both wires on the same side. Not a problem.

10. Install new heater on the bracket (2) screws

11. Replace cover (4) screws

12. Power up the refrigerator
Was this helpful?
Thank you for voting!
My wife said, "the refrigerator door won't close".
54 of 58 people found this instruction helpful.
  • Gregory from Zephyrhills, FL
  • Really Easy
  • 15 - 30 mins
  • Socket set
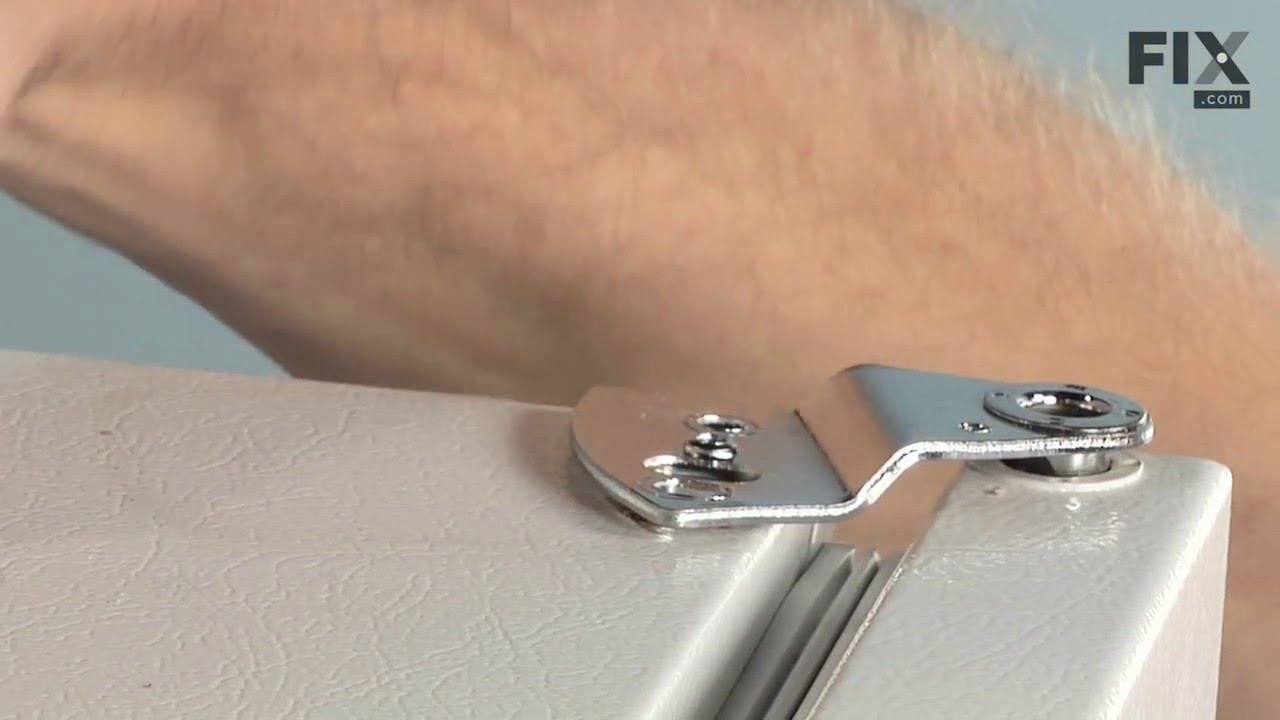
Our refrigerator is a double door unit with ice and water in the left door. The right door was the one with the problem. It was 5:15 AM when the problem occured. I could see that the door was out of alighnment and had dropped down - preventing it from closing. I lifted the door and closed it. I wrote down the model number and found a detailed drawing of the appliance on the web site "partselect.com". When the hing earrived I compared it to the broken one. I removed all the food stored on the door, put several pieces of wood under the door to shim it to the same height as the adjacent door. I then removed two bolts from the refrigerator with a 1/4" socket set. I put the shim from the old hing aside for later. I removed two bolts from the door with the same socket -Note a metal tab had to be bent silghtly so the wrench could go on the head of the bolt- I removed the plastic cam and made note of its orientation and that of the shim above it on the door. I put the shim and new cam in place on the door and installed the 2 bolts. I inserted the pin of the new hing into the hole in the cam (I had just mounted) on the door. I put the shim (the one put aside earlyer) behind the hing and replaced the two bolts. I held the shim and hing up against the door as I tightened the two bolts. When I was satisfied that the bolts were tight I removed the wooden blocks that were holding the door up so the door was supported by the new bottom hing assembly. The door now opperates perfectly and the refrigerator was not taken out of service for the repair. Total time including cleanup was a little over 15 minutes.
Was this helpful?
Thank you for voting!