



 My Orders




CSF24MWR Hotpoint Refrigerator - Overview

Enter a part description. DIY Heroes keep it simple, eg. "belt" or "pump".
Search filter:
Clear Filter
Your search term must have 3 or more characters.

$33.78
In Stock
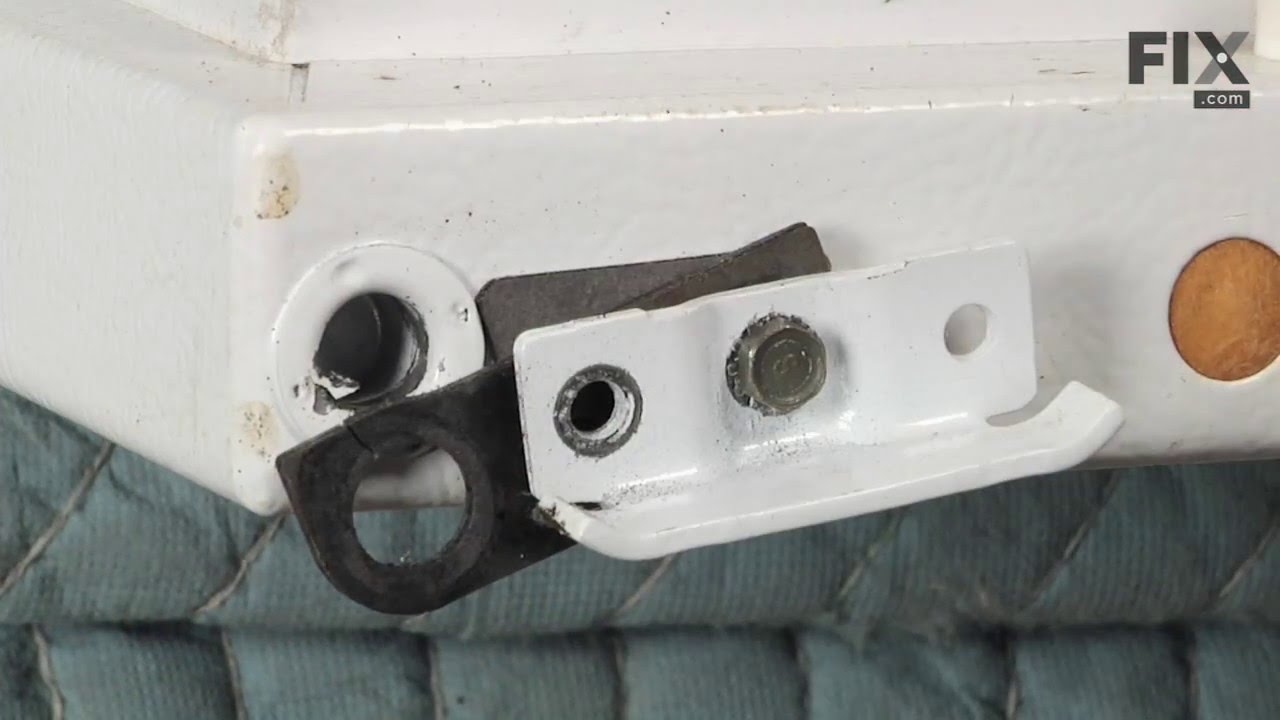
Door Closing Cam
Part #WR2X4901
This refrigerator door hinge cam riser is designed to ensure smooth and consistent door movement. Installed directly on the door, it helps the appliance open and close properly by guiding the door to rise and fall gently, which also supports a secure seal. Made from durable plastic, this part is ideal for resolving issues such as doors that stick, fail to seal correctly, or make unusual noises during operation.

$38.32
In Stock
LIGHT SWITCH
Part #WR23X37285
The interior light of your refrigerator is controlled by a switch that is activated when the door is opened and closed. If your refrigerator light will not turn on, there could be an issue with the switch. The switch is spring loaded and is a generally closed type of switch meaning there should be no continuity when the button is depresse...Read mored, and continuity through the switch when the button is not depressed. This plastic, white, OEM switch is sourced directly from the manufacturer, is sold individually and is easy to replace. The repair usually takes less than 15 minutes and requires a flat blade screwdriver and needle nose pliers.
Read less

$55.29
In Stock
Drawer Slide Rail - Left Side
Part #WR72X207
This drawer track supports the left hand side of the sliding drawer.

No Longer Available
Drawer Slide Rail - Right Side
Part #WR72X206
This drawer track supports the right hand side of the sliding drawer.

$23.16
In Stock
Light Socket
Part #WR2X9391
This part is a replacement light socket for your refrigerator. It connects to the power source, and holds the light bulb. If the light in your refrigerator is not working, you could have a faulty socket. It is important to determine if the light bulb is simply burned out, or if the socket is causing the issue. Be sure to disconnect your r...Read moreefrigerator from the power source before you begin this repair. This socket is black in color and is sold individually. This is an OEM part sourced directly from the manufacturer.
Read less

$34.93
In Stock
Evaporator Fan Blade Kit
Part #WR60X114
This kit features a 5-blade plastic evaporator fan blade that rotates CCW and measures 4.5-inches in diameter and has a 3/8-inch-tall shaft. This kit also has a metal compression ring that secures the fan to the evaporator. The evaporator mechanism is normally located in the freezer and is responsible for pulling the warmer air over the c...Read moreondenser coils, cooling it off and then blowing and circulating that cooler air through the rest of the refrigerator. If the freezer compartment has a frost buildup or if there is a lack of cooling and airflow in your refrigerator, this fan likely needs to be replaced. To replace your evaporator fan, you will likely need a screwdriver and a set of pliers and check your user manual for the exact location of your evaporator fan.
Read less

$24.08
In Stock
Defrost Thermostat Kit
Part #WR50X55
This refrigerator defrost thermostat will cut out at 55 degrees F and kick back in when the temperature drops to 35 degrees F. It comes with connectors and the mounting brackets.

No Longer Available
Door Shelf Retainer Bar End Cap
Part #WR2X5795
This is the replacement door shelf retainer bar end cap for your refrigerator. An end cap connects to the lower shelf bar on either side, and then snaps into position on the refrigerator door, allowing you to store items in the refrigerator door. To replace the end cap, simply disengage the whole bar assembly from the refrigerator door, t...Read morehen disengage the hook on the end cap from the rest of the bar assembly. Then, simply snap the end cap back into place, and connect it back to the refrigerator door. This part is sold individually.
Read less

No Longer Available
EVAPORATOR FAN MOTOR KIT
Part #WR60X30349
This evaporator fan motor operates in a counter clockwise fashion. This motor's shaft is 3/8 of an inch and the motor has two right side terminals. NOTE: Harness wires NO longer come with the part.

No Longer Available
Retainer Bar End Cap
Part #WR2X4100

$175.96
Special Order
Condenser Fan Motor
Part #WR60X177
This condenser fan motor operates in a clockwise fashion. The fan itself has two 1/4 inch spade terminals. It carries 2 watts and 115 volts. This motor NO longer comes with cover for terminals.

No Longer Available
DOOR STOP
Part #WR2X4537
Common Symptoms of the CSF24MWR
How this model fails, and the parts that fix it.
Light not working
Fixed by
these parts
these parts


Show All
Door won’t open or close
Fixed by
these parts
these parts

Show All
Noisy
Fixed by
these parts
these parts


Show All
Fridge too warm
Fixed by
these parts
these parts

Show All
Freezer section too warm
Fixed by
these parts
these parts
Show All
Door Sweating
Fixed by
these parts
these parts
Show All
Freezer not defrosting
Fixed by
these parts
these parts
Show All
Leaking
Fixed by
these parts
these parts

Show All
Fridge runs too long
Fixed by
these parts
these parts
Show All
Clicking sound
Fixed by
these parts
these parts
Show All
Watch our pros, then fix it yourself.


See how others fixed this model. Time, tools, difficulty, and steps that lead to victory!
View More