


 My Orders




CSB923M2N2S5 General Electric Microwave - Overview
Diagrams for CSB923M2N2S5
See every part. Know exactly what you need.

Enter a part description. DIY Heroes keep it simple, eg. "belt" or "pump".
Search filter:
Clear Filter
Your search term must have 3 or more characters.

$21.81
In Stock
Microwave Fuse
Part #WB27X10928
This ceramic microwave fuse is just over an inch in length. It is white in the center, and metal on both ends. This is a 20-amp fuse, and is used to power your microwave. If the touch pad on the microwave becomes unresponsive, the microwave produces little to no heat, or the appliance simply does not turn on, it could mean that your fuse ...Read moreis at fault and needs to be replaced. Because this part contains an electrical charge, remember to disconnect power to the microwave unit before you begin this repair.
NOTE: Before you start this repair, ensure that the microwave is unplugged, and the capacitor is discharged. A capacitor stores large amounts of electricity even after your microwave is unplugged.
Read less

$27.56
In Stock
HALOGEN LAMP
Part #WB02X35488
This genuine OEM halogen lamp is designed to provide bright, reliable lighting inside the microwave cavity or over the cooktop surface. Rated for high-temperature operation, it helps ensure clear visibility while cooking and venting. Replacing a burned-out or dim bulb restores proper illumination and improves everyday usability. Installat...Read moreion is straightforward once power is disconnected, and care should be taken to handle the bulb properly to ensure safe, long-lasting performance.
Read less

$54.07
In Stock

$16.07
In Stock
Cable Assembly
Part #WB27X35382
This part is the replacement high-voltage diode for your microwave. It is approximately 3 inches long and is sold individually. The high voltage diode is an electrical current control device inside your microwave. Be sure to disconnect power to the microwave, and use extreme caution when completing this repair, as microwaves can still ret...Read moreain an electrical charge even when unplugged. This part is an authentic OEM part sourced directly from the manufacturer.
Read less

$39.45
In Stock
Monitor Interlock Switch
Part #WB24X25397
This switch monitor interlock is a critical safety component designed to ensure proper communication between the microwave door latch and the control board. When functioning correctly, it confirms that the door is securely closed before allowing the microwave to operate. A damaged or faulty switch may prevent the unit from starting, even ...Read moreif the door appears latched. Replacing this genuine part restores safe and reliable operation. Installation should be performed with care, and it's recommended to disconnect power before beginning any repair.
Read less

$113.77
In Stock

$22.96
In Stock

$184.17
In Stock
Microwave Magnetron
Part #WB26X32629
Genuine OEM magnetron for your microwave. Always use proper safety equipment and follow the manufacturers instructions while installing.

$110.56
In Stock
Roller Guide
Part #WB06X10775
If your microwave’s turntable isn’t rotating smoothly, the roller guide may be the issue. Positioned beneath the glass tray, this component helps ensure even spinning during operation. Designed for select models, it’s a direct replacement that restores proper movement and supports consistent heating. Be sure to check your microwave’s model number before purchasing to confirm compatibility.

$58.05
In Stock
Capacitor
Part #WB27X11033
This capacitor delivers the electrical boost required for motors to start and operate efficiently. Proper capacitance reduces strain on motor components and helps prevent startup failures or inconsistent performance. Replacing a weakened capacitor restores smooth motor operation and supports long-term reliability.

$22.89
In Stock

$129.82
In Stock
Light Lens Cover
Part #WB36X10129
This range ceramic light lens covers and protects the interior light bulb, allowing clear illumination of the cooking area while shielding the bulb from heat and debris. Made from durable, heat-resistant glass, it helps maintain visibility during use and supports safe operation of the appliance. Replacing a cracked, broken, or discolored ...Read morelens restores proper lighting and helps keep the interior looking clean and functional.
Read less
Common Symptoms of the CSB923M2N2S5
How this model fails, and the parts that fix it.
No heat
Fixed by
these parts
these parts


Show All
Won’t turn on
Fixed by
these parts
these parts


Show All
Touchpad does not respond
Fixed by
these parts
these parts
Show All
Doesn’t shut off
Fixed by
these parts
these parts

Show All
Tray won’t turn
Fixed by
these parts
these parts

Show All
Watch our pros, then fix it yourself.

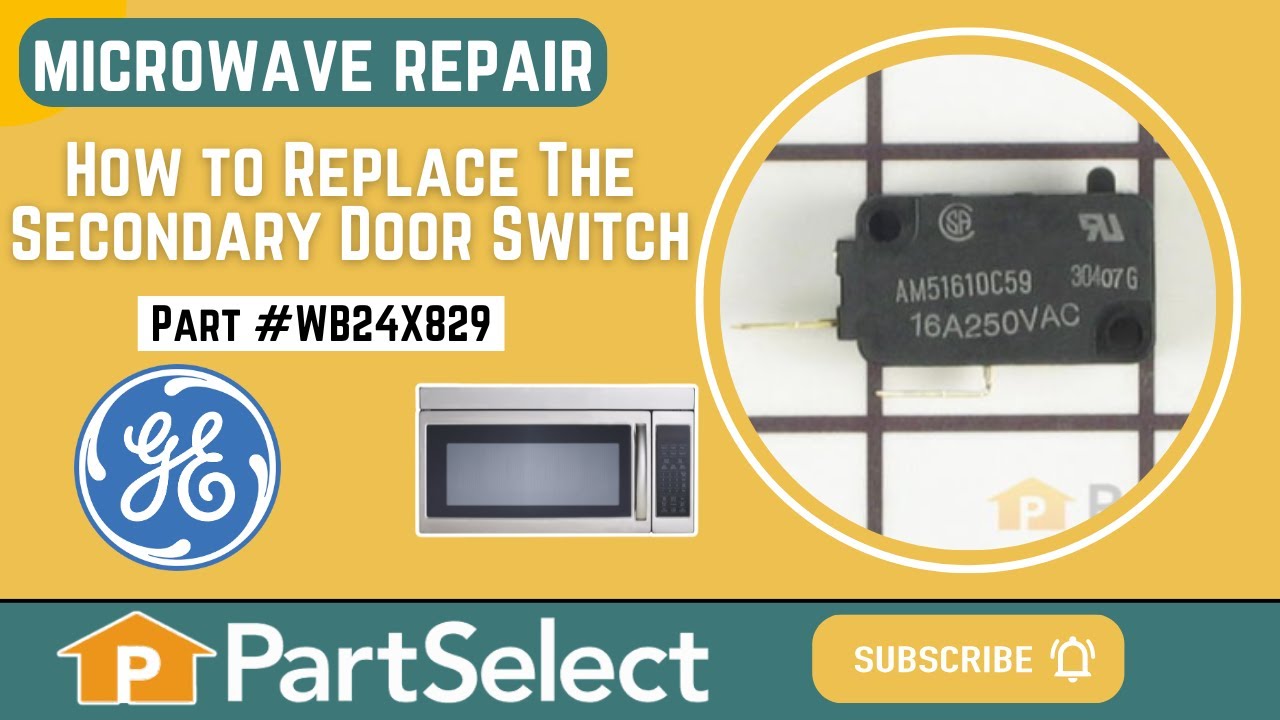
See how others fixed this model. Time, tools, difficulty, and steps that lead to victory!
View More