


 My Orders




CS-352 Echo Chainsaw - Overview
Models starting with CS-352
Click on the best match to narrow your results.
- CS-352 Echo Chainsaw (34cc Chainsaw)
- CS-352 (C19612001001 - C19612999999) Echo Chainsaw (34.1cc Easy-Starting Chain Saw)
- CS-352 (C19711001001 - C19711999999) Echo Chainsaw (34.1cc Easy-Starting Chain Saw)
- CS-352 (C19813001001 - C19813999999) Echo Chainsaw (34.1cc Easy-Starting Chain Saw)
- CS-352 (C33314001001-C33314999999) Echo Chainsaw (Chainsaw)
- CS-352 (C68115001001-C68115999999) Echo Chainsaw (Chainsaw)
- CS-352 (C70415001001-C70415999999) Echo Chainsaw (Chainsaw)
- CS-3520 (C93429001001 - C93429999999) Echo Chainsaw (Cs-3520 S/N: C93429001001 - C93429999999)
Enter a part description. DIY Heroes keep it simple, eg. "belt" or "pump".
Search filter:
Clear Filter
Your search term must have 3 or more characters.

$6.40
In Stock
Trimmer Fuel Grommet
Part #13211546730
This is a genuine ECHO/Shindaiwa replacement part It is compatible with over 150 machines listed below. The Fuel Line Grommet is placed into the fuel tank. The Vent tube, Fuel return line and fuel line are inserted through the three holes. A worn Fuel Line Grommet will cause fuel to leak from the tank. When replacing the Grommet it is advisable to replace the fuel lines at the the same time.

$6.40
In Stock
Trimmer Spark Plug
Part #15901019830
This Spark Plug Bpm-8y is a silver and white OEM part. Made of steel and ceramic it is individually sold, and is an electrical part. It is installed with a spark plug socket and is rated as Easy to install. It is attached inside of the cylinder head, and is used to ignite the air fuel mixture inside the combustion chamber.
You can clean...Read more the spark plug with a fine sandpaper of 180 or more, then spray it with carburator cleaner and wipe dry. However, even after regular maintenance, spark plugs need to be changed as part of good engine fine-tuning. Regap to manufacturer specifications. Refer to your owners manual or model number to ensure you are choosing the correct product.
Note: If your engine has more than one cylinder and sounds like it has a miss, you can remove each spark plug wire one at a time to find the miss. If the engine drops in rpm when you remove the wire, then that cylinder is fine, if it does not drop then you have found your miss!
Read less

$7.73
In Stock
Fuel Filter
Part #A369000480
This OEM Fuel Filter is a silver and white, steel/felt, part measuring about 1.25 inches in length and 3/4 inch wide. It can be installed with pliers and is rated as Easy to install by customers.
This part attaches inside the fuel tank to clean the fuel of debris, and should be replaced during regular maintenance, check your manual for ...Read morerecommended replacement time. If the filter is leaking or it has a blockage preventing fuel flow, then it should be replaced. If the engine sounds like it is not getting enough fuel, then remove the filter and check it for blockage.
Read less

$10.97
In Stock
Leaf Blower Fuel Tank Vent
Part #A356000031
This a a genuine OEM replacement check valve for your small engine. It is also known as a fuel tank vent. You may need to replace this part if you are noticing debris or dirty oil in the reservoir. Make sure the engine is cool before you begin this repair, and remove the wire and boot from the spark plug to prevent the engine from starting up.

$9.80
In Stock
Purge Bulb
Part #12318139130
This OEM replacement part is used to pump fuel from the tank to the carburetor in order to start the engine. It may also be referred to as a Primer Bulb. It is made of durable black plastic and is sold individually. This part will be found in various locations, depending on your model; refer to your owners manual to locate it on your mach...Read moreine, but is commonly found on the side of the air cleaner or carburetor.
To complete this repair, you will need a screwdriver. The Purge Bulb needs to be replaced when it is cracked or damaged. It will become fatigued through regular use and may leak fuel when it is malfunctioning.
Customers rated this repair as Easy.
Read less

$6.40
In Stock
Nut Flange
Part #V265000200
This flanged hex nut is a genuine OEM steel fastener specifically designed for use in chainsaws and chop saws, serving the purpose of securing various components in these outdoor power equipment devices. It features a flange base that acts as a built-in washer for extra stability and security. The hex nut has a diameter of 6mm, and its th...Read morereaded shaft has a pitch of 20, ensuring a secure and reliable connection. Over time, the bolt can be susceptible to corrosion, cracks, or worn threads, which may result in the loosening or detachment of the connected parts. Detectable signs of such issues include excessive noise, vibrations, and equipment instability. To address this, it is recommended to inspect all bolts within your equipment and replace any that are no longer functioning properly. To replace the bolt, simply use a wrench or socket to loosen and remove the old one, position the new bolt on the mounting surface, and securely tighten it until the flange is flush against the surface. Please note that each flanged hex nut is sold individually.
Read less

$6.06
In Stock
Trimmer Clip
Part #13201309820
This genuine fuel clip is a silver, metal, individually sold part. It can be installed with pliers and is rated as Easy to install by customers.
This part attaches to the fuel filter to secure the fuel line ot the fuel filter. If broken, likely due to fatigue, there may be a fuel leak. If damaged or missing, the part should be replaced. ...Read moreRefer to your owners manual or model number to ensure you are choosing the correct part.
Read less

$11.11
In Stock
Bevel Gear
Part #V651000011
Genuine OEM replacement part, this part is sold individually. The Bevel Gear is part of the chain tensioning assembly of the chainsaws listed below. This part aid in loosening and tightening the chain on the chain bar.

$11.11
In Stock
Bevel Gear
Part #V651000001
This is a genuine manufacturer approved replacement part designed for use with chainsaws. This part is an essential part of chain tensioner mechanism. When replacing this part you will need a screwdriver. It is made out of metal and it is sold individually.

$6.40
In Stock
Guide Stud Bar
Part #V225000031
This is a genuine Echo replacement part that has been sourced from the original manufacturer and is intended to be used with chainsaws. The metal stub is threaded on two ends, one end threads into the chassis and supports the guide bar plate, the bar, and cover. The chain bar bolts secure the outer end of the guide bar studs. This stud is priced as a single item, please note two may be required.

No Longer Available
Grommet
Part #13211544330

$7.95
In Stock
Chain Adjustment Tensioner Bol
Part #V203000110
This is an Authentic Part sourced from Original Manufacturer designed for use with some Echo Chainsaws. This part is made out of Metal and it is Sold Individually. If the chainsaw bar doesn't adjust usually the tension Chainsaw Chain Adjustment Bolt is worn or damaged.
Watch our pros, then fix it yourself.
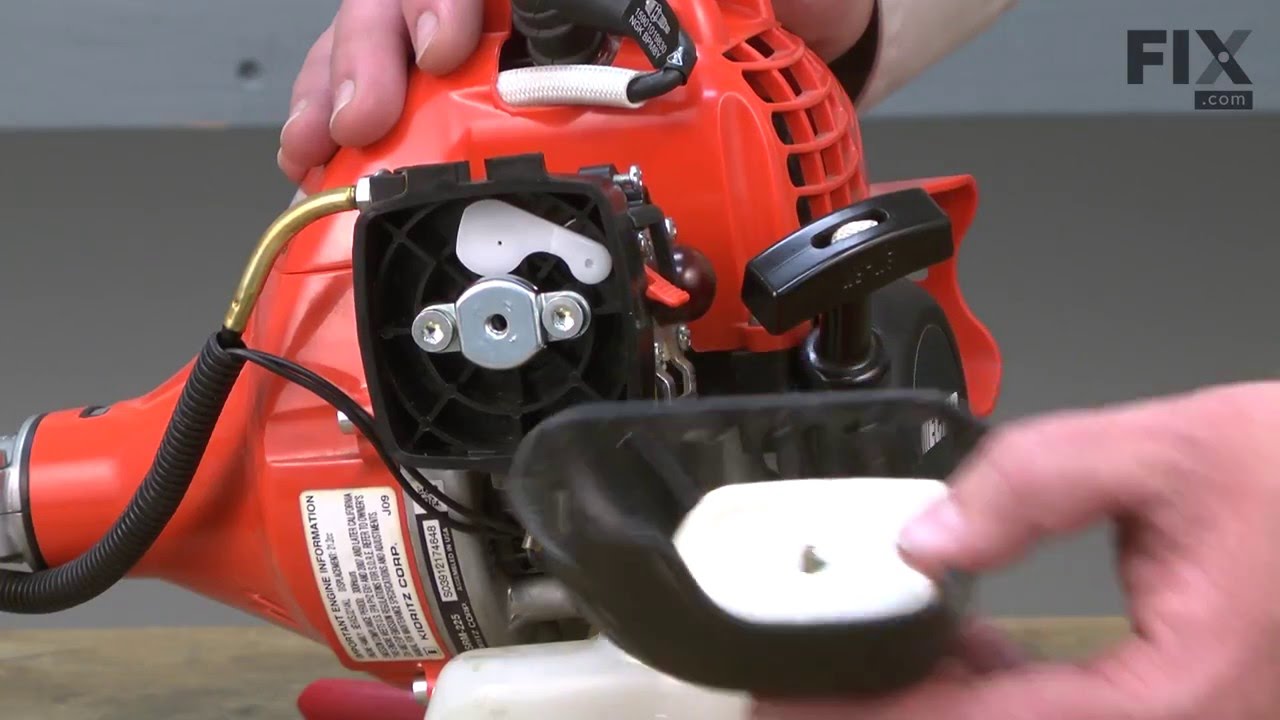
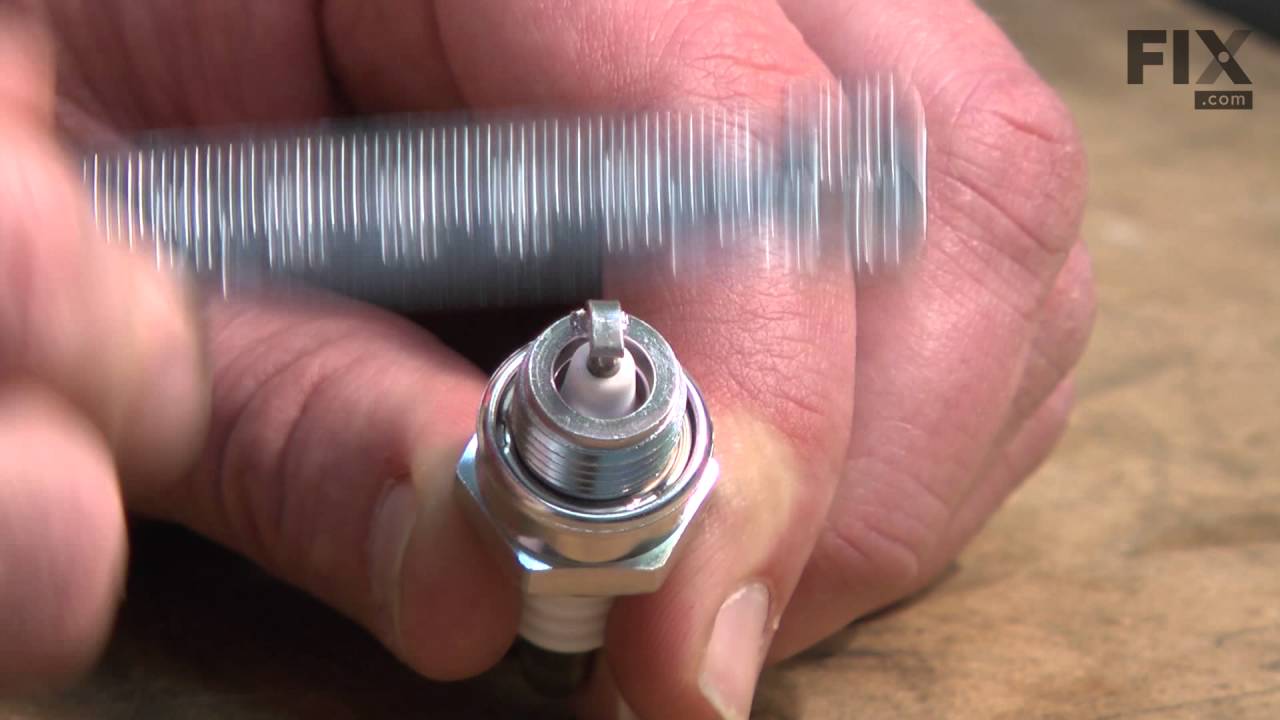
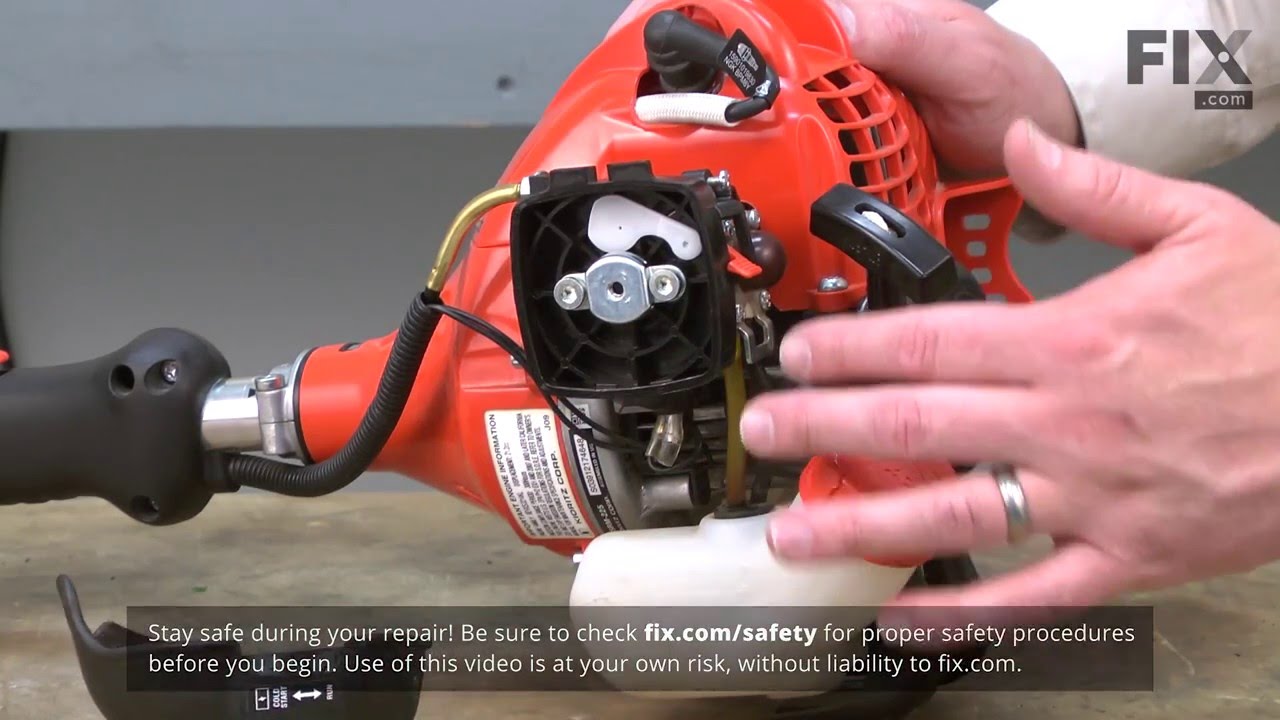
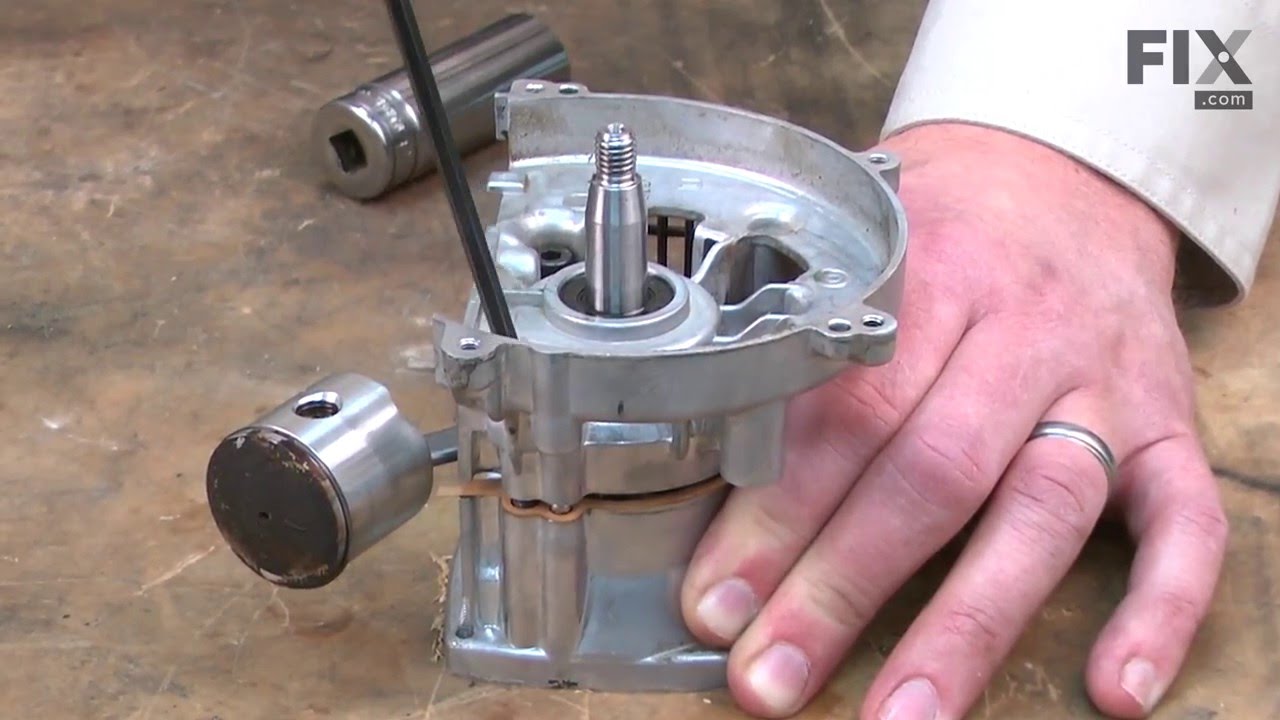
See how others fixed this model. Time, tools, difficulty, and steps that lead to victory!
View More
Search repair tips from other customers using simple keywords like "replace", "fit", "remove", "inspect". DIY doesn't mean you have to do it alone!
Search filter:
Clear Filter
Your search term must have 3 or more characters.
Broke the front handle and stretched the to spring out
1 person
found this instruction helpful.
Removed the old handle by removing the 7 star bit bolts. Best to secure the bottom part first when installing the new handle.
Other Parts Used:


Was this helpful?
Thank you for voting!