


 My Orders




CRE955 Maytag Range - Overview

Enter a part description. DIY Heroes keep it simple, eg. "belt" or "pump".
Search filter:
Clear Filter
Your search term must have 3 or more characters.

$19.54
In Stock
Light Bulb - 40W
Part #8009
This an authentic OEM 40-Watt replacement light bulb, used in a number of household appliances. It is specially designed to withstand extreme temperatures, which is why these replacement bulbs are most often used to light the inside of refrigerators and ranges. It features a standard socket base, which means you simply unscrew the burnt-o...Read moreut bulb and screw in the replacement. Depending on the appliance you may require a screwdriver or nut driver to access the light bulb. We recommend you wear work gloves while handling this replacement part. It is constructed of glass and metal and is sold individually. Depending on the appliance and location of the bulb within it, you may want to consider disconnecting power and using a flashlight for easier access to unscrewing and re-screwing in your bulb during this repair.
Read less

$43.18
In Stock
Long Oven Sensor
Part #12001656
This long oven sensor is also commonly known as a temperature sensor. It is designed for use with ovens and ranges. It is similar to a thermostat; it measures and regulates the internal temperature of your oven cavity. There is an adapter at one end, a probe at the other, and they are connected by an insulated wire. The probe is approxima...Read moretely 7 inches long. You can test the sensor with a multi-meter for functionality. You need to check the model-specific manual to determine what the proper resistance is for your specific appliance. This oven sensor comes with two wire harness adapters and a set of instructions.
Read less

$49.50
In Stock
2 Piece Broiler Pan
Part #4396923
This broiler pan and roasting rack set is designed to help reduce mess while cooking by allowing grease to drain away from food. Its durable porcelain-coated construction stands up to high temperatures and makes cleanup simple. With approximate dimensions of 16 3/4 inches long, 12 3/4 inches wide, and 1 3/4 inches high, it offers a convenient size for everyday broiling and roasting.

$79.80
In Stock
Bake Element (15 Inch long x 19 Inch wide)
Part #WPY04000041
This spade style bake element with push on wire terminals is 15 inches long and 19 inches wide. The depth of the terminals is three inches.

$8.55
Special Order
Range Hex Nut
Part #WP488130
This hex nut is an authentic Whirlpool part that is sourced directly from the original equipment manufacturer, and will fit a variety of appliances including ovens, microwaves, refrigerators, air conditioners, and dishwashers. It is a metal part with a threaded hole to fasten parts in the appliance together. It is common for this part to ...Read morewear out; it is recommended to order a spare. To replace this part the tools needed are a nut driver or wrench. This nut features a built-in external tooth lock washer, which is used to help keep the nut in place.
Read less

No Longer Available
Broiler Pan
Part #WP3401F075-19
This broil pan is fourteen inches wide, and almost sixteen inches long. It is made of black porcelain.

No Longer Available
Lamp Retainer Gasket
Part #7201P015-60

No Longer Available
Broil Pan Insert
Part #WP3413F018-19

No Longer Available

No Longer Available

No Longer Available
Housing Gasket
Part #7201P014-60

$22.52
Special Order
SCREW
Part #7101P287-60
Common Symptoms of the CRE955
How this model fails, and the parts that fix it.
Little to no heat when baking
Fixed by
these parts
these parts


Show All
Oven is too hot
Fixed by
these parts
these parts
Show All
Oven not heating evenly
Fixed by
these parts
these parts
Show All
Will Not Start
Fixed by
these parts
these parts
Show All
Element will not heat
Fixed by
these parts
these parts
Show All
Touchpad does not respond
Fixed by
these parts
these parts
Show All
Will not program
Fixed by
these parts
these parts
Show All
Door won’t open after self cleaning cycle
Fixed by
these parts
these parts
Show All
Little to no heat when broiling
Fixed by
these parts
these parts
Show All
Watch our pros, then fix it yourself.
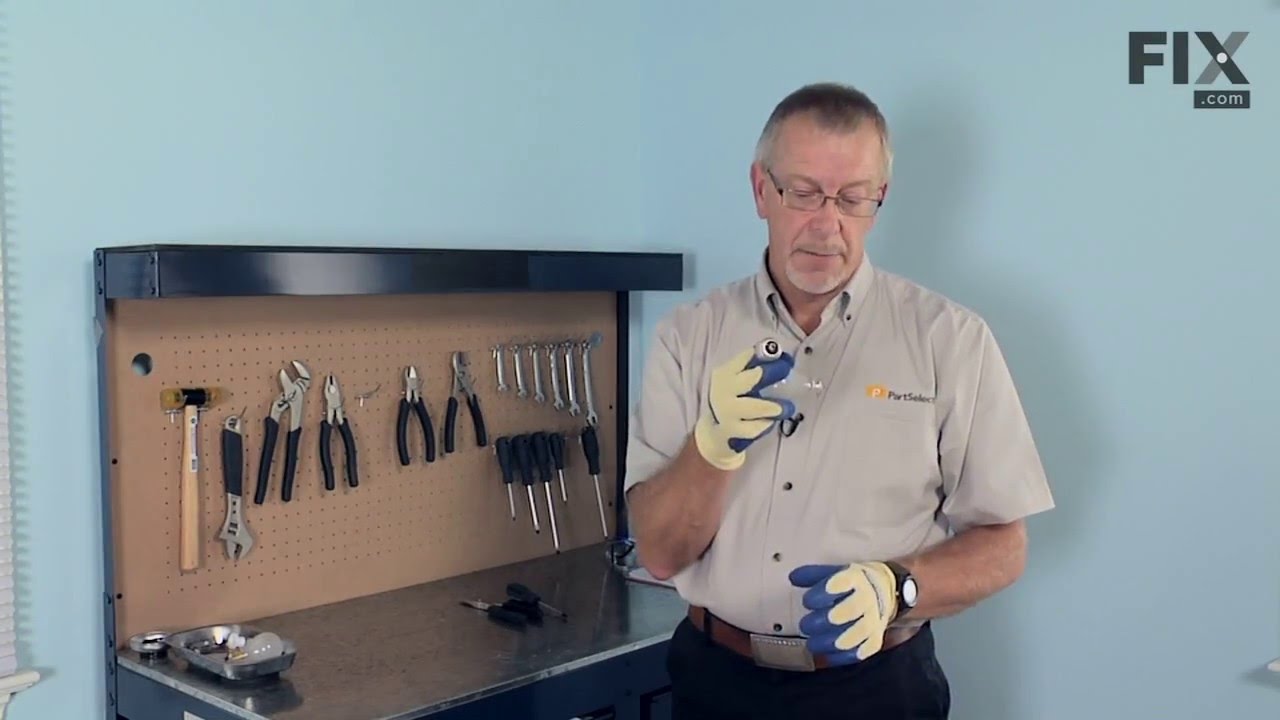
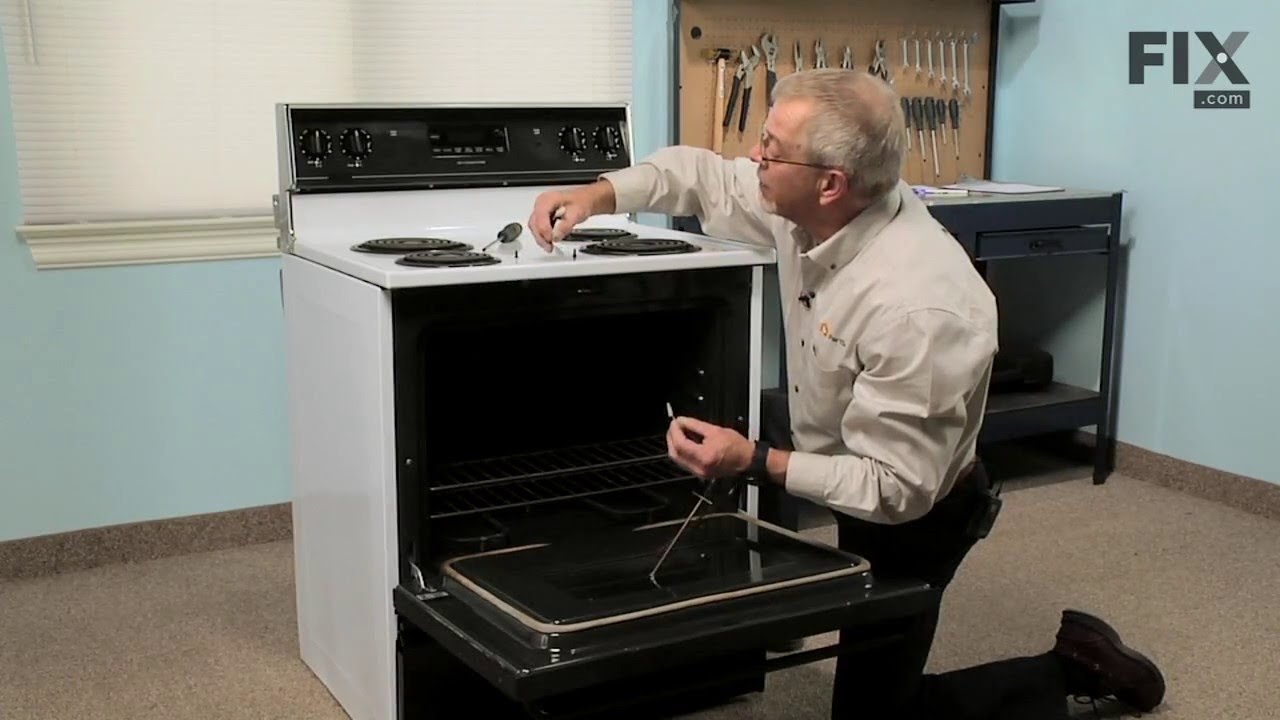
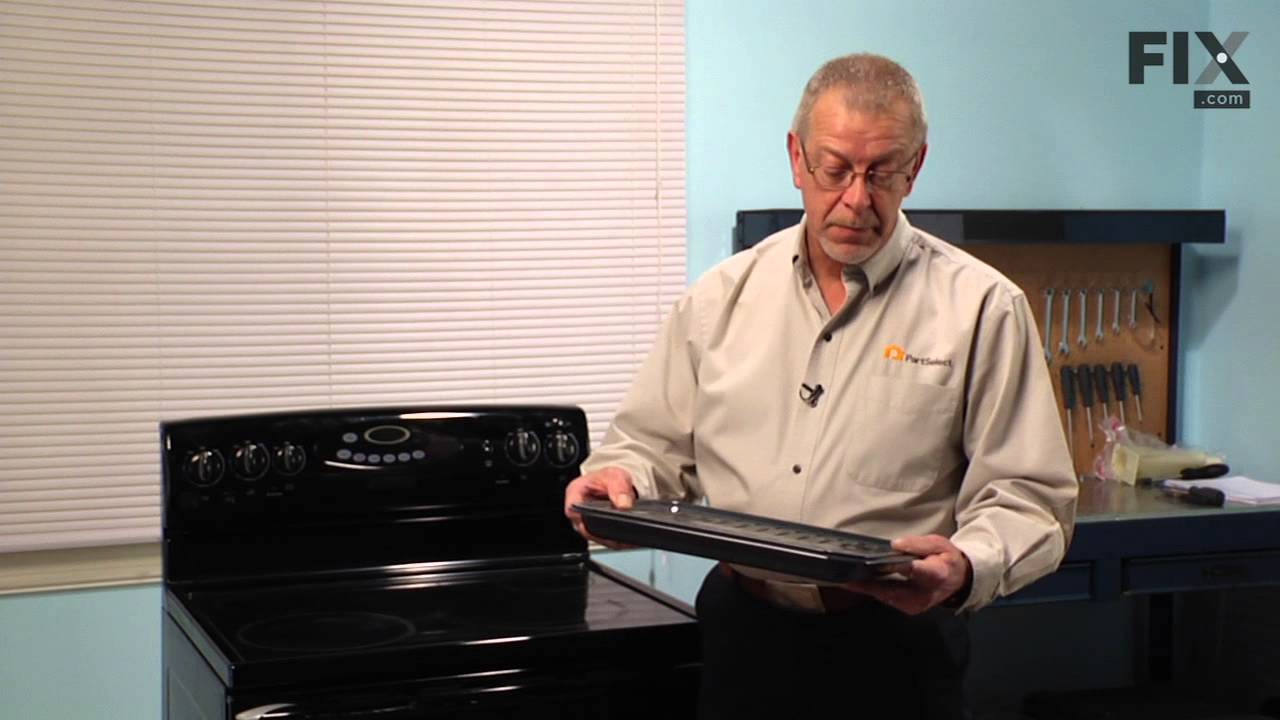
See how others fixed this model. Time, tools, difficulty, and steps that lead to victory!
View More