


 My Orders




CRC24EY-3AI-5M75B Magic Chef Refrigerator - Overview
Diagrams for CRC24EY-3AI-5M75B
See every part. Know exactly what you need.


Enter a part description. DIY Heroes keep it simple, eg. "belt" or "pump".
Search filter:
Clear Filter
Your search term must have 3 or more characters.

$6.40
In Stock
Dryer Retaining Ring
Part #WP9703438
This part is a retaining ring, sometimes called a retaining clip, that holds the drum support roller onto the shaft of a dryer. It is made entirely of metal and measures less than an inch in diameter. The retaining ring is a genuine OEM part sourced directly from the manufacturer. The ring may vary in appearance due to manufacturer substi...Read moretution, but the function is the same. You may need to replace this part if the dryer is noisy during tumbling, will not tumble, or takes too long to dry. Be sure to check drum support roller kit and shaft before ordering parts.
Read less

$65.73
In Stock
Refrigerator Condenser Fan Motor Kit
Part #833697
This condenser fan motor kit is designed for use with refrigerators. This fan draws air through the condenser coils and over the compressor. It does this with the goal of cooling the warm refrigerant before it enters the evaporator. When your fan or fan motor is not working your refrigerator will not cool properly. This is a 2-Watt, 115 V...Read moreolt motor that rotates the fan in a counter clockwise direction. This kit includes the hardware needed for installation, and a set of instructions. Before you begin any repair work make sure to unplug your appliance.
Read less

$7.47
In Stock

$54.24
In Stock
Refrigerator Run Capacitor
Part #WP65889-4
This refrigerator run capacitor supports compressor motor operation by helping create the electrical phase shift needed for efficient running. It works with the motor windings to maintain the rotating magnetic field that drives the compressor. A weak or failed capacitor may cause humming, difficulty starting, interrupted compressor operat...Read moreion, or warmer storage temperatures. Replacing a faulty capacitor helps restore proper motor operation and cooling. Unplug the refrigerator before access, and remember that capacitors can retain an electrical charge after power is disconnected. Avoid touching exposed terminals. This is an OEM part sourced directly from the manufacturer.
Read less

$7.47
In Stock
Washer Hose Clamp
Part #WP596669
This appliance hose clamp holds a hose firmly against its connection to help prevent leaks and keep it from slipping loose during operation. It applies pressure around the hose where it joins a pump port or other fitting. A bent, broken, corroded, or weakened clamp may allow water to drip from the connection or the hose to detach. Replaci...Read moreng a damaged clamp helps restore a secure connection. Disconnect power and shut off the water supply before servicing, then check for leaks after reassembly. This is an OEM part sourced directly from the manufacturer.
Read less

$16.07
In Stock
Light Bulb - 7W
Part #W10857122
Sold individually. This bulb is a 7-watt appliance incandescent light bulb. This appliance light bulb is two inches long. It is used for many clothes dryers. You will need a Phillips screwdriver and needle-nose pliers. Unplug the power from your dryer. You will find the light bulb by opening your dryer door and locating the casing surroun...Read moreding the bulb on the top of the inside of the door. You will need to remove the single screw holding it in place to access the bulb. Twist the old bulb out of place. Use your pliers if the base of the bulb is still inside the socket once the glass part of the bulb has been removed. Check to make sure that the socket itself is not damaged. If the socket is damaged it will need to be replaced as well. Screw your new bulb into place.
Read less

$7.47
In Stock
Screw
Part #WP488729
Metallic screw that is less than an inch long. Does not include the plastic washer.

$7.47
In Stock

$11.77
In Stock
Refrigerator Compression Nut
Part #WP627018
The compression nut is used as a connection between the water supply line and other components in your refrigerator such as your ice maker and your water dispenser. Tools required for this repair include a pair of pliers and a socket set. Before installing this part you should take all perishable foods out of your refrigerator and store t...Read morehem somewhere cool, unplug the refrigerator from the power source, and shut off the water supply. This repair may require you to wear work gloves to protect your hands, and is considered an easy do-it-yourself fix.
Read less

$81.79
In Stock
Relay & Overload
Part #WPW10189190
This refrigerator compressor start device assembly combines a start relay and overload protector to help the compressor start and guard against overheating. The relay supplies power to the starting circuit, while the protector cuts power if the compressor becomes too hot or draws excessive current. A failed assembly may cause repeated cli...Read morecking, unsuccessful starting attempts, or warm storage compartments. Replacing a faulty device helps restore compressor starting and overload protection. Unplug the refrigerator and allow the compressor to cool before accessing the assembly. This is an OEM part sourced directly from the manufacturer.
Read less

No Longer Available
Ice Bin Drive Ring
Part #WP61003336
This drive ring is three inches in diameter. It is all white in color and is made of plastic. This ring is used with a refrigeraor's icemaker assembly.

$21.45
Special Order
Common Symptoms of the CRC24EY-3AI-5M75B
How this model fails, and the parts that fix it.
Noisy
Fixed by
these parts
these parts


Show All
Fridge too warm
Fixed by
these parts
these parts

Show All
Freezer section too warm
Fixed by
these parts
these parts

Show All
Leaking
Fixed by
these parts
these parts


Show All
Will Not Start
Fixed by
these parts
these parts
Show All
Fridge and Freezer are too warm
Fixed by
these parts
these parts
Show All
Fridge runs too long
Fixed by
these parts
these parts
Show All
Clicking sound
Fixed by
these parts
these parts
Show All
Ice maker won’t dispense ice
Fixed by
these parts
these parts


Show All
Ice maker not making ice
Fixed by
these parts
these parts


Show All
Freezer not defrosting
Fixed by
these parts
these parts

Show All
Too warm
Fixed by
these parts
these parts
Show All
Door latch failure
Fixed by
these parts
these parts

Show All
Not dispensing water
Fixed by
these parts
these parts

Show All
Watch our pros, then fix it yourself.
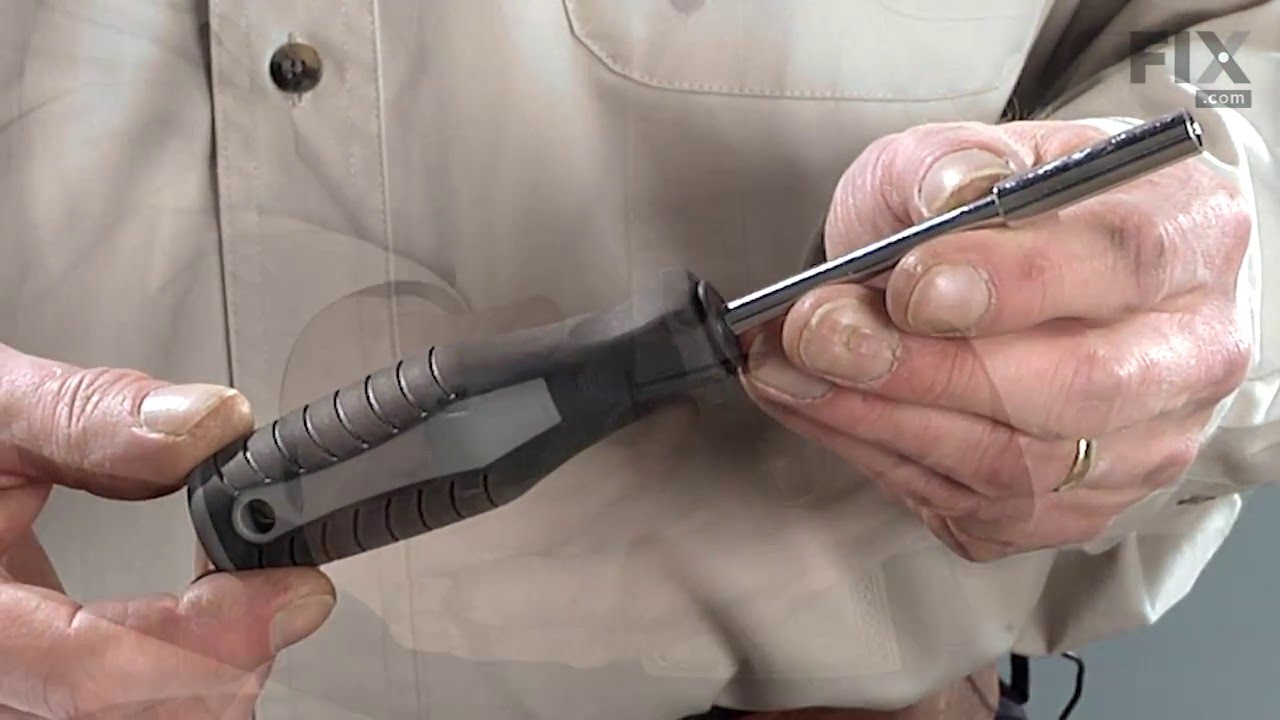
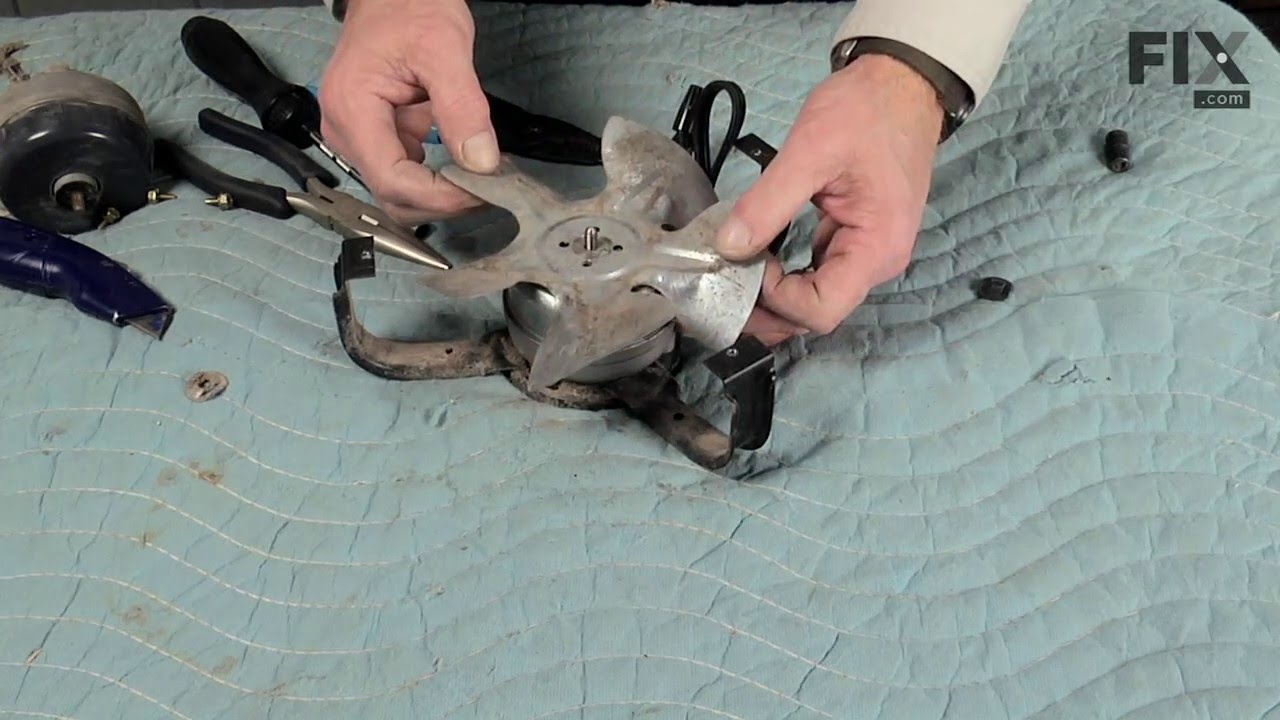
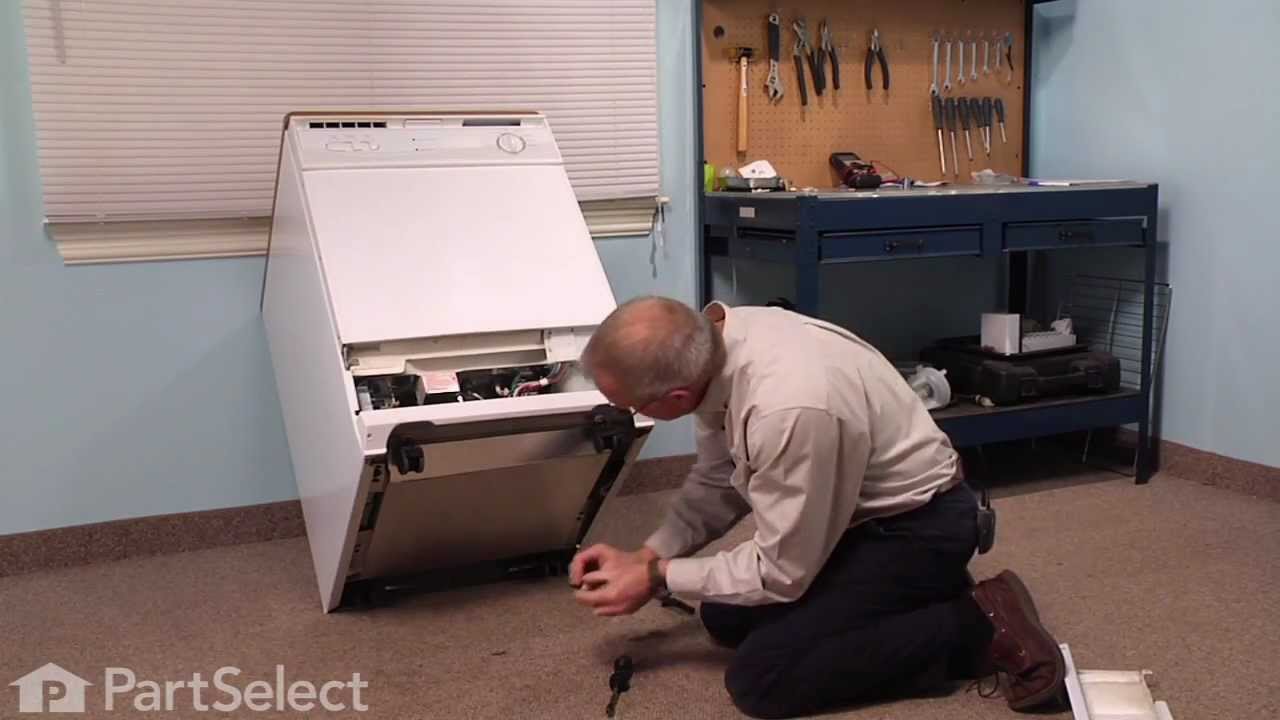
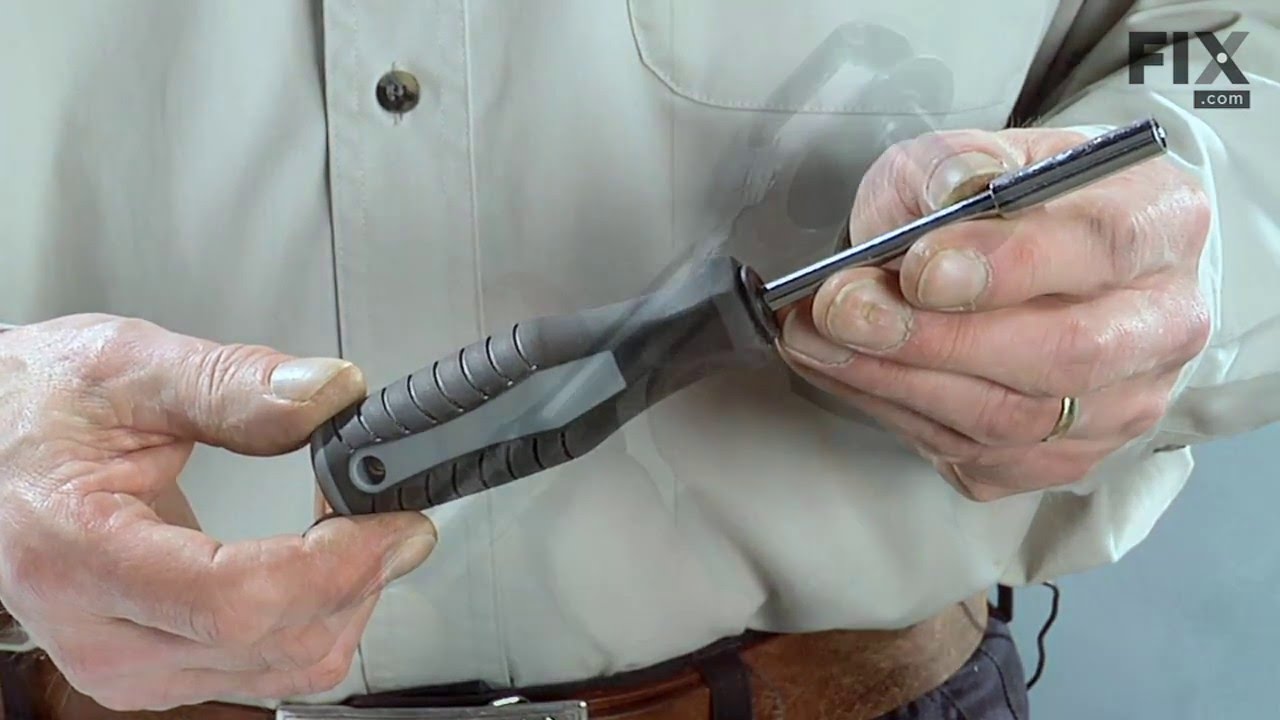
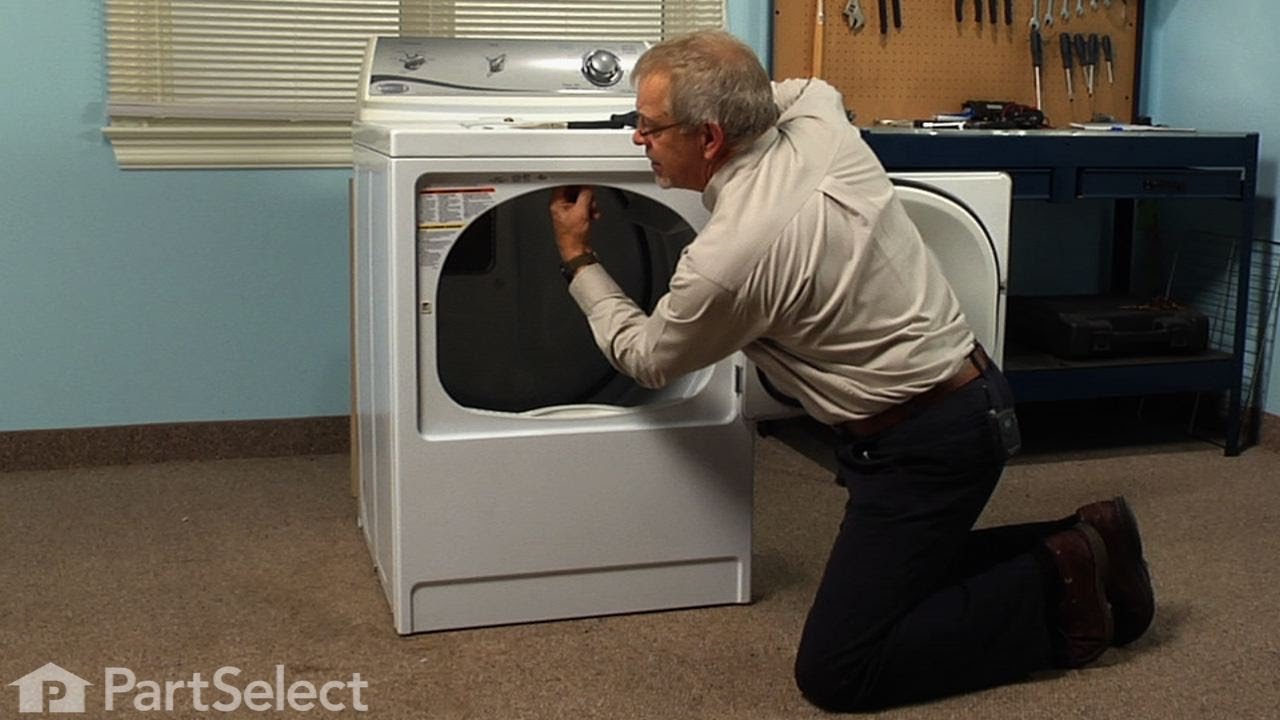
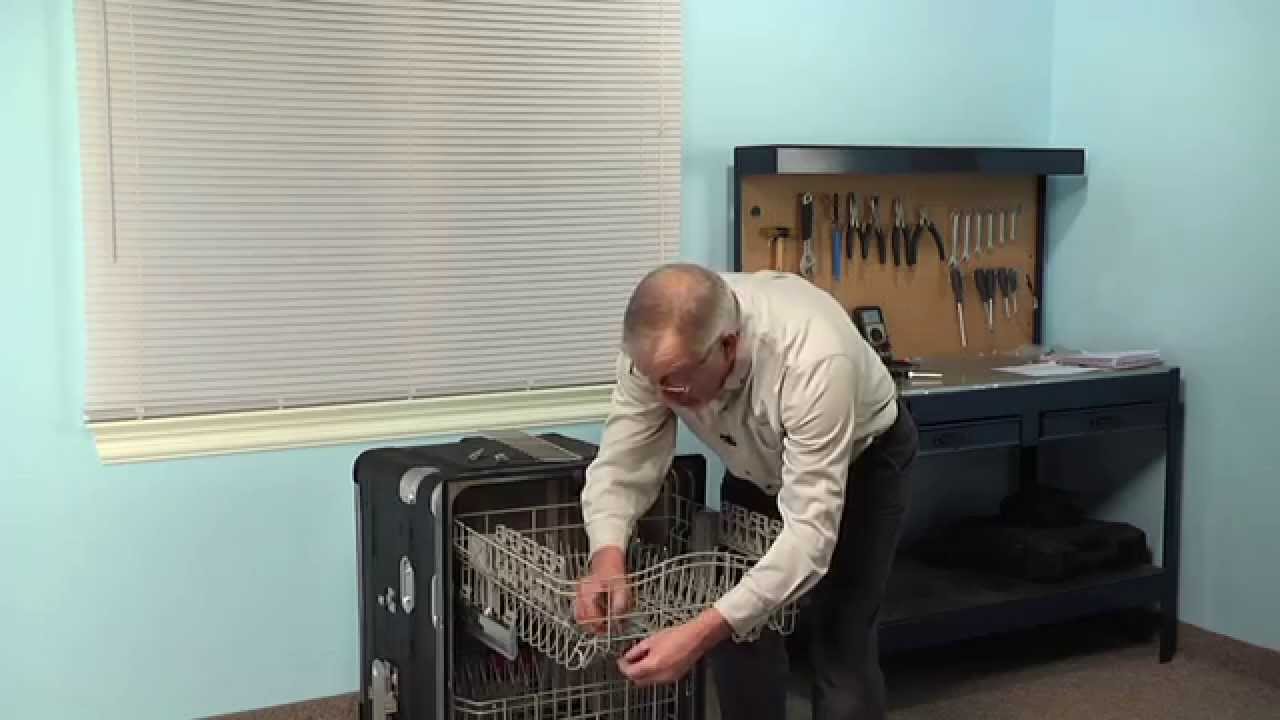
See how others fixed this model. Time, tools, difficulty, and steps that lead to victory!
View More