


 My Orders




CPO230 Dacor Wall Oven - Overview
Diagrams for CPO230
See every part. Know exactly what you need.

Enter a part description. DIY Heroes keep it simple, eg. "belt" or "pump".
Search filter:
Clear Filter
Your search term must have 3 or more characters.

$22.52
In Stock
Lid Switch
Part #W10820036
This washer/dryer lid or door switch kit serves as a critical safety component, designed to prevent the appliance from operating when the lid or door is open. It ensures that the washer does not fill or spin and the dryer does not start unless the door is securely closed, helping to avoid water spills and potential safety hazards. The kit...Read more includes all necessary components for installation and is compatible with a wide range of top-loading washers and front-loading dryers. Installation typically involves disconnecting power, accessing the control panel or door area, and replacing the switch using standard tools. The switch is compact and designed to fit seamlessly within the appliance’s housing, with dimensions approximately 2.5 inches in length, 1 inch in width, and 1 inch in height. It features a neutral color finish that blends with most appliance interiors.
Read less

No Longer Available

$6.55
In Stock
Screw Wafer
Part #DE81-02250A

No Longer Available
SVC-FILTER CONVECTION OVEN;82891,DO130
Part #DE81-04961A

$6.55
In Stock
SVC-SCREW PHIL WAFER;83263,#8X3/8,DCT305
Part #DE81-02331A

$144.67
Special Order
Temperature Sensor Kit
Part #DE81-03937A
This temperature sensor kit monitors operating temperatures and sends accurate readings to the control system. Designed for precision, it supports proper regulation and consistent appliance performance.

No Longer Available
Belt Drive Motor Kit with Capacitor
Part #285222
This two-speed motor performs 1725 revolutions per minute in one speed, and 1140 revolutions per minute in the other speed. It runs at 1/2 horsepower and carries 115 volts.

$146.79
Special Order
SVC-PORCELAIN PAN;82107,DR30EFS
Part #DE81-09543A

No Longer Available
Service Power Control Board Support Nylon
Part #DE81-08244A

$6.40
In Stock
Service Lockwasher
Part #DE81-09571A
$6.40
Special Order
SVC-SCREW PHIL TRS;83024,#8 X 3/8,DR30EF
Part #DE81-02247A
No Longer Available
SVC LIGHT ASSEMBLY
Part #DE81-09258A
Common Symptoms of the CPO230
How this model fails, and the parts that fix it.
Will Not Start
Fixed by
these parts
these parts

Show All
Will not drain
Fixed by
these parts
these parts
Show All
Will not agitate
Fixed by
these parts
these parts
Show All
Won’t Start
Fixed by
these parts
these parts
Show All
Watch our pros, then fix it yourself.
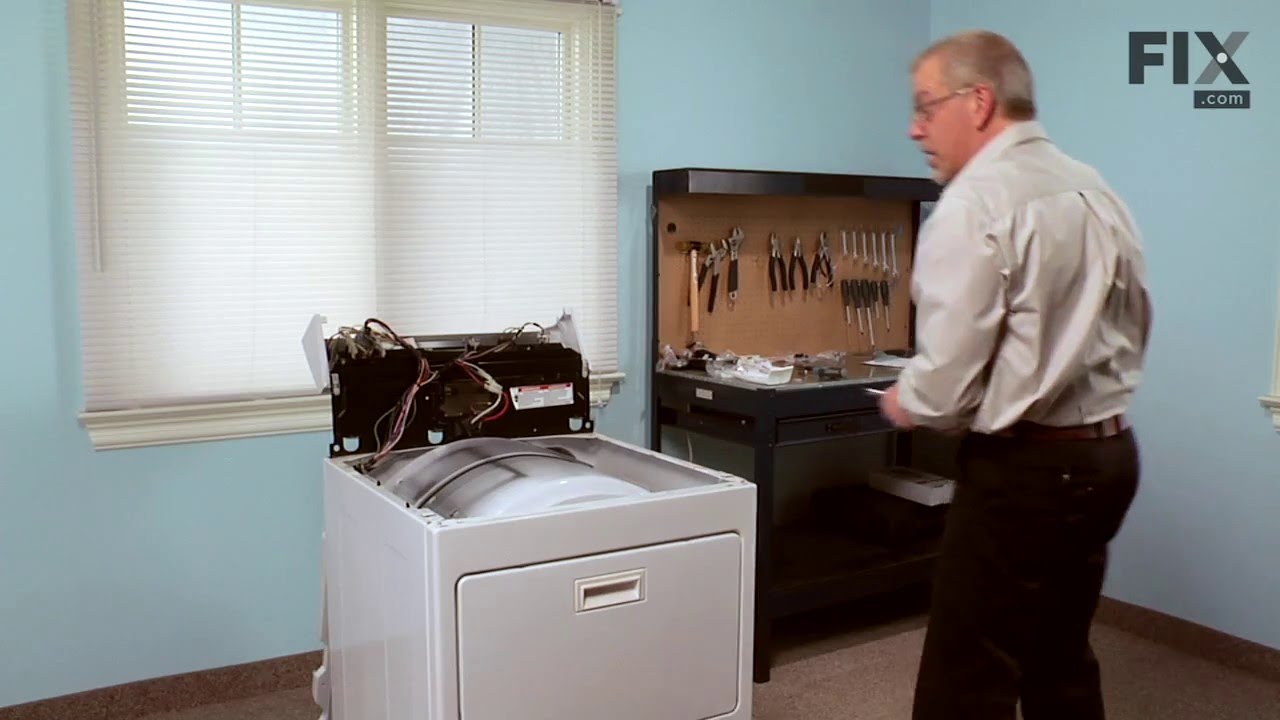
See how others fixed this model. Time, tools, difficulty, and steps that lead to victory!
View More