


 My Orders




CP650ST2SS General Electric Cooktop - Overview

Enter a part description. DIY Heroes keep it simple, eg. "belt" or "pump".
Search filter:
Clear Filter
Your search term must have 3 or more characters.

$97.48
In Stock
Range Knob Kit
Part #WB03X32194
This cooktop burner knob is a precision-molded control component designed to regulate flame and temperature settings on gas cooktops. Crafted for GE Cafe Series appliances, it ensures smooth and accurate adjustment of surface burners during cooking. The knob is easily removable by sliding it off the control post, allowing for straightforw...Read moreard replacement when worn or damaged. For installation, the new knob simply slides onto the D-shaped stem; a small amount of lubricating oil may be applied to ease the fit. This part is essential for maintaining consistent burner performance and user control, and is commonly replaced when knobs become loose, cracked, or unresponsive.
Read less

$86.46
In Stock
Infinite Control Switch
Part #WB24T10119
This part is sold individually and is for ranges. The control switch turns the surface element on and off and determines the temperature of the element. This will need to be changed if the control switch has failed and the cooktop is not turning on. It is found underneath the glass cooktop. Before beginning, make sure the circuit breaker ...Read moreis off. You will need to remove the cooktop from the counter. To do this you will need to go underneath and see what kind of brackets are holding it in place. The brackets will vary depending on the make and model and type of countertop is it laying on. These brackets will need to be removed.
Read less

$16.05
In Stock

$16.05
In Stock
Lens
Part #WB25T10041
This part is a replacement lens for your oven or range. The lens is red in color, and when the elements are turned on, the light behind the lens will turn on to inform the user that the element is, in fact, on. The lens is a little less than half an inch in diameter and is made of plastic. If the light behind the lens still works, you sho...Read moreuld be able to simply remove the front panel and pop the damaged lens out of position, then replace it with the new one. This part is sold individually and is an OEM part sourced directly from the manufacturer.
Read less

$188.75
In Stock
Triple Haliant Element - 12 Inch
Part #WB30T10126
This replacement haliant surface element is designed for use with flat-top ranges and cooktops, positioned beneath the glass surface to supply consistent heat to the cooking area. Measuring approximately 12 inches in diameter, it provides reliable performance for a variety of cooking tasks. If the burner fails to light when activated, the...Read more surface element may be faulty and require replacement. Installation involves disconnecting power to the appliance, removing the screws securing the cooktop, lifting the glass surface, and replacing the element by disconnecting the wires and securing the new unit in place. This component is sold individually and is compatible with select models of electric ranges and cooktops.
Read less

$13.92
In Stock

$110.22
In Stock
Element Radiant 5.5 IN
Part #WB30T10145
This surface element is designed to deliver heat to a specific cooking zone on the top of an electric range, providing consistent and efficient performance for everyday meal preparation. Located beneath the cooktop surface, it plays a key role in maintaining accurate temperature control. Before installation, be sure to unplug the range or...Read more switch off the appropriate circuit breaker to ensure safety. Wearing protective work gloves is also recommended to prevent injury while handling electrical components.
Read less

$16.05
In Stock
Secure Down Bracket
Part #WB2K5328

No Longer Available
Switch Seal
Part #WB2X9504
This part goes between the infinite switch (under the cooktop) and the knob.

$121.41
In Stock
Infinite Switch
Part #WB24T10134
Having trouble with a damaged or broken appliance handle? It's time to give your appliance a fresh lease of life with our GE Stainless Door in Door Handle. Made with meticulous detail, this trendy stainless steel handle will not only enhance the contemporary look of your appliance but also provide stalwart practicality. Designed for eas...Read moree, the handle is perfectly straightforward to attach, promising your appliance door will work flawlessly just like when it was brand new. It's specifically built to withstand the rigors of frequent use, offering you a lasting solution that's dependable and reliable. So, why stick with a broken handle when an effortless fix is within your reach? Upgrade with this GE handle and enjoy the best of both worlds: top-notch design and superb performance. Remember, a well-functioning door is critical for the right operation and longevity of your appliance. Revive the look of your kitchen while restoring your appliance's efficiency. Choose this GE Stainless Door in Door Handle, and bring back the smooth operation you've been missing. It's more than just a spare part?it's a boost of efficiency and aesthetic appeal for your appliance.
Read less

$15.00
In Stock
SCREW-10AB
Part #WB1X1137

$41.69
In Stock
Range Indicator Light
Part #WB25T10012
Introducing the GE Indicator Light, a crucial feature for your cooktop safety. This small yet significant part is responsible for signalling when a cooking surface is heated or a burner is lit, allowing you to cook with caution. Enhancing the safe use of your appliance, it reduces the risk of accidents in your kitchen by giving you real-t...Read moreime updates on your cooktop's condition. Remember, to ensure safety while replacing this part, it is recommended to shut off the breaker to your cooktop. Trust in the quality of GE for your cooking convenience and safety.
Read less
Common Symptoms of the CP650ST2SS
How this model fails, and the parts that fix it.


Watch our pros, then fix it yourself.
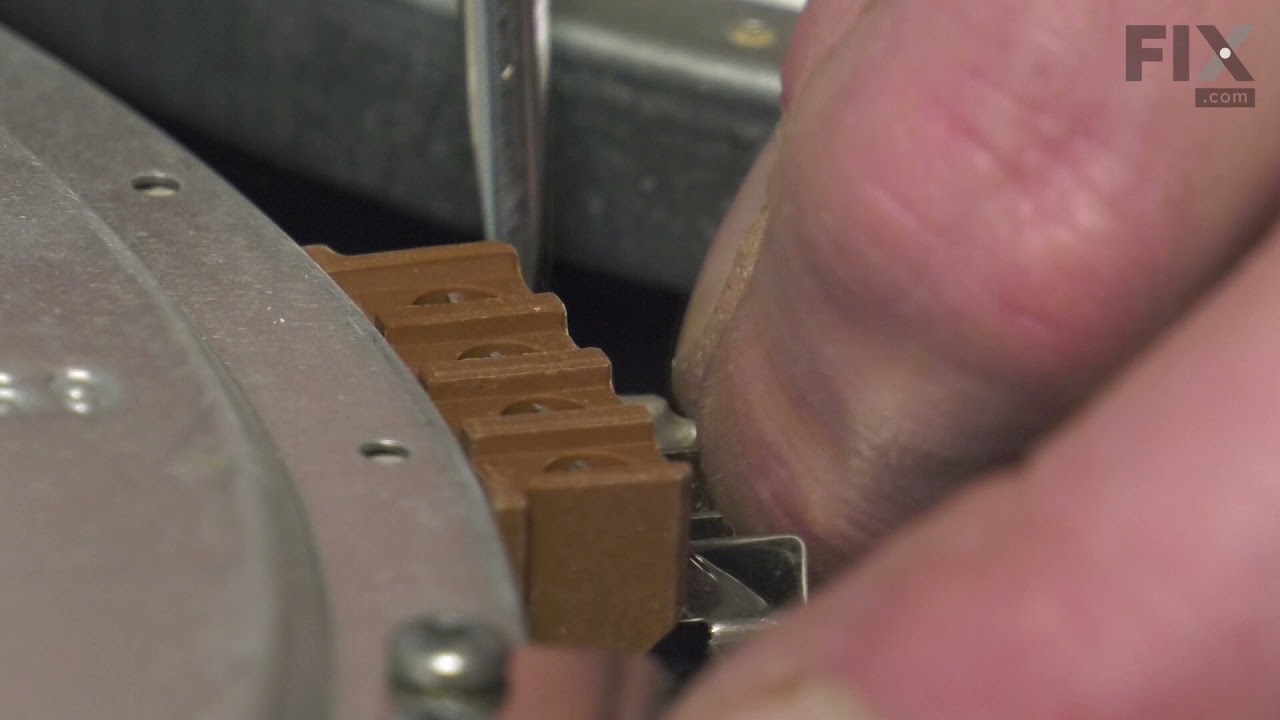
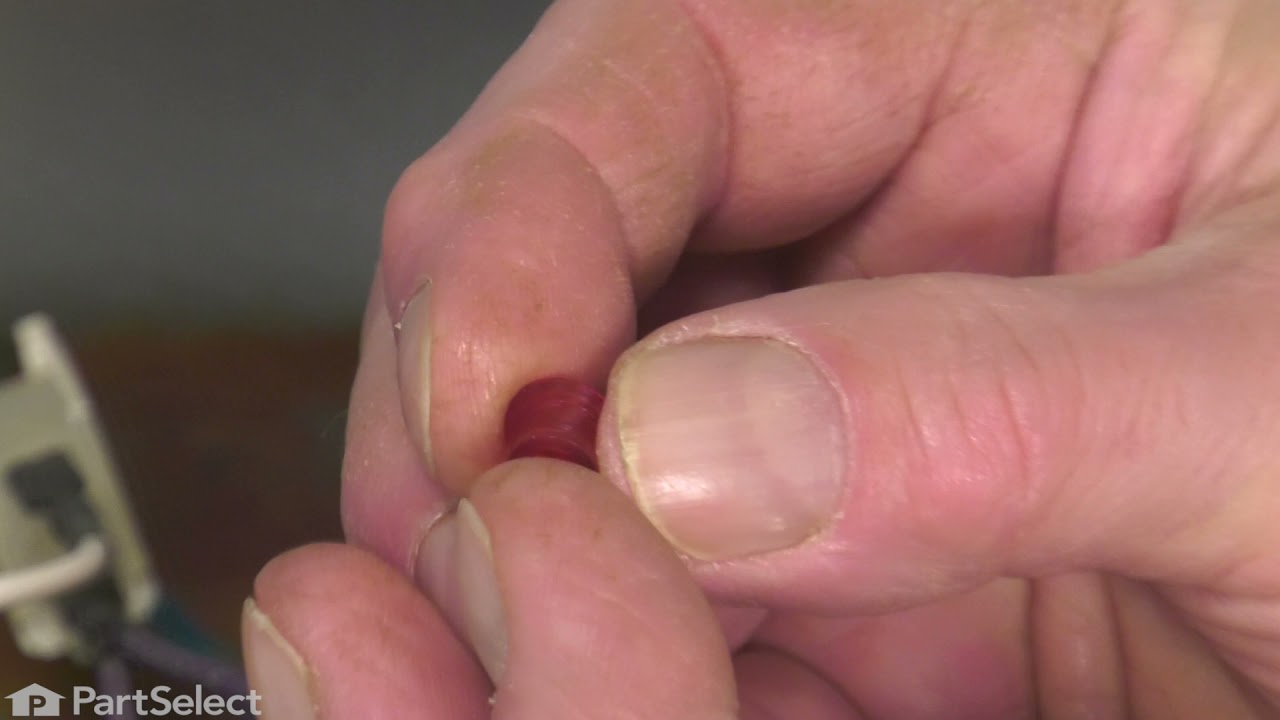
See how others fixed this model. Time, tools, difficulty, and steps that lead to victory!
View More