



 My Orders




CLG601 Maytag Microwave - Overview
Diagrams for CLG601
See every part. Know exactly what you need.


Enter a part description. DIY Heroes keep it simple, eg. "belt" or "pump".
Search filter:
Clear Filter
Your search term must have 3 or more characters.

$19.54
In Stock
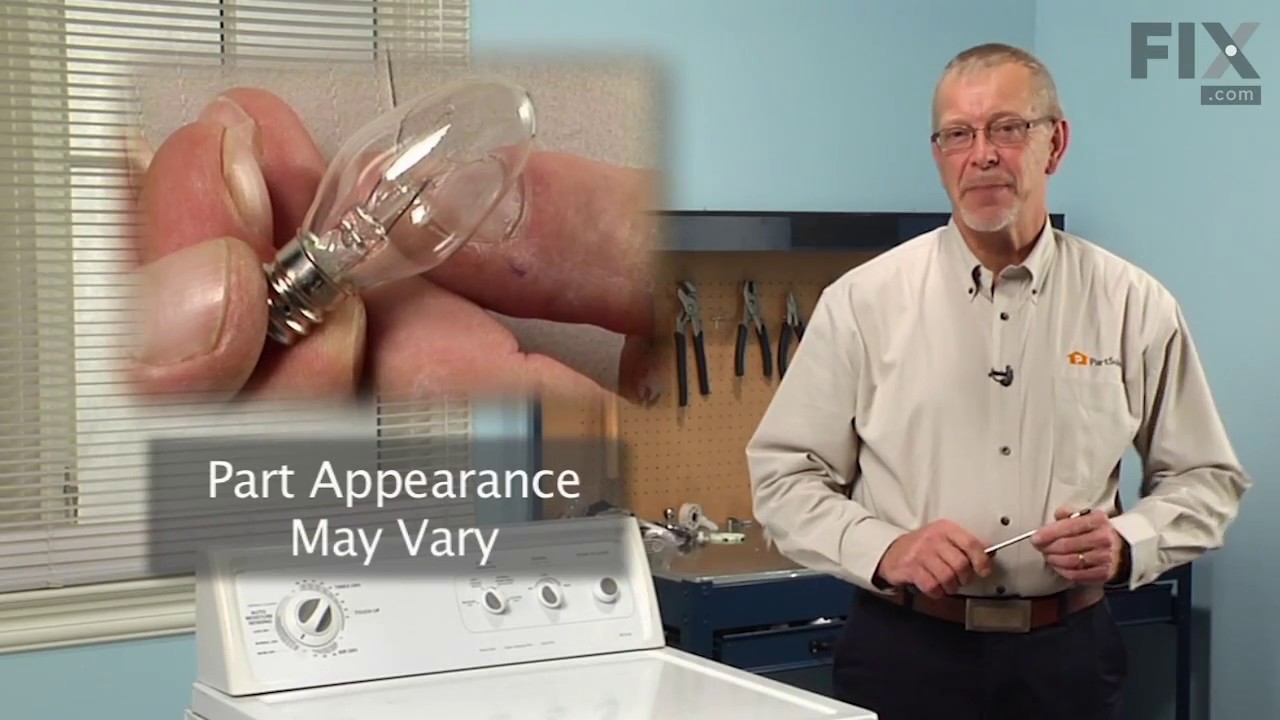
Light Bulb - 40W
Part #8009
This an authentic OEM 40-Watt replacement light bulb, used in a number of household appliances. It is specially designed to withstand extreme temperatures, which is why these replacement bulbs are most often used to light the inside of refrigerators and ranges. It features a standard socket base, which means you simply unscrew the burnt-o...Read moreut bulb and screw in the replacement. Depending on the appliance you may require a screwdriver or nut driver to access the light bulb. We recommend you wear work gloves while handling this replacement part. It is constructed of glass and metal and is sold individually. Depending on the appliance and location of the bulb within it, you may want to consider disconnecting power and using a flashlight for easier access to unscrewing and re-screwing in your bulb during this repair.
Read less

$19.30
In Stock
Refrigerator Light Bulb 10w
Part #WP22002263
This 10-watt clear incandescent light bulb is designed to provide reliable interior illumination for household appliances such as dryers and refrigerators. Measuring approximately 2 inches in length, it fits securely into standard appliance sockets and activates when the appliance door is opened, offering clear visibility inside the drum ...Read moreor compartment. The bulb is suitable for use in a wide range of models across multiple appliance brands and is engineered to deliver consistent performance and durability. Installation is straightforward—simply screw the bulb into the designated socket within the appliance. Ensure the appliance is powered off before installation to maintain safety.
Read less

$21.45
In Stock
Screw
Part #W11233072
This is a multi-use and multi-appliance screw. It can be used on a microwave, refrigerator, range/oven, air conditioner, dehumidifier, washer, or dryer. The measurements of this screw are 8 x 1/2 inch. It has 6 threads. Refer to the manual provided by the manufacturer for further information on repair and accurate guidance. Remember to wear work gloves as a safety precaution.

$7.47
Special Order

$7.47
In Stock
Range Screw 632 X 5/16
Part #WP74004005
This screw is well under an inch long, and is made of metal.

$8.55
Special Order

No Longer Available
Surface Burners Spark Module Kit
Part #1430322
This part sends enough current to the igniter to create a spark to the bottom of the burner cap.

$6.95
In Stock
Refrigerator Screw
Part #WP12990527

No Longer Available
Flat Style Oven Ignitor
Part #WP7432P036-60
This flat style gas oven igniter has a body length of four and a half inches. This oven ignitor glow bar comes with a bracket and a wire harness. Use it for your Maytag brand gas range.

No Longer Available
DISCONTINUED
Part #MB16900199
No Longer Available
DISCONTINUED
Part #MR10000150
$7.47
Special Order
Screw
Part #WP250830
Common Symptoms of the CLG601
How this model fails, and the parts that fix it.

Watch our pros, then fix it yourself.

See how others fixed this model. Time, tools, difficulty, and steps that lead to victory!
View More