



 My Orders




CIC36RP2VDS1 General Electric Refrigerator - Overview
Diagrams for CIC36RP2VDS1
See every part. Know exactly what you need.
-
Cafe Convertible Drawer 1

-
Cafe Convertible Drawer 3

-
Cafe Customization

-
Case Parts 2

-
Case Parts 3
-
Freezer Drawer 1

-
Freezer Drawer 2

-
Freezer Drawer 3
-
Freezer Section

-
Ice Maker & Dispenser 2

-
Ice Maker & Dispenser 3
-
Lokring Connectors

-
Machine Compartment

-
Refrigerator Door 1

-
Refrigerator Door 2

-
Refrigerator Door 3

-
Refrigerator Evaporator Cover 1

-
Refrigerator Evaporator Cover 2
-
Refrigerator Evaporator Cover 3
-
Refrigerator Section 1

-
Refrigerator Section 2
-
Refrigerator Section 3
-
Refrigerator Shelves

Enter a part description. DIY Heroes keep it simple, eg. "belt" or "pump".
Search filter:
Clear Filter
Your search term must have 3 or more characters.

$30.53
In Stock
Temperature Sensor
Part #WR55X10025
This sensor (Temperature Sensor, Thermistor, Refrigerator Temperature Sensor) sends the temperature reading of the compartment to the control board. If you notice your refrigerator is too warm, too cold, or not defrosting properly, then there may be a problem with your sensor. The temperature sensor can break from material fatigue or thro...Read moreugh normal use, and should be replaced. It is attached to the evaporator and control housing in your appliance. It measures approximately 1.25 inches long with 18 inch wire leads, and is constructed out of plastic. This part comes in white, beige. It includes the sensor, with wire leads.
Read less

$82.74
In Stock
Refrigerator Water Filter
Part #XWFE
This refrigerator water filter helps reduce chlorine taste, lead, and other listed impurities from drinking water and ice. It has a built-in chip that lets select refrigerators track filter use. Replace it about every six months or after 170 gallons, whichever comes first. Use the complete refrigerator model number to guarantee the proper...Read more fit. It can replace the older XWF filter in many models. No tools are usually needed. After installation, flush the filter with the amount of water listed in the owners manual.
Read less

$16.05
In Stock
Door Handle Fastener
Part #WR01X11007
This is a door handle fastener to secure the handle to your refrigerator drawer. It is also known and a mounting bolt or screw. It is approximately 1 inch in total length, and is made of metal.

$15.00
In Stock

$46.34
In Stock
BYPASS FILTER PLUG
Part #WR17X33825
This bypass filter plug is an authentic OEM replacement part designed for your refrigerator. It is small component that is used in the water filtration system. It creates a direct path for water to flow without going through the filter, ensuring that the water dispenser and ice maker continue to function even when the filter is not in use...Read more. If the filter is old or clogged and needs replacement, or if you prefer not to use a filter for any reason, you can insert the bypass filter plug into the filter housing to continue using your fridge.
Read less

$13.92
Special Order
Screw - 8-10 PL PNP 1/2 S
Part #WR01X10649

$16.05
On Order
GROMMET
Part #WR02X10678

$16.23
In Stock

$21.78
In Stock
Coupler
Part #WR02X13738

$15.00
In Stock
SCR 8-18 AB IHXW 9/16 S
Part #WR01X10588

$87.58
In Stock
RFID BOARD
Part #WR55X43866

$64.76
In Stock
R134 DRIER
Part #WR86X25269
The filter dryer filters refrigerant that travels through the sealed system of the refrigerator.
Common Symptoms of the CIC36RP2VDS1
How this model fails, and the parts that fix it.
Fridge too warm
Fixed by
these parts
these parts

Show All
Freezer section too warm
Fixed by
these parts
these parts
Show All
Fridge too cold
Fixed by
these parts
these parts
Show All
Freezer not defrosting
Fixed by
these parts
these parts
Show All
Fridge and Freezer are too warm
Fixed by
these parts
these parts
Show All
Frost buildup
Fixed by
these parts
these parts
Show All
Too warm
Fixed by
these parts
these parts
Show All
Freezer too cold
Fixed by
these parts
these parts
Show All
Fridge runs too long
Fixed by
these parts
these parts
Show All
Ice maker not making ice
Fixed by
these parts
these parts

Show All
Not dispensing water
Fixed by
these parts
these parts

Show All
Will Not Start
Fixed by
these parts
these parts
Show All
Doesn’t stop running
Fixed by
these parts
these parts
Show All
Too cold
Fixed by
these parts
these parts
Show All
Door won’t open or close
Fixed by
these parts
these parts

Show All
Watch our pros, then fix it yourself.
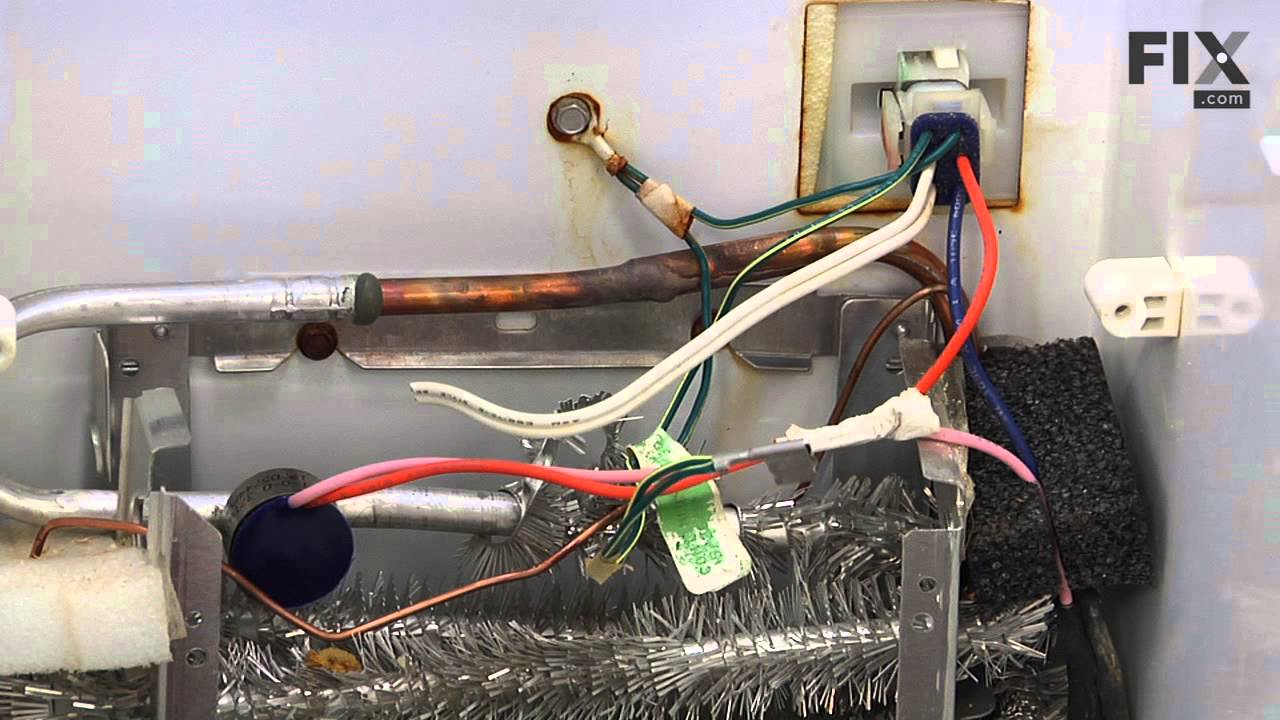
See how others fixed this model. Time, tools, difficulty, and steps that lead to victory!
View More