



 My Orders




CGR3520BDT Magic Chef Range - Overview
Diagrams for CGR3520BDT
See every part. Know exactly what you need.


Enter a part description. DIY Heroes keep it simple, eg. "belt" or "pump".
Search filter:
Clear Filter
Your search term must have 3 or more characters.

$55.29
In Stock
Oven Igniter - Vertical Mount Bake and Broil
Part #74007498
This broil igniter assembly comes with its own metallic mounting bracket and a 7-inch-long dual wire lead with a plastic plug. This part will need to be repaired if your oven element is giving off no heat or very little, or is not heating evenly. You may also notice a smell of gas. The ignitor may still be glowing, but could still have gone bad.

$23.60
In Stock
Leveler Foot Screw (Nylon)
Part #W11665456
This is a leveling leg for your oven, range, or stove. The leveling legs on your oven allow your appliance to sit perfectly flat. The new one may be longer in length than your original, but will work the same. Install the new leveling leg, and test if you have it adjusted properly by putting the appliance on four legs. Adjust in or out a...Read mores required if your oven is rocking. It is recommended to check the other three leveling legs on your appliance in case they are also damaged or worn. The leveling leg measures 1.859", is all black in color, and is made entirely out of plastic. This leg may be shorter than the original but is the factory replacement. Longer leg is not available.
Read less

$35.80
In Stock
Short Oven Sensor Kit
Part #12001655
The temperature sensor on your oven detects the temperature within the oven cavity. If you notice your oven is too hot, not hot enough, or does not heat evenly, the short oven sensor kit may need replacing. This oven sensor is referred to as the short sensor and is 3 inches long. It should not be confused with the 6-inch-long sensor. The ...Read moreoven sensor is located on the back wall of the interior of the oven. Before starting this repair, be sure to disconnect the power source from the oven. If you are repairing a gas range, make sure to disconnect the gas source as well.
Read less

$21.45
In Stock
Screw
Part #W11233072
This is a multi-use and multi-appliance screw. It can be used on a microwave, refrigerator, range/oven, air conditioner, dehumidifier, washer, or dryer. The measurements of this screw are 8 x 1/2 inch. It has 6 threads. Refer to the manual provided by the manufacturer for further information on repair and accurate guidance. Remember to wear work gloves as a safety precaution.

$77.75
In Stock
Range Door Gasket
Part #WPW10162384
The oven door gasket on your range functions as a seal between the warm interior of your oven, and the outside. It prevents heat from fleeing your oven when the door is closed. Before making any repairs to your oven you should make sure to wear work gloves to protect your hands, and give your oven time to cool. The only tool you will need...Read more to make this repair is a pair of needle nose pliers. This oven door gasket comes with built in retaining clips; if any retaining clips from your old gasket are left in the oven make sure to remove them before installing your new gasket.
Read less

$47.40
In Stock
Single Outlet Water Valve Kit
Part #4318047
This part is a solenoid-operated switch located at the bottom of the refrigerator. When the water inlet valve is turned on, water is released from the supply line through the water valve and into the compact icemaker mold. The kit includes the mounting hardware and bracket plastic tubing fittings. The retaining nut must be cut off the pla...Read morestic water line and gently pushed into the new valve. To remove, press down on the ring that the tube slides into. Refer to the installation instructions for further guidance. Please note: the manufacturer has redesigned this part and it can appear different than the original. It has a new quick connection.
Read less

$23.60
Special Order
Surface Burner Knob
Part #WP74002353
This is a surface burner knob for the stovetop on your range. it is 2 inches in diameter and only accepts a D-shaped shaft. The part snaps into place on the shaft of your unit and rotates to the different selections available, allowing you to choose the temperature levels. The most common reason for needing to replace this part is if your current one has worn over time and needs an update.

$75.13
In Stock
Drip Pans - Kit of 4
Part #1430283
This set of four square chrome drip pans is designed to catch spills and protect the surface of select gas ranges and cooktops. Each pan measures just over 8 inches per side with a 3.5-inch center hole, providing a precise fit for the burner area. Constructed from chrome-plated metal, these OEM components offer durability and a polished a...Read moreppearance that complements most kitchen styles. By preventing food debris and liquids from reaching internal components, the drip pans help maintain appliance cleanliness and performance. Ideal for replacing worn or discolored pans, this kit is compatible with a variety of models and restores both function and aesthetics to your cooktop.
Read less

$224.79
In Stock
Dual Outlet Oven Safety Valve
Part #WP74006427
This gas oven safety valve is used to make sure that no gas is released until the igniter is ready to ignite. This part is for both the bake and broil igniter in your appliance.

$8.55
In Stock

$8.55
In Stock

$7.47
In Stock
Common Symptoms of the CGR3520BDT
How this model fails, and the parts that fix it.
Little to no heat when baking
Fixed by
these parts
these parts


Show All
Gas igniter glows, but will not light
Fixed by
these parts
these parts
Show All
Will Not Start
Fixed by
these parts
these parts
Show All
Oven not heating evenly
Fixed by
these parts
these parts

Show All
Element will not heat
Fixed by
these parts
these parts
Show All
Ice maker not making ice
Fixed by
these parts
these parts

Show All
Oven is too hot
Fixed by
these parts
these parts
Show All
Gas smell
Fixed by
these parts
these parts
Show All
Door won’t close
Fixed by
these parts
these parts
Show All
Leaking
Fixed by
these parts
these parts
Show All
Touchpad does not respond
Fixed by
these parts
these parts
Show All
Little to no heat when broiling
Fixed by
these parts
these parts
Show All
Ice maker won’t dispense ice
Fixed by
these parts
these parts
Show All
Watch our pros, then fix it yourself.
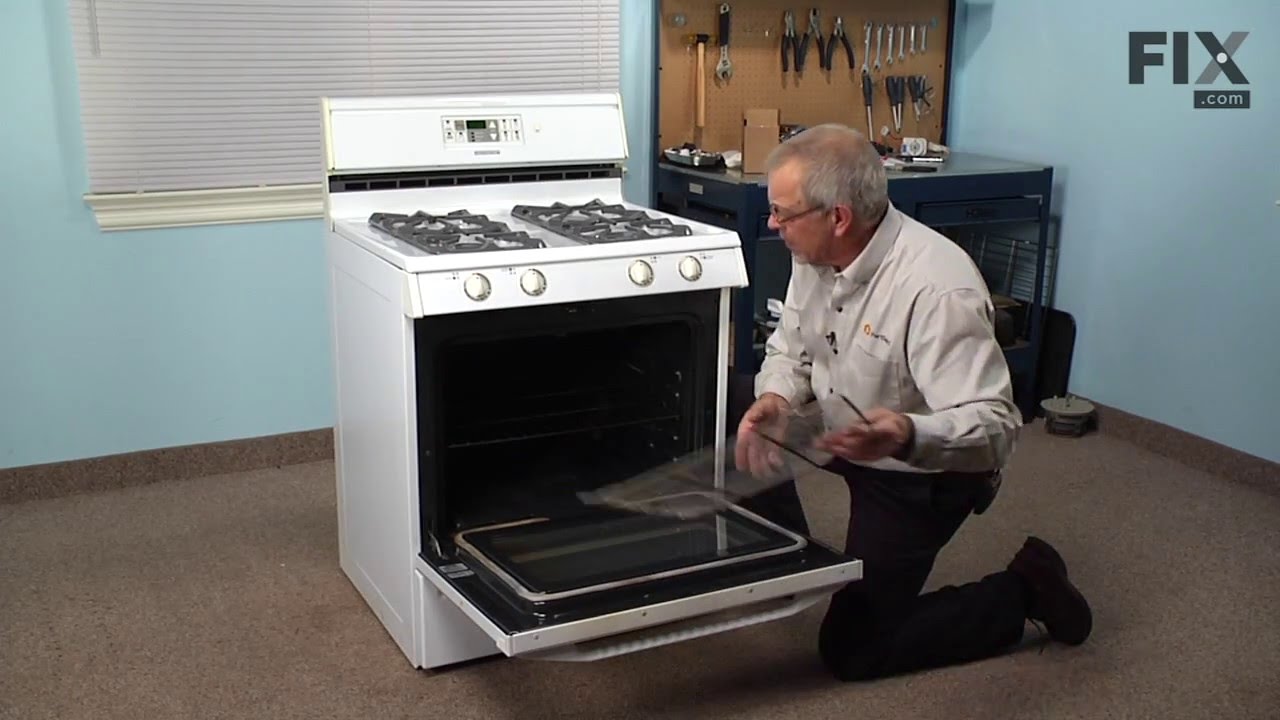
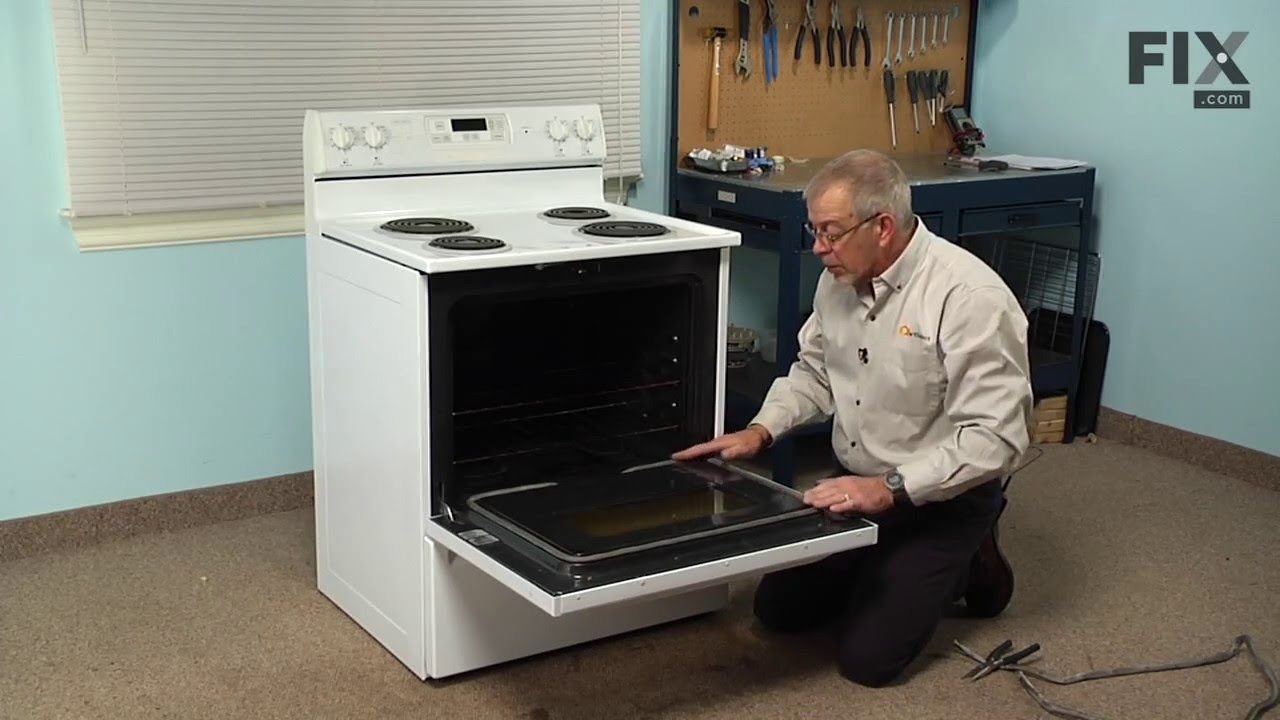
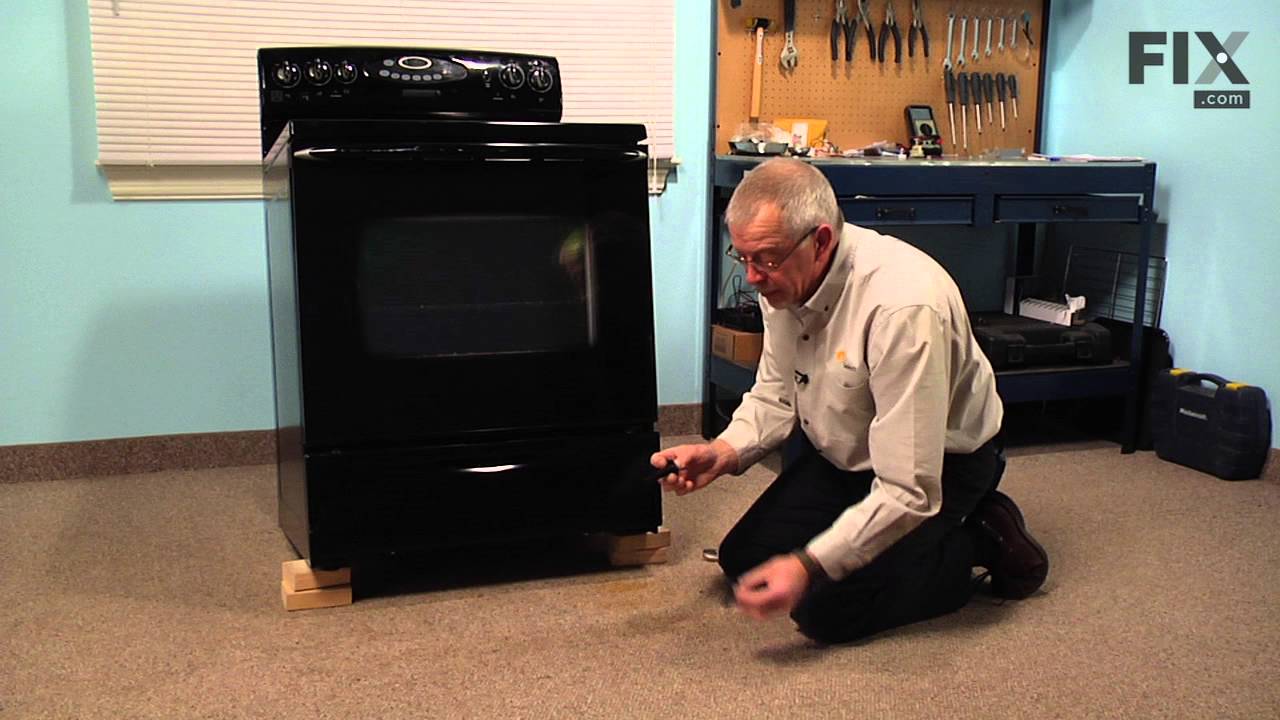
See how others fixed this model. Time, tools, difficulty, and steps that lead to victory!
View More