



 My Orders




CGIS3065PFE Frigidaire Range - Overview
Diagrams for CGIS3065PFE
See every part. Know exactly what you need.


Enter a part description. DIY Heroes keep it simple, eg. "belt" or "pump".
Search filter:
Clear Filter
Your search term must have 3 or more characters.

$40.60
In Stock
Main Terminal Block Kit
Part #5304409888
Terminal block kits are also known as terminal boards, or terminal strips, and they are found in a wide variety of household appliances. Most often in ranges, wall ovens, and dryers. This kit attaches the power cord to the inner wiring of your appliance. If the terminal block is faulty, your appliance will not get the power it needs to op...Read moreerate properly. When removing the old block pay close attention to the wire placement, this will make installing your new part much easier. If you notice any of the wires or wire terminals are corroded or damaged they will also need to be replaced.
Read less

$95.93
In Stock
GLASS
Part #5304503232
This tempered glass is supplied by the original manufacturer and measures 20 inches by 13 inches. It is an inner door glass, designed for use in ranges/ovens and has several purposes which include providing heat insulation, acting as protective barrier, and providing an opening to monitor the cooking/heating process. Over time the glass c...Read morean break or break from impact, thermal shock, or improper installation. If the glass is defective, it needs to be replaced promptly to avoid leaking, loss of insulation and potential harm to the user. Remove any fasteners or clips that secure the glass and carefully dispose of it. Position the new glass in the same position and secure it appropriately.
Read less

$53.85
In Stock
Temperature Sensor
Part #5304504897
The temperature sensor, also known as an oven probe, helps measure the temperature within the oven cavity. If your oven is too hot, not heating evenly, has little to no heat when baking, or flashing F3/F4 error messages on your control board, you may need to replace this part. This part measures 6" long and is made of metal. Please make s...Read moreure to disconnect the power to your oven range before starting this repair. This temperature sensor is a genuine OEM part.
Read less

$26.35
In Stock

$86.02
In Stock
Meat Probe Sensor
Part #5304504202
This meat probe sensor is an authentic manufacturer replacement part for cooking appliances that have a built-in meat probe feature. It is plugged into the receptacle assembly for use inside the appliance. The sensor measures the internal temperature of meat during the cooking process and sends the readings to the control panel where they...Read more can be viewed in real time. This ensures that the food is cooked to your desired level of doneness. Over time the internal sensor components may become faulty or the probe can fail due to mechanical damage resulting in inaccurate temperature readings, and failure to communicate with the control panel. Follow the sensor cable to the insertion point in the oven cavity and disconnect the faulty sensor. Install the new sensor into the insertion point and reattach the connectors to complete the repair.
Read less

No Longer Available

$31.47
In Stock
Door Spacer
Part #318165800

$41.17
In Stock
Convection Fan Blade
Part #318398302
This convection fan blade is designed for use with various makes and models of range and oven and is sold as an individual part. Made of metal and measuring approximately 4.75-inches in diameter, this genuine OEM fan blade works with the convection motor to circulate and distribute heat evenly throughout the oven. If your oven is not gett...Read moreing hot enough or the heat is not circulating properly, or if the fan blade in your oven has become warped, damaged, or chipped, it needs to be replaced immediately. To replace the fan blade, disconnect your range from the power and locate the fan assembly. With the appropriate screwdriver and wrench, remove any assembly covers and the securing nut from the blade. Once the nut is removed, install the new blade and secure it and re-install the cover.
Read less

No Longer Available
RACK
Part #5304514983
This is an OEM oven rack, which works with ranges, wall ovens and microwave oven combos.

$36.06
In Stock
Leveling Leg
Part #318175510
This part is a levelling leg and it is used in conjunction with your range. The function of this part is to supply stability and support to your appliance. This part is adjustable to allow you to tailor each leg to meet your levelled cooking needs. A range typically uses four of these parts, and this model is sold individually. This part ...Read moremeasures to be just over a square inch wide, and almost two inches high. The body of this part resembles a screw and is made of metal. The bottom of the leg is black, flat, and made of plastic.
Read less

$71.44
In Stock
ELEMENT
Part #5304521498
This genuine OEM broiler heating element is designed to provide high-intensity heat from the top of the oven cavity, supporting the broiling function in compatible electric ranges. It delivers consistent performance for tasks such as searing, browning, and finishing dishes. The element is constructed from durable materials to withstand re...Read morepeated exposure to high temperatures and is shaped to fit securely within the designated mounting area. Replacing a damaged or worn broiler element can resolve issues such as uneven cooking, failure to heat, or visible damage to the heating surface. Installation should be performed with the power disconnected and may require basic tools. To ensure proper fit, verify your appliance’s model number before purchasing.
Read less

$28.68
Special Order
NUT
Part #316247700
This part is made of stainless steel and is approximately half an inch in diameter. This nut is known as a control mounting hex nut. It is metallic in color. This is an OEM part sourced directly from the manufacturer. This part is sold individually. This nut screws in as opposed to other nuts which can be snapped into place. Many of our c...Read moreustomers have rated this repair as easy. This product is designed mainly for use in a range/cooktop/oven.
Read less
Manuals & Care Guides for CGIS3065PFE
Click to downloadInstall
Installation Instructions
(9.45MB)
Specs
Product Specifications Sheet
(3.15MB)
Specs
Product Specifications Sheet
(9.45MB)
Wiring
Wiring Diagram
(3.15MB)
Wiring
Wiring Diagram
(9.45MB)
Common Symptoms of the CGIS3065PFE
How this model fails, and the parts that fix it.
Little to no heat when baking
Fixed by
these parts
these parts


Show All
Element will not heat
Fixed by
these parts
these parts

Show All
Oven is too hot
Fixed by
these parts
these parts
Show All
Will Not Start
Fixed by
these parts
these parts
Show All
Oven not heating evenly
Fixed by
these parts
these parts
Show All
Little to no heat when broiling
Fixed by
these parts
these parts
Show All
Watch our pros, then fix it yourself.
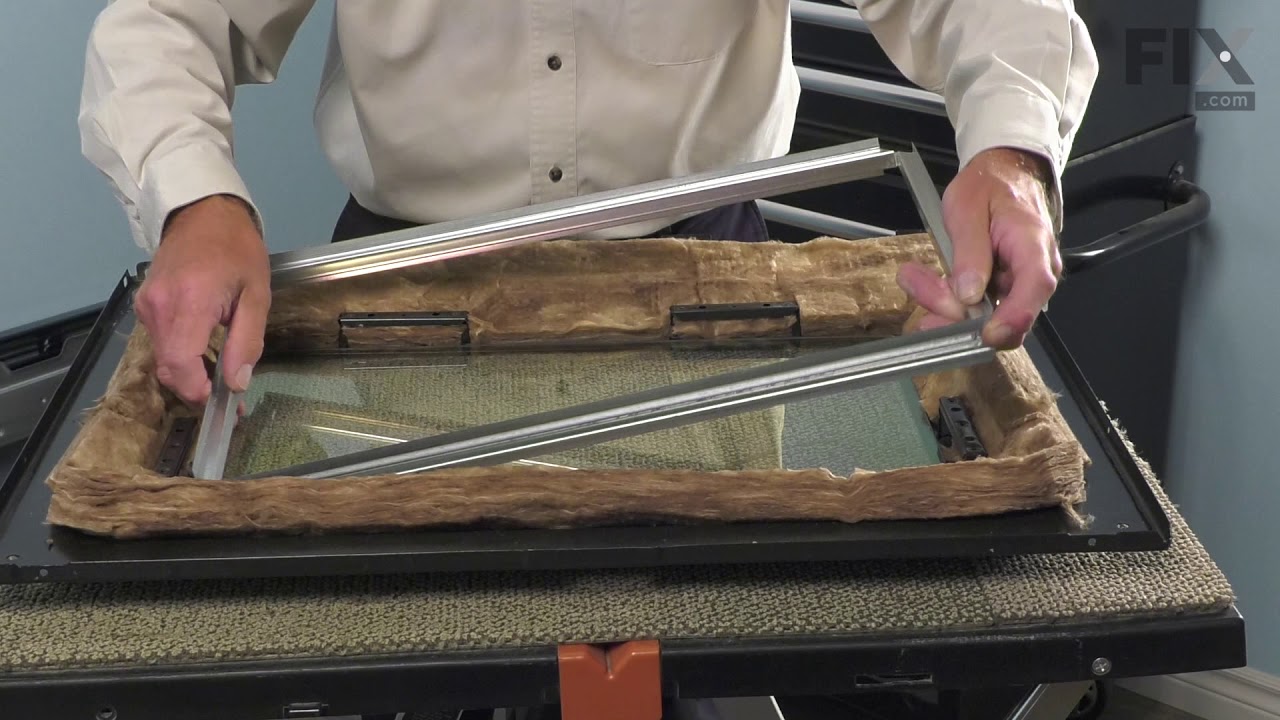
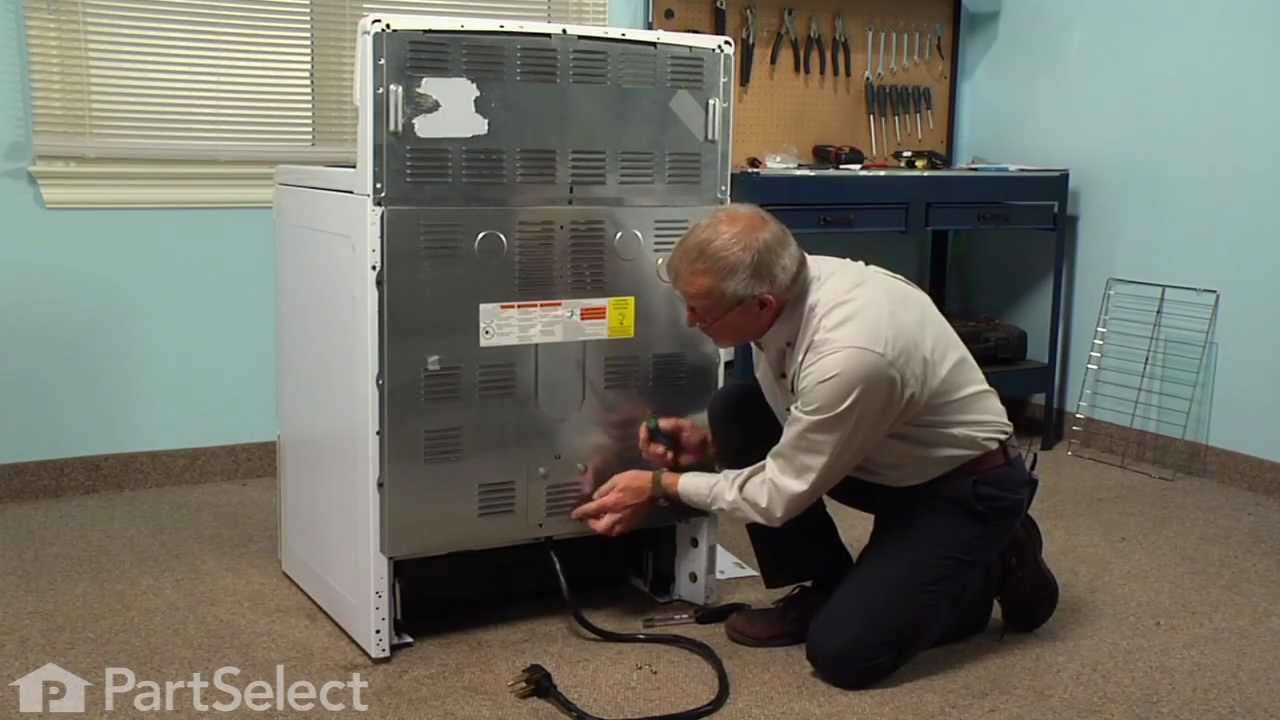
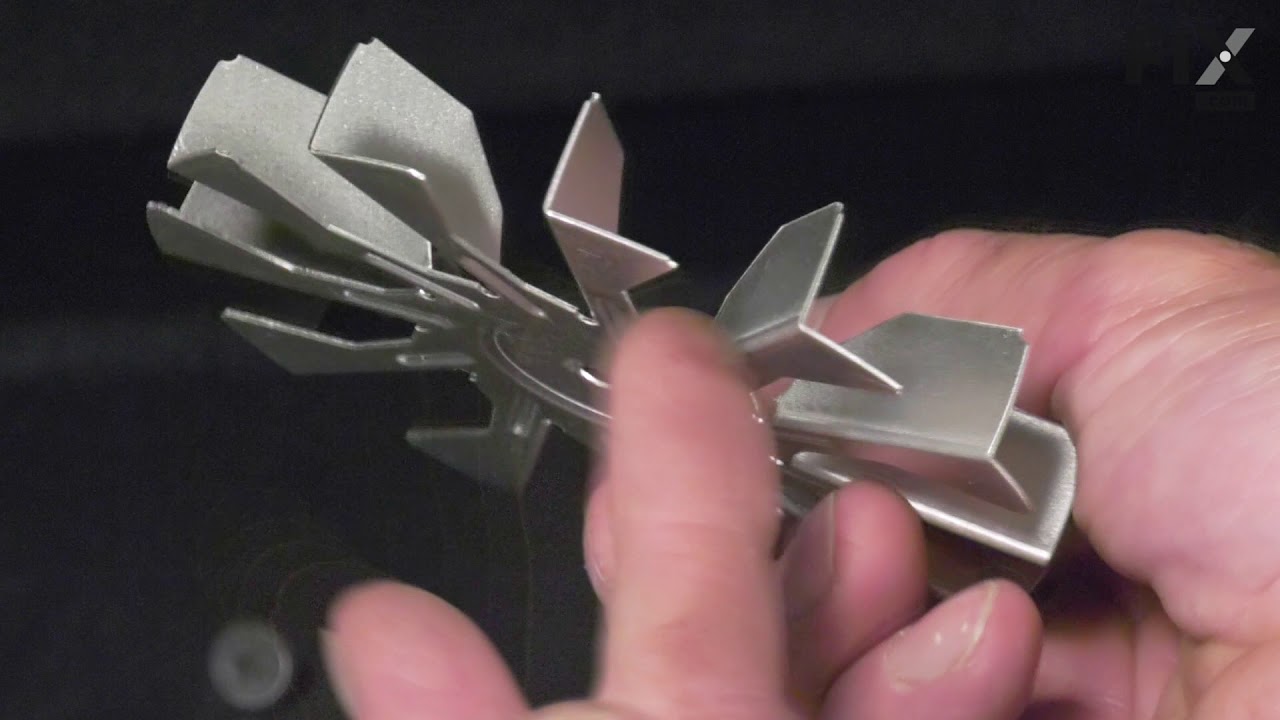
See how others fixed this model. Time, tools, difficulty, and steps that lead to victory!
View More