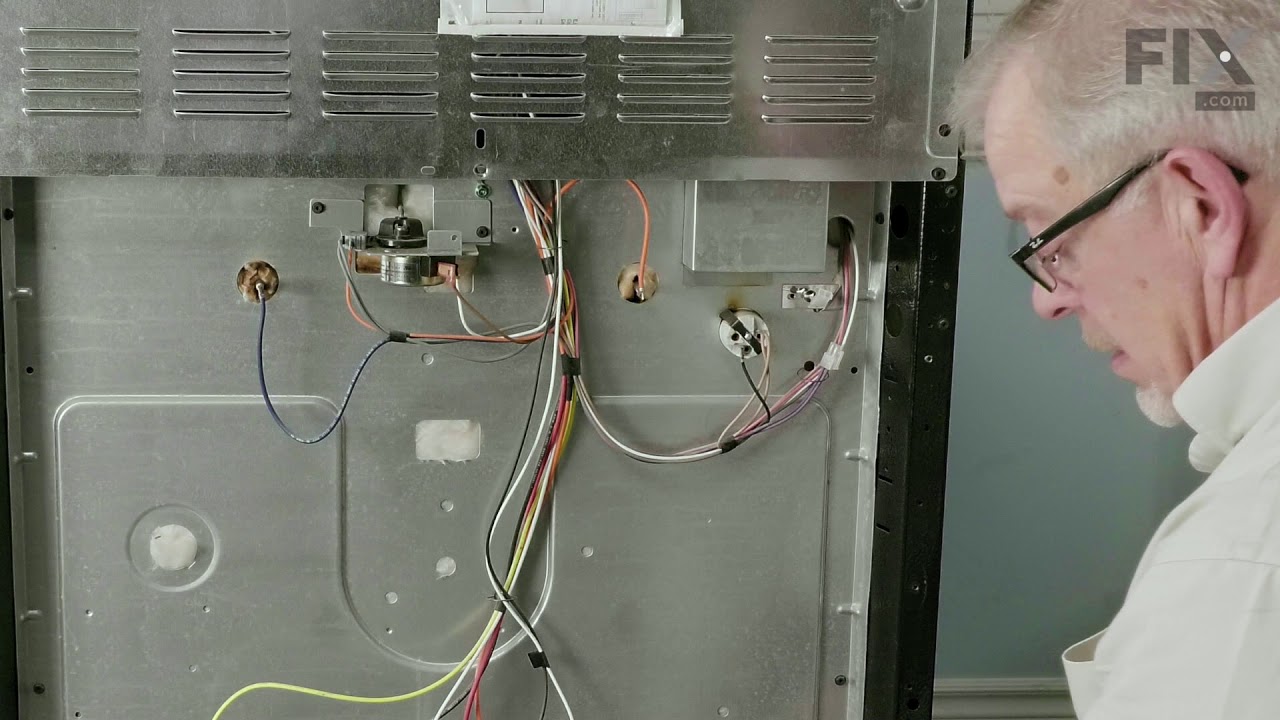
This genuine OEM oven probe is also known as an oven temperature sensor or range probe. This part is manufactured for a range, stove, or oven to detect the temperature within the oven cavity. The probe allows the oven to maintain the set temperature by sensing the temperature and sending the information to the ovens motherboard. You may n...Read moreeed to replace this part if oven is not heating or is heating unevenly. Be sure to disconnect power to oven before replacing, as it is an electrical part. Tools needed are 1/4 inch nut driver and needle nose pliers.
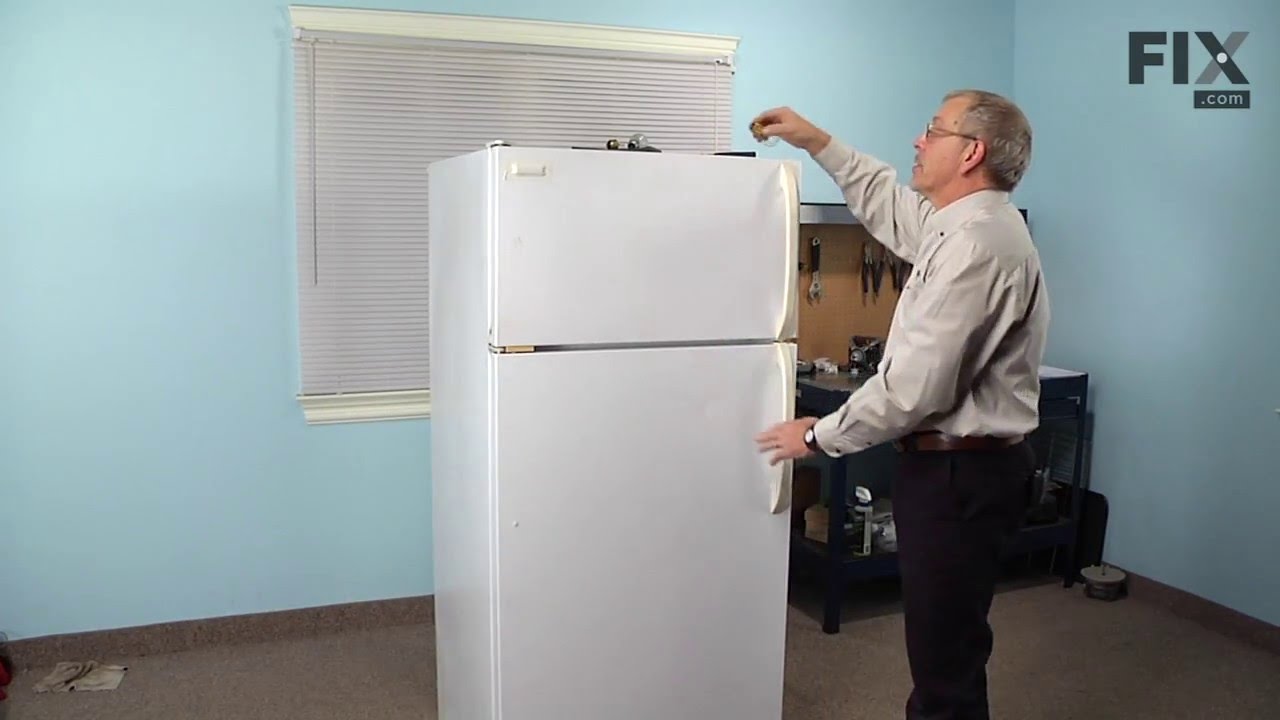
This OEM 40 watt appliance light bulb is used for some ranges, refrigerators, freezers, and microwaves. Simply locate the existing bulb, unscrew it from its socket, and replace with new light bulb. If the existing bulb is broken in the socket, disconnect the power to the refrigerator and use a pair of needle nose pliers to grip the intern...Read moreal fragments of the bulb to unscrew. Replace with the new bulb and reconnect the power to the refrigerator. These bulbs are sold individually and are a commonly replaced part; consider ordering a spare.
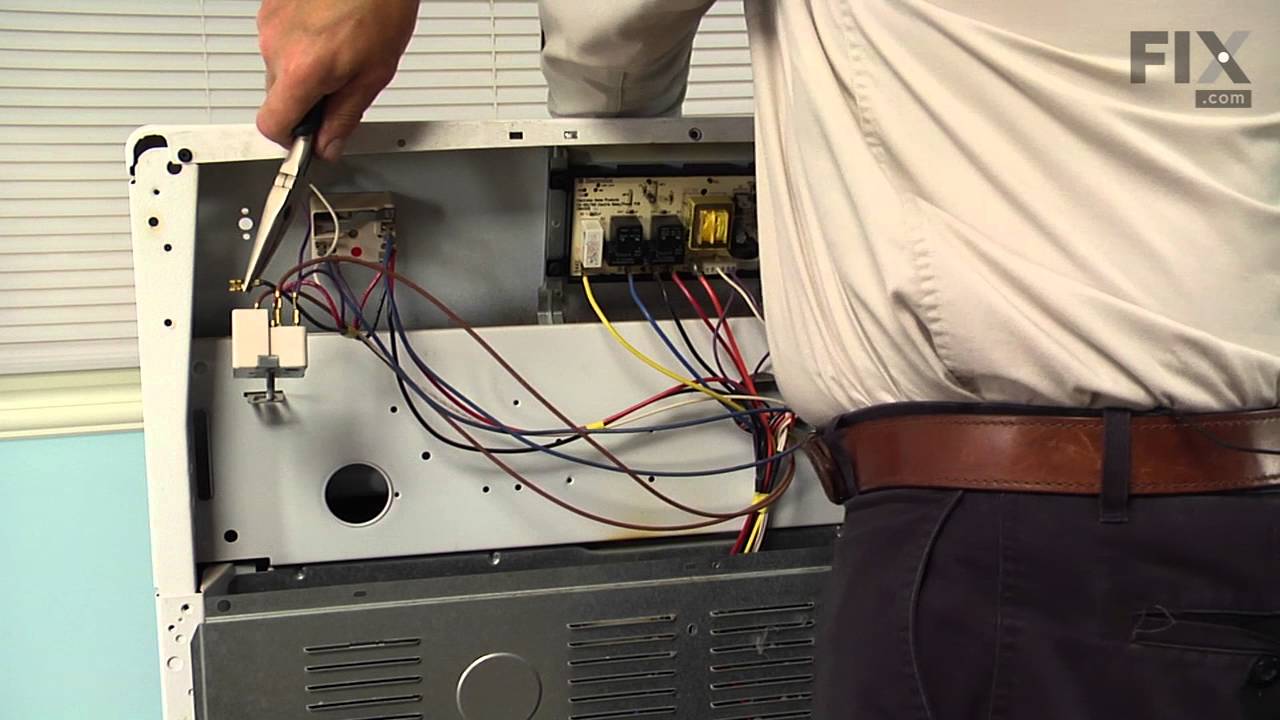
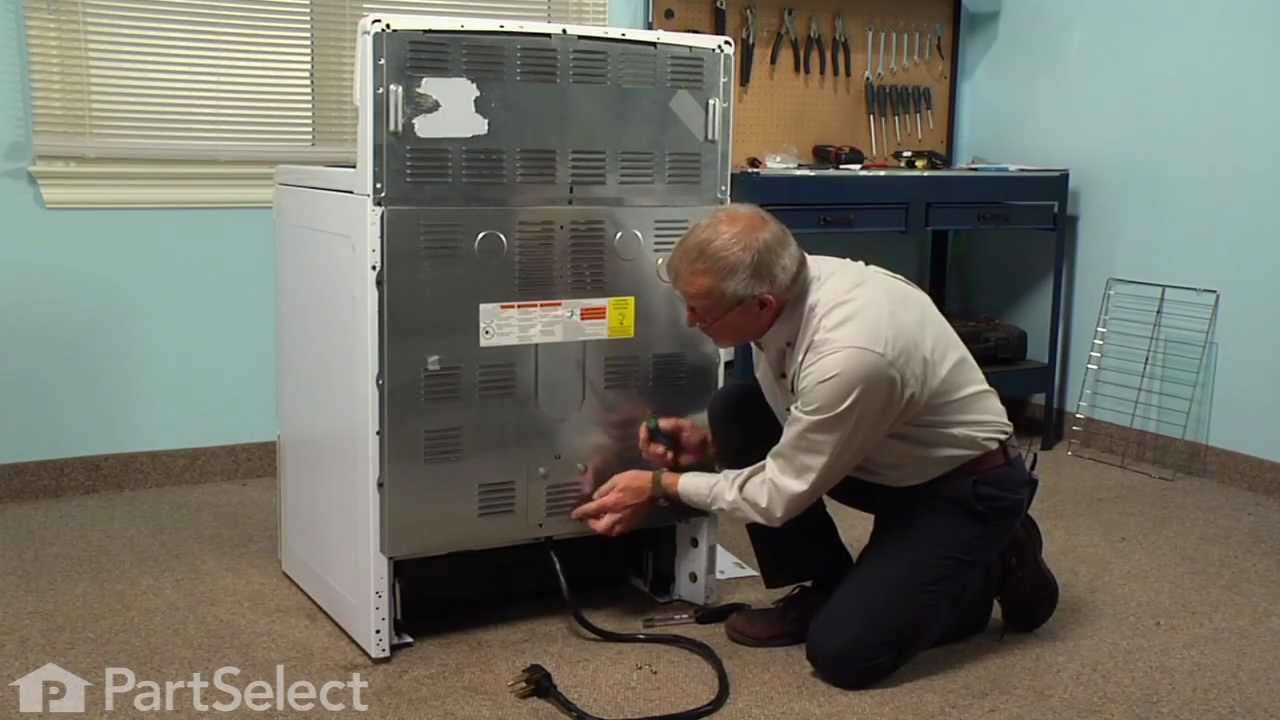
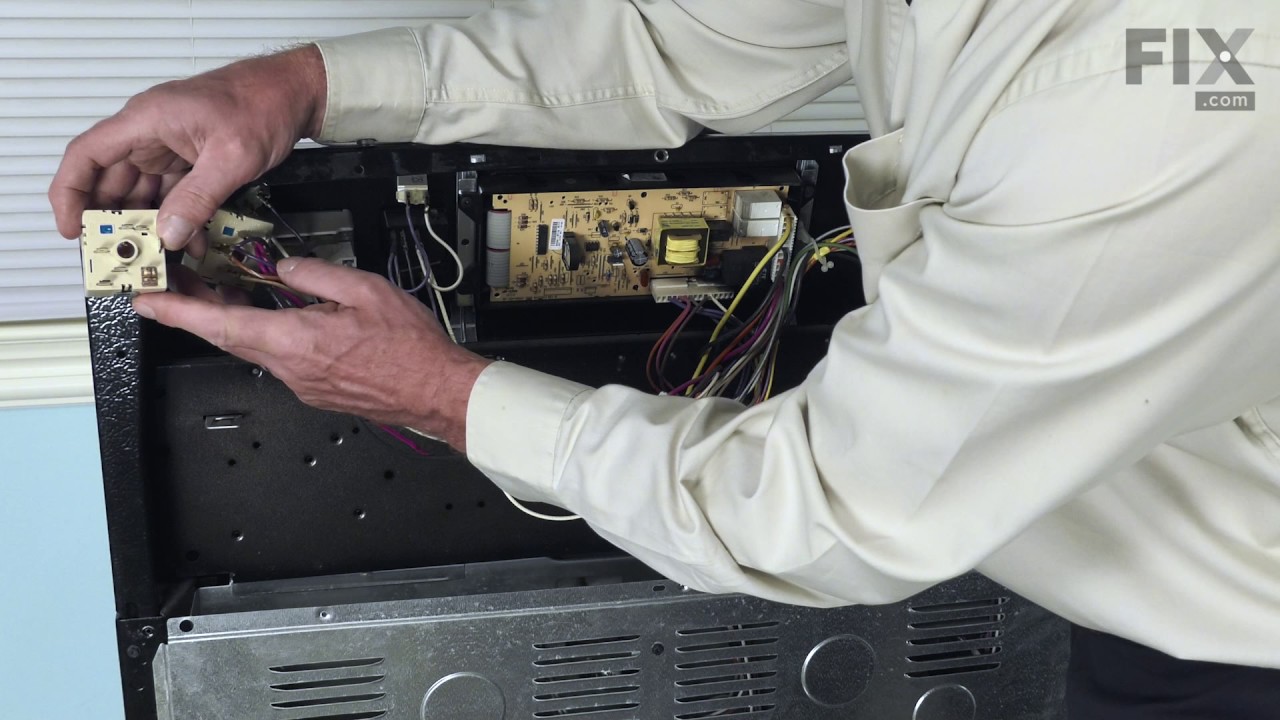
This is a part for your range. This switch controls the stovetop surface burner. If you notice that your stove top is not turning on or is not adjusting to the corresponding desired heat, it is mostly likely due to the burner switch needing to be replaced. You will need a #1 square-head screwdriver and needle-nose pliers. Disconnect the p...Read moreower from the range. You will need to move the range out from the wall to remove the upper back panel to access to this part. This is an OEM genuine part.
Terminal block kits are also known as terminal boards, or terminal strips, and they are found in a wide variety of household appliances. Most often in ranges, wall ovens, and dryers. This kit attaches the power cord to the inner wiring of your appliance. If the terminal block is faulty, your appliance will not get the power it needs to op...Read moreerate properly. When removing the old block pay close attention to the wire placement, this will make installing your new part much easier. If you notice any of the wires or wire terminals are corroded or damaged they will also need to be replaced.
The Frigidaire light bulb lens covers the interior light bulb in an oven. No tools are necessary to replace this item. After unplugging the appliance, slide off the wire bracket to remove the existing light bulb lens. Be sure to remove all broken glass, if applicable, before installing the new lens. It is recommended to check the state of...Read more the light bulb while the lens is off. This part is made of glass. The lens is a genuine Frigidaire part, sourced directly from the manufacturer, and is sold individually.
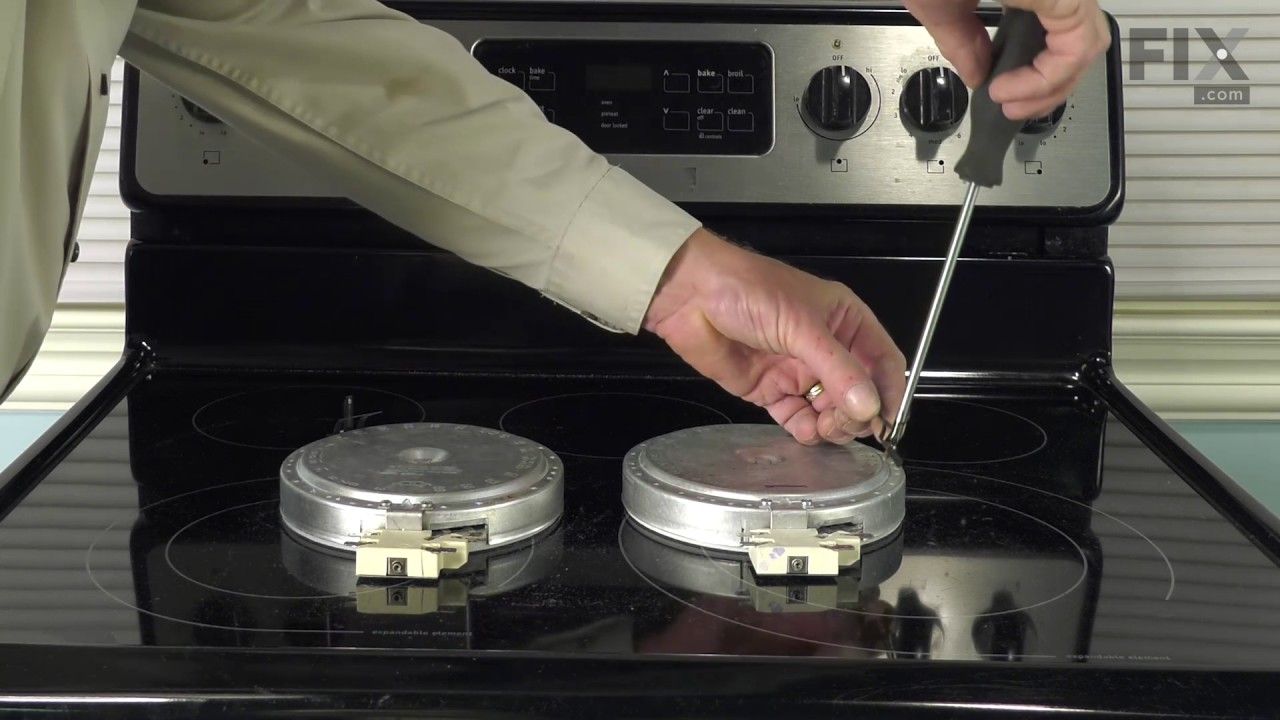
This is a six-inch radiant element with limiter. It works in conjunction with your stove top range. The purpose of this part is to heat up the cooking area that is located on top of the range, also known as your stove top. If you suspect that your surface element is not properly heating then you may want to test the element for continuity...Read more. This model is sold individually and is 1200 watts. The tools you will need for this installation include a Phillips screwdriver and a 14-inch nut driver.
The anti-tip bracket kit comes with one metal bracket and two installation screws, and is sourced directly from the genuine manufacturer. It prevents the freestanding oven, range, or stove from tipping when force or weight is applied to an open oven door. The bracket is secured to the floor and wall and fits over the rear leveling leg in ...Read morethe back of the appliance, in a cutout specifically designed for the anti-tip bracket. This part is very essential to the safe operation of the appliance. Failure to install the bracket properly can result in the oven tipping or falling and causing injuries.
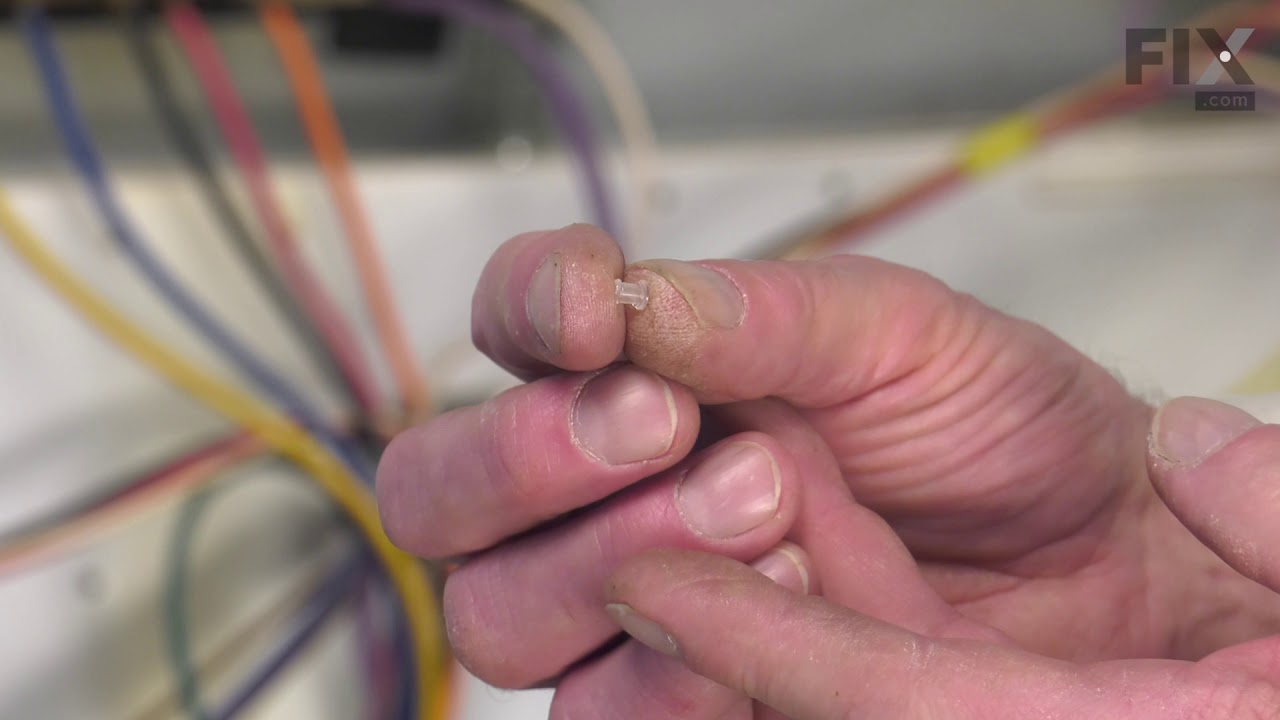
This range indicator light lens is designed to cover and protect the appliance’s indicator light, allowing you to easily see when a burner or oven is in use. Made from clear, heat-resistant plastic, it helps shield internal components from grease, moisture, and everyday wear. Replacement is ideal if the original lens is cracked, discolored, or missing, helping restore visibility and maintain safe, reliable operation.
The oven light socket allows you to screw in a light bulb so that you can see the inside of your oven. The light socket is located in the back of your oven, so you will need to remove the back panel to access the socket for the repair. You will also need to remove the current light bulb and the light lens cover so that the old socket can ...Read morebe removed. As you will be working around electrical circuits for this repair, be sure to disconnect the power source from the oven before you begin work on the oven.
Ask our experts a question about this model and we'll get back to you as soon as possible!
We may have answered a similar question already! Search questions and answers left by others using simple keywords like "fit", "broken", "easy", or "quality" to find questions that match.
Search filter:
Clear Filter
Your search term must have 3 or more characters.
Sort by:
Prev
1
Next
Sorry, we couldn't find any existing answers that matched.Try using some different or simpler keywords, or submit your new question by using the "Ask a Question" button above!
Terry - For model number CGEF3059RFA
November 30, 2021
Every once in a while, our stove shuts off, then the clock flashes as it does when the power goes off and back on. I checked the breakers and all connections inside the breaker panel. I removed and checked the plug-in and all connections inside. I removed the back panels and checked all wiring and connections inside. Through all of this, I found nothing. I then turned on the power and jiggled every wire inside, but I couldn’t make it shut off. Might you have any ideas where to go next? Thanks, Terry
Hello Terry, Thank you for the question. This could be an indication the Electronic Control Board is faulty and may need to be replaced. If you need help placing an order, customer service is open 7 days a week. Please feel free to give us a call. We look forward to hearing from you!
My broil element quit working. I replaced it. Now the oven beeps when I try any of the oven controls. No error codes. Just a flashing clock. Nothing looks burnt or out of place in the back of the oven. Do you have any suggestions?
Hello David, thank you for contacting us. If your appliance's control panel features a flashing clock and emits a generic rejection beep whenever you touch a button, the issue could be with the main control board. The control board might have suffered an internal micro-short circuit during the broil element installation, causing a critical logic chip failure that left the control panel unresponsive. You may need to replace the main control board, part number PS9494056. We hope this solves your problem!
Oven is only around 5 years old and is taking way too long to reach desired temp, approx. over an hour to reach 425. It takes approx. 50mins to reach 230, stays there for a while and slowly creeps up to 425. I recall not long after the issue started, finding a baking tray on the bottom (base/ floor) of the oven which actually caused some burn damage to the oven base, I'm wondering if that has caused the issue?
Hi Sara, thank you for reaching out. The problem seems to be with the Bake Element and you may need to replace it, the part number is PS1991807. If that does not help, we would suggest checking the Temperature Sensor, part number PS1528542. If you need help placing an order for it, please feel free to give us a call. We look forward to hearing from you!
The stove shows F11err the top works fine but the oven doesn't work .It continually beeps can't make it stop.had to unplug it.
Hi Marie, thank you for the question. According to our research F11 error code shows a shorted key error. It means when a key on the keypad has been detected as pressed in for a long time, the F11 error is reported and it terminates all commands. We recommend you replace the electronic control board, part number PS9494056, to fix the issue. We hope this solves your problem!
See how others fixed this model. Time, tools, difficulty, and steps that lead to victory!View More
Search repair tips from other customers using simple keywords like "replace", "fit", "remove", "inspect". DIY doesn't mean you have to do it alone!
Search filter:
Clear Filter
Your search term must have 3 or more characters.
Cord was not tightened enough by delivery crew.
109 of 174 peoplefound this instruction helpful.
Timothy from Spring Valley, AL
Really Easy
15 - 30 mins
Screw drivers, Socket set
PF alarm appeared on display. Noticed clicking when cord was moved. Had arced for some time and melted original block. New part slightly different. Only has 3 lugs, old one had six. Stack using washers provided. Take note of colors before disassembly. Use caution while working through access opening. The edges are sharp. Only tools neede
... Read mored are phillips screwdriver, deep socket for lug nuts. Nut driver optional. Hope this is helpful.
Read less
Was this helpful?
Thank you for voting!
burned out burner
70 of 99 peoplefound this instruction helpful.
Lori from Winter Haven, FL
Easy
Less than 15 mins
Pliers, Screw drivers
First we removed two screws under the rim of the range top to open the lid. Lifted the lid and removed the screws from the bracket that holds the elements, Be careful with the clips that hold the element in, if you break them or bend them there aren't any more! Also note which holes they were in, they are marked according to the differ
... Read moreent sizes of elements. Disconnected the wires, needed needlenose pliers to grip them...connected new element, popped it back in place, replaced bracket, closed top ...Easy peasy!!!
Read less
Was this helpful?
Thank you for voting!
Switch Was Making A Arcing Sound When Burner Was On
59 of 83 peoplefound this instruction helpful.
Gerald from Paris, TN
Easy
15 - 30 mins
Screw drivers
Removed the back cover of the range. Removed the knob from the front of the switch. Removed 2 screws holding switch to range. Removed wires one at a time and connected to proper poles on replacement switch and reinstalled new switch on range



 My Orders