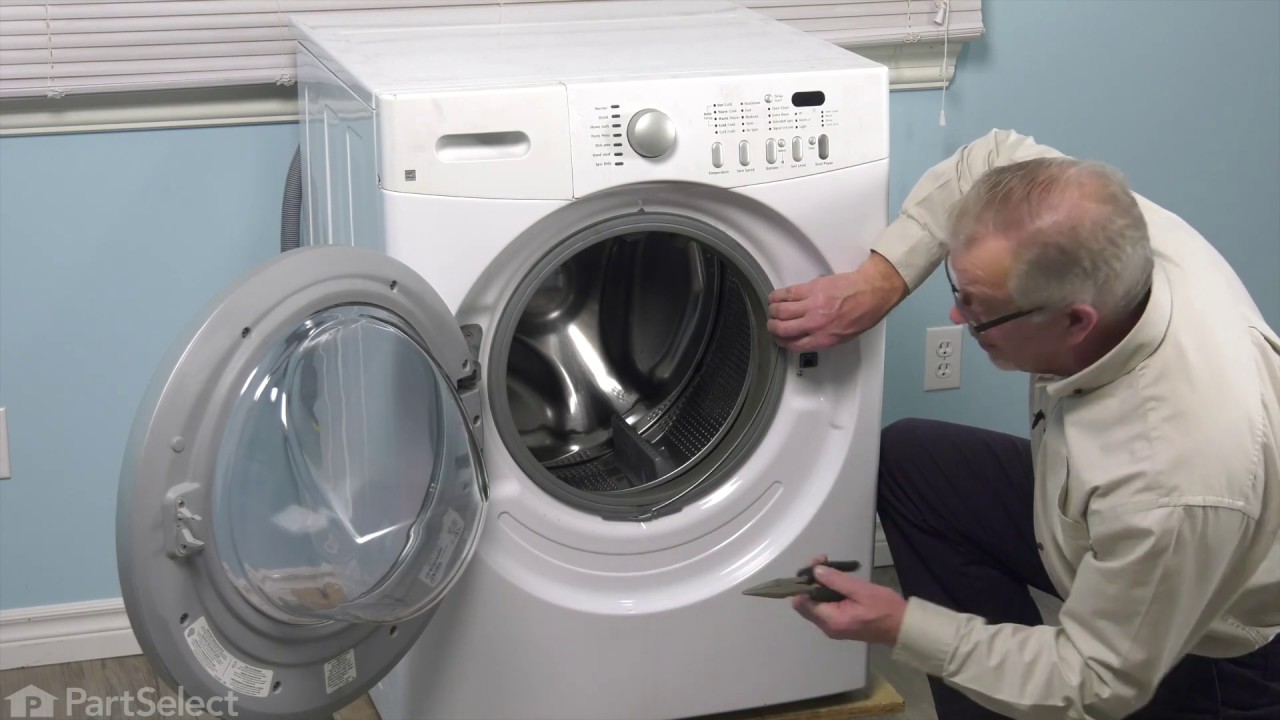
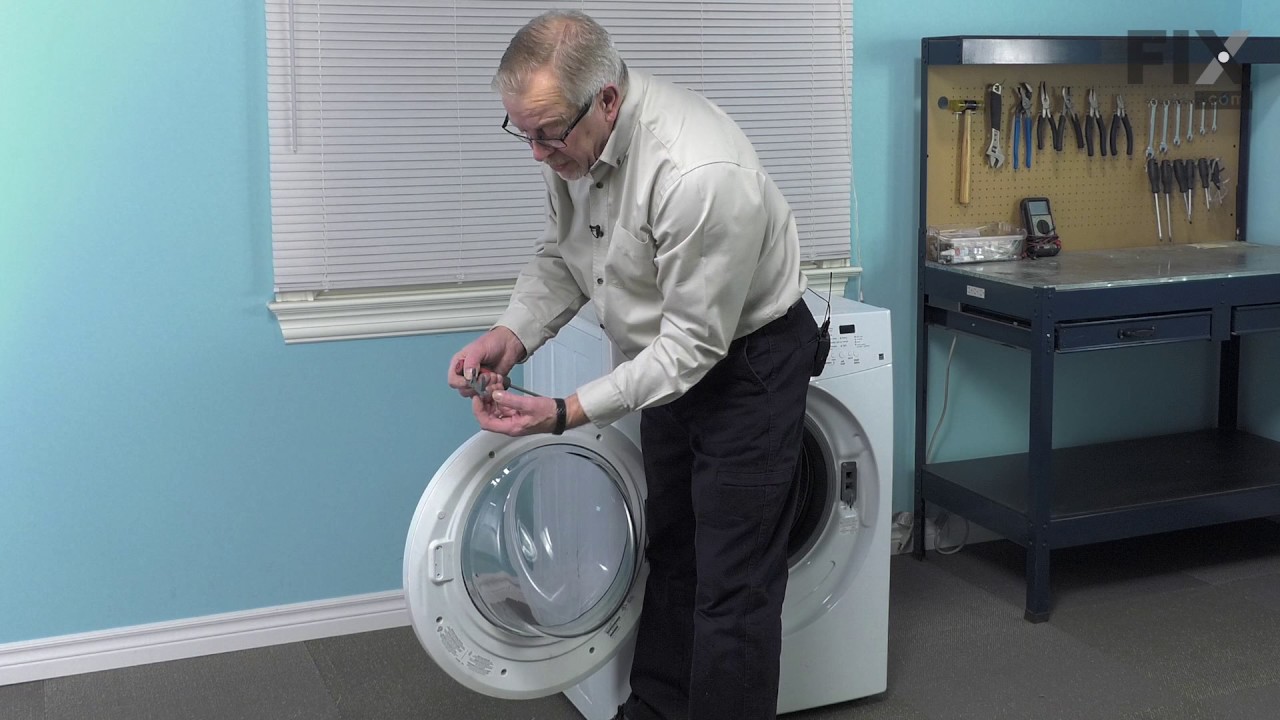
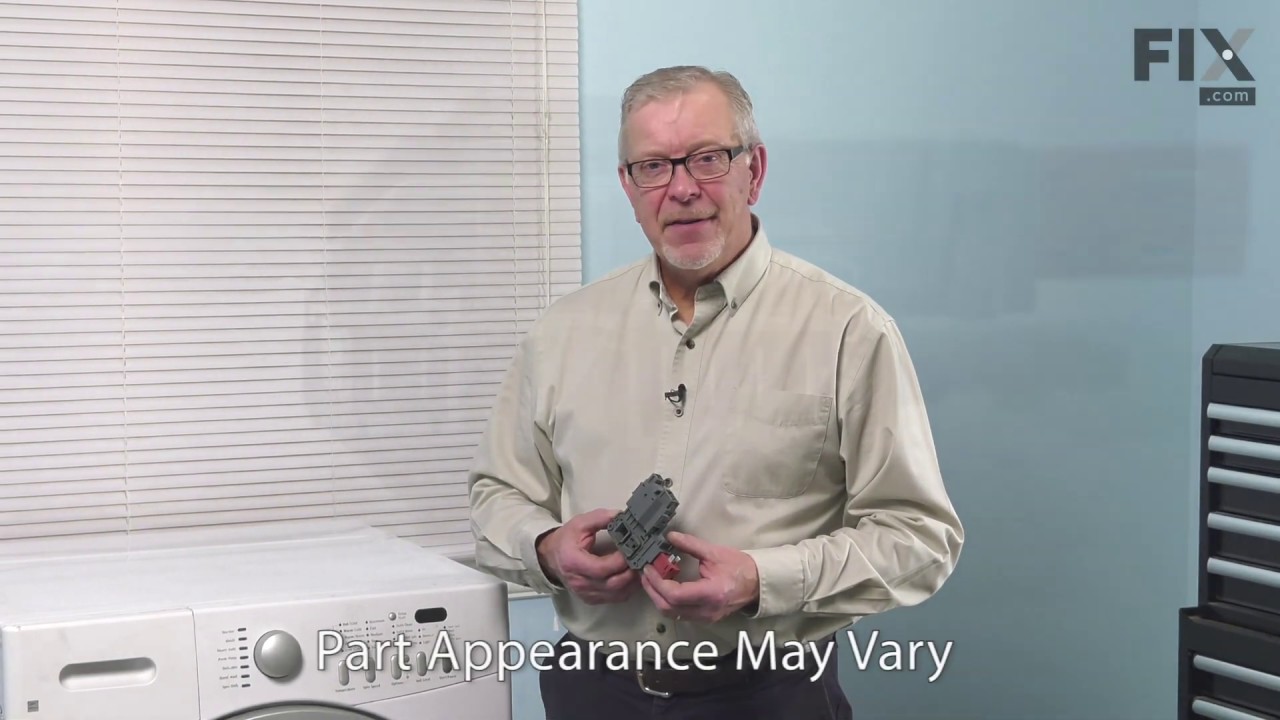
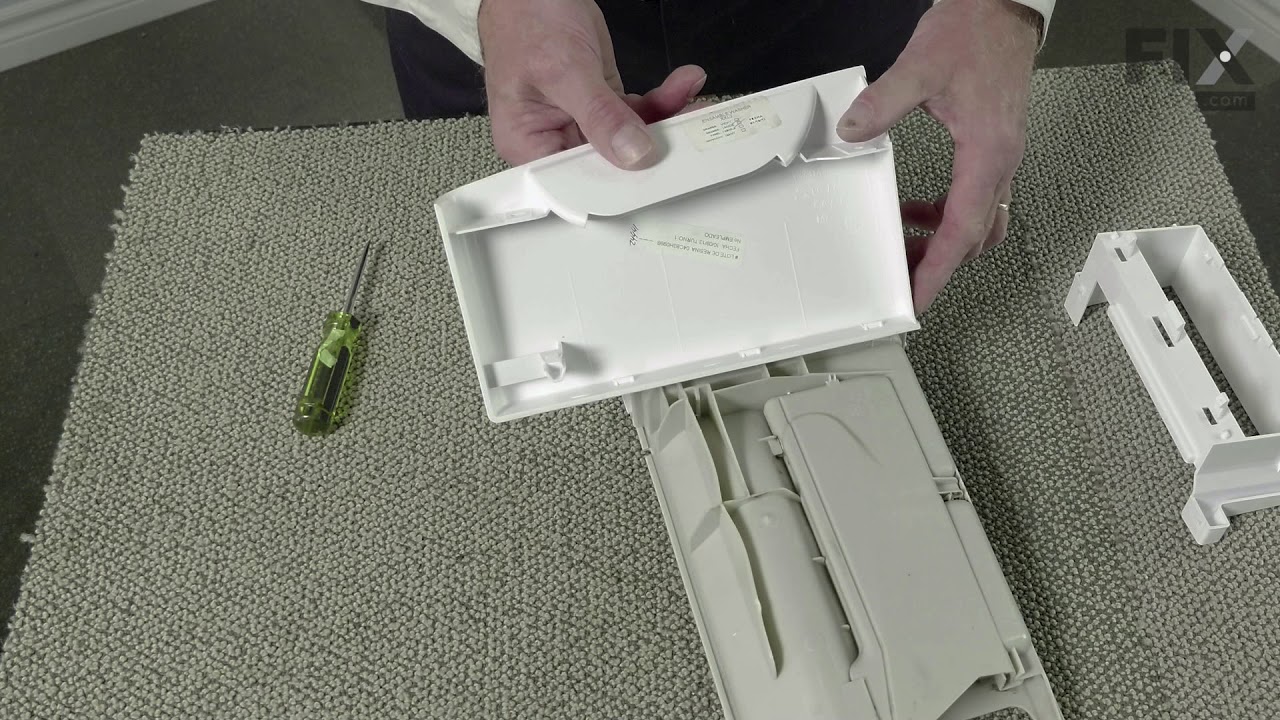
This is a door striker, it is gray in color and is a part found on your washer. The purpose of the striker is to keep your washer door closed for usage. This piece will attach to your appliance lid and will activate the door switch when your lid is closed. The most common reasons for needing to replace this part are if your lid will not c...Read moreonsistently open or close, and your washer will not consistently start. The only tool you will need to complete this installation is a Phillips screwdriver.
This door lock and switch assembly is manufactured to lock the door on your front load washer to prevent it from opening while it is running. You may need to replace the door lock and switch if the door does not open or lock. Your washer will not start if the door does not lock. This part is also known as a washing machine door lock assem...Read morebly. As per the manufacturer, some models require a new wire harness and a door strike for this door lock assembly to work on the appliance. The original style lock would require the door lock kit.
This is a door hinge with bushings and works in conjunction with your washer. The purpose of this part is to attach to the outside of the front door panel to help with the lid opening and closing properly. The hinge will fasten the front panel of the washing cabinet to the lid of the washer. This piece is roughly 9 inches long, almost 3 i...Read morenches high, and roughly 2.5 inches wide. The reason for needing to replace this part is if your lid/door will not open or close properly, which may lead to leaking.
This is a replacement screw for your washer or dryer. The screw is approximately half an inch in length and is a Phillips-head screw. It screws in from the outside of the drum, into the vane/baffle. The main reason you would replace this screw is if the old screw is missing or damaged. This part is sold individually and is an OEM part sourced directly from the manufacturer.
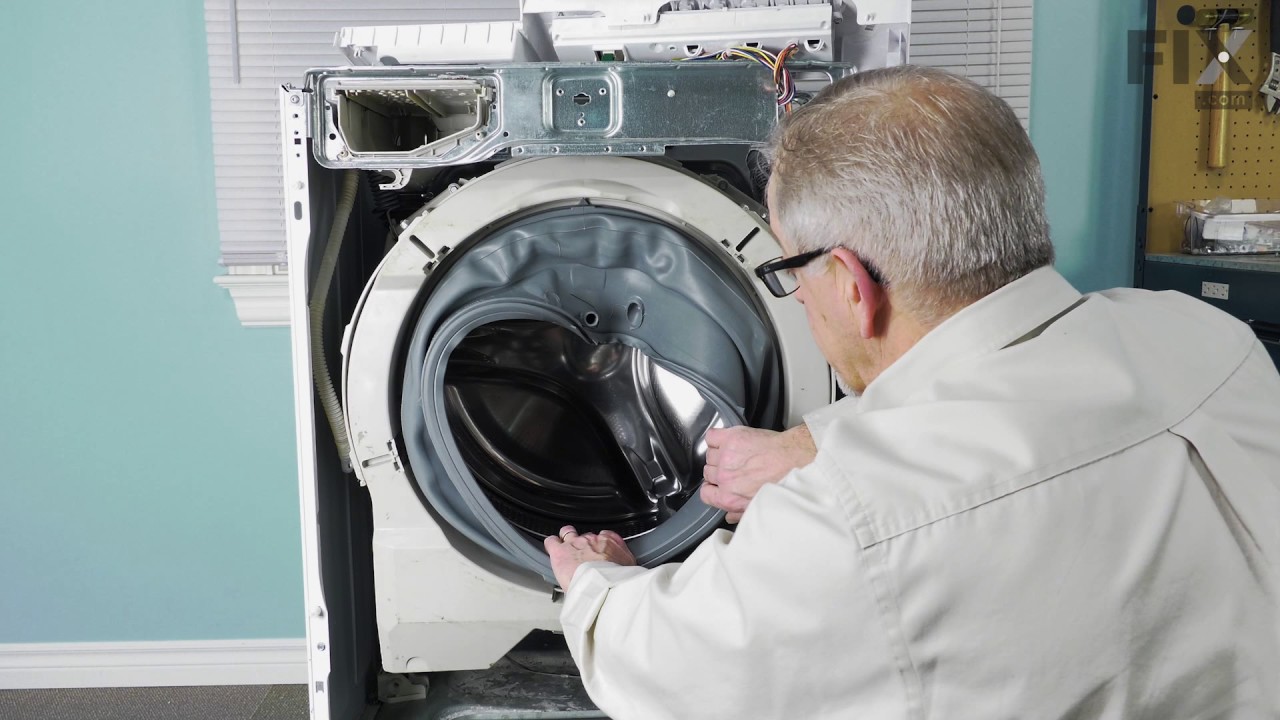
Also known as a Door Boot Seal and is used in front load washers. This part is used to keep the clothes inside the tub during the wash cycle. The folds in the bellow allow the tub to move separately from the door during the spin cycle.
NOTE: This part has been redesigned by the manufacturer and is interchangeable with the old design.
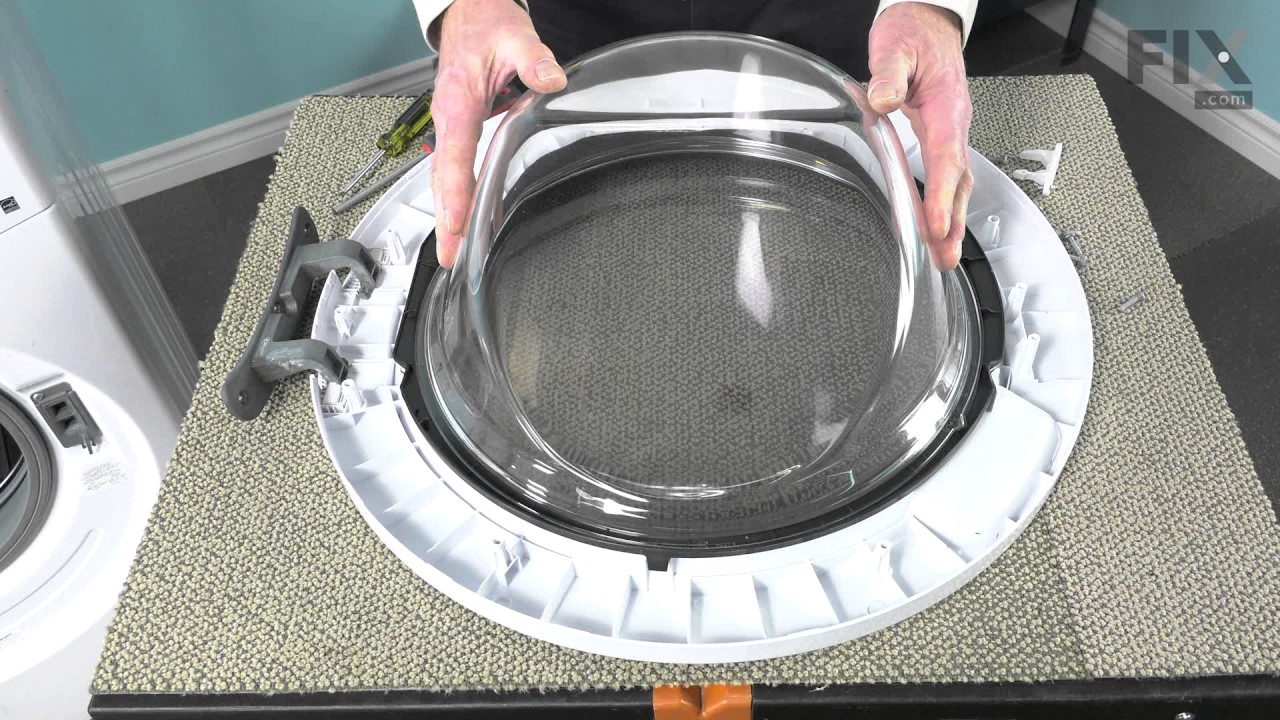
This outer door panel is a genuine replacement part designed for select front-loading washing machines. Made from durable white material, it serves as both a protective barrier and a visual enhancement to the appliance’s exterior. A damaged panel may prevent the door from closing properly or cause sealing issues that lead to leaks. This O...Read moreEM component is compatible with various models and should be matched to your specific unit for proper fit and function. Sold individually.
This washer shock absorber mounting pin is a small but essential fastener that secures the shock absorber to the outer tub of a front-load washing machine. By holding the shock absorber firmly in place, it helps stabilize the tub during wash and spin cycles, reducing excessive vibration, shaking, and movement. Made from durable materials ...Read moreand designed for a precise fit, the pin supports smooth operation and protects other components from stress caused by unbalanced motion. Replacing a worn, broken, or missing mounting pin can help restore proper vibration control, improve washer stability, and prevent noise or damage during operation.
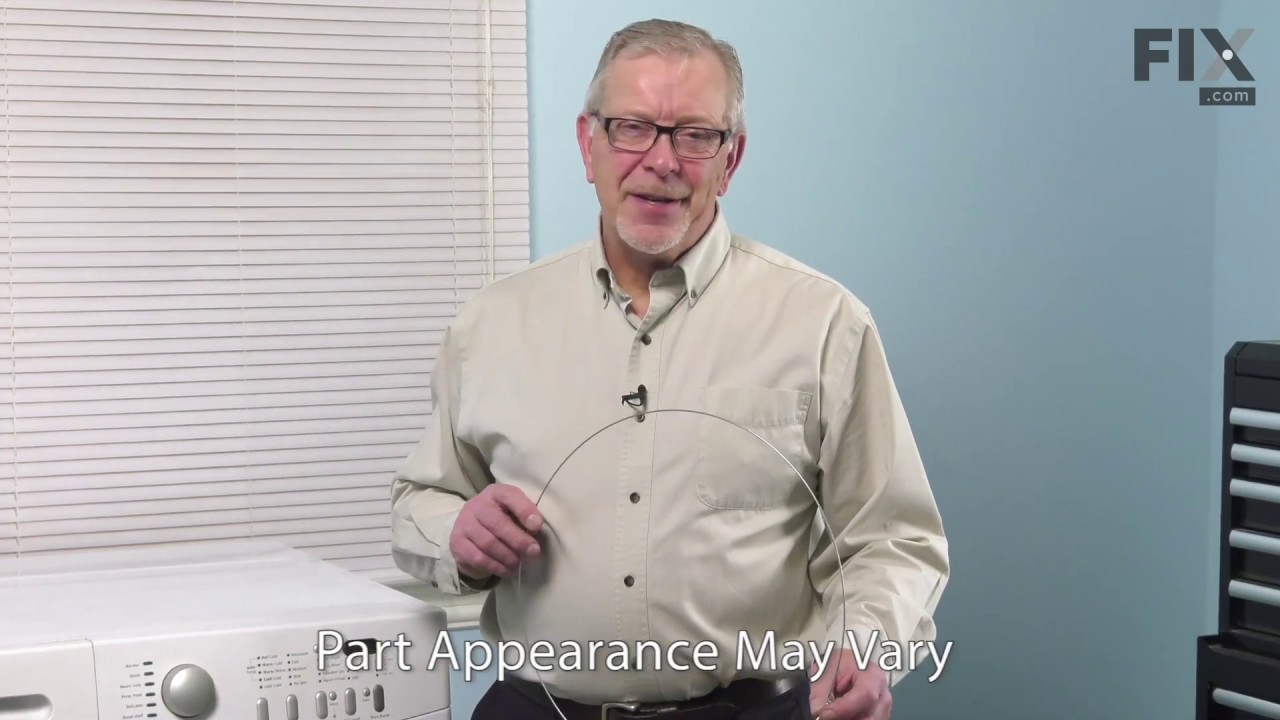
This washer door boot spring clamp secures the rubber door seal in place, maintaining a tight, watertight fit between the tub and front panel during operation. Its tension design helps prevent leaks and keeps the door properly sealed throughout wash cycles. Replacement is recommended if the seal becomes loose, water leaks from the front, ...Read moreor the clamp is damaged, helping restore a secure fit and reliable washer performance.
This dispenser drawer handle frame attaches to the detergent drawer of select washing machine models, allowing for smooth opening and closing. Made from durable white plastic with a clear exterior accent, it’s designed to restore functionality when the original part is cracked or the mounting tabs are broken. Measuring to fit precisely, t...Read morehis replacement part is compatible with various models and is sold individually. Be sure to verify your washer’s model number before purchasing to ensure proper fit.
This is a shoulder screw and is used in conjunction with multiple appliances within your home. This specific model is size 10, and it has 16 threads to an inch. This part is made entirely of metal and is chrome-colored. The shoulder screw measures to be less than an inch long, and has a flat bottom and top. In general screws are typically...Read more made of metal, and the purpose of them is to be used as a fastener when attaching one piece/part to another. This model is sold individually.
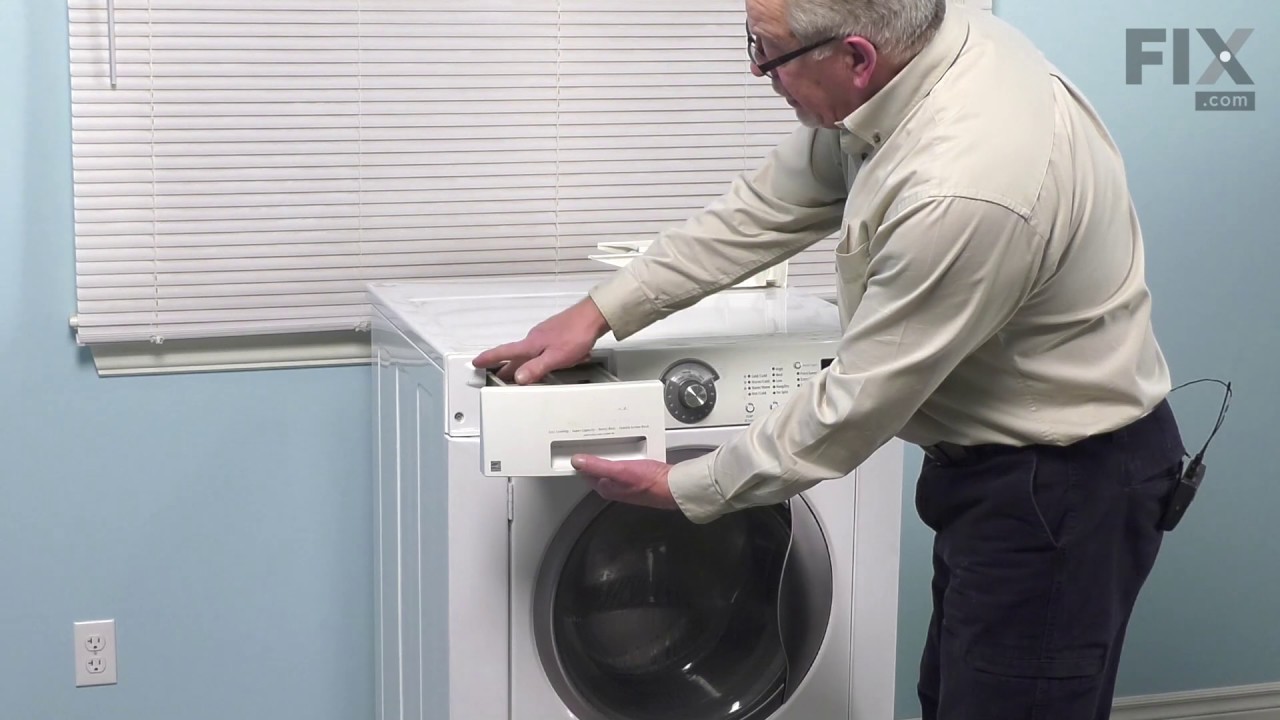
This detergent drawer assembly is designed to hold and dispense cleaning agents during the wash cycle. It features separate compartments for liquid or powder detergent, fabric softener, and bleach, ensuring each is released at the correct time for optimal cleaning performance. Positioned at the front of the washer, the drawer helps mainta...Read morein proper distribution and prevents residue buildup. Replacing this part can resolve issues such as detergent not dispensing, leaks or puddles near the drawer, lingering odors, or difficulty opening and closing the drawer. Installation is straightforward—slide the old drawer out, align the new one, and secure it in place.
Ask our experts a question about this model and we'll get back to you as soon as possible!
We may have answered a similar question already! Search questions and answers left by others using simple keywords like "fit", "broken", "easy", or "quality" to find questions that match.
Search filter:
Clear Filter
Your search term must have 3 or more characters.
Sort by:
Prev
1
Next
Sorry, we couldn't find any existing answers that matched.Try using some different or simpler keywords, or submit your new question by using the "Ask a Question" button above!
Nancy - For model number CFW4700LW0
January 6, 2024
How to take front cover off to get to the locking mechanism?
Hi Nancy,
Thank you for your question. Here is a link to one of our YouTube videos that you may reference for information on how to install the door lock. The washer in the video may not be the same as yours, but it will give you a general idea on how to install the part. We hope this helps!
I replaced the bellow(boot) and now the door wont shut. On the instructions theres a parts number 134515300 and i have some they say check universal part number 134639100.
DID I GET THE WRONG PART?
Hello Liz, thank you for your inquiry. The door boot seal you mentioned is compatible with your model. We would recommend making sure that you have installed it correctly. The issue may not be due to the leveling leg that you have mentioned. We hope this information helps!
Was this helpful?
Thank you for voting!
Kenneth - For model number CFW4700LW0
July 29, 2021
When I start the washer no water, temp lights and spin speeds come on.
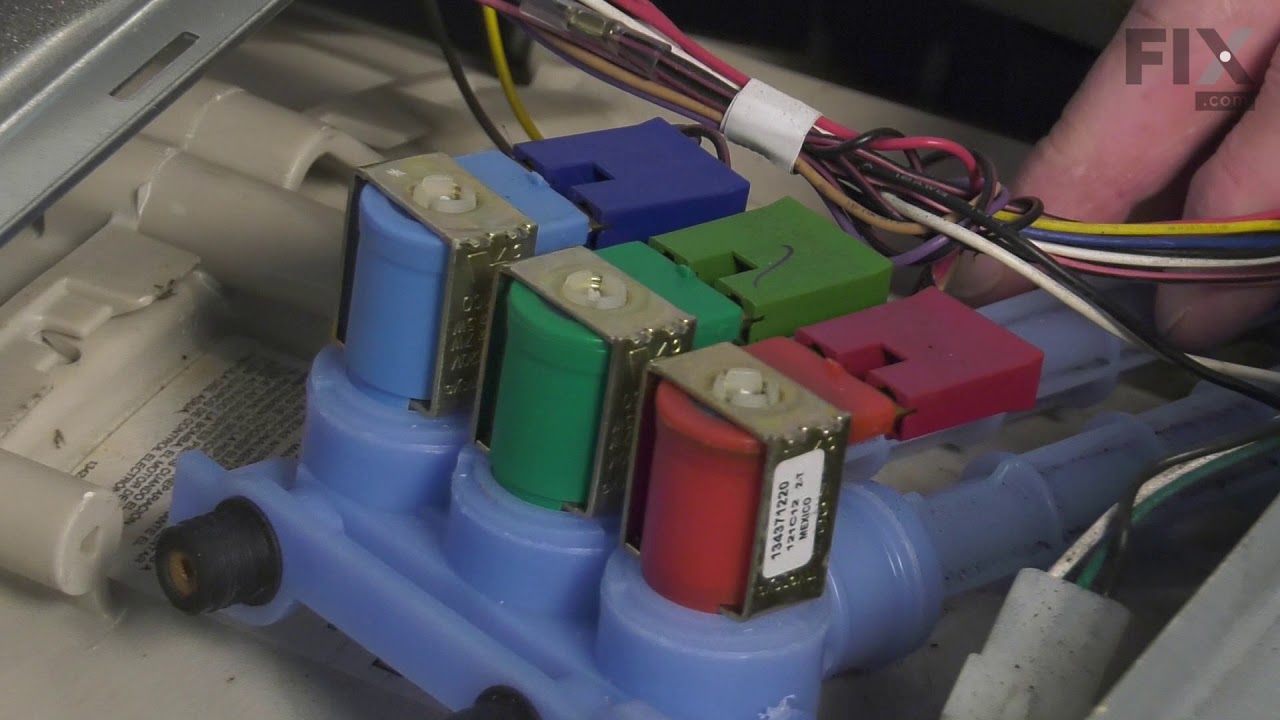
Hello Kenneth, Thank you for the question. If the Water is not filling it will not allow the appliance to start the cycle. We suggest testing the Water Valve to see if it is defective and may need to be replaced. Set your multitester to the R X 1 ohms setting to test for continuity. Place each of the multitester's leads on a terminal. Your multitester should display a reading between 200 and 500 ohms. Closely examine your water inlet valve. The exact ohm resistance rating you should test for may be marked on the valve. We hope this helps!
Hi Bryan, thank you for contacting us. According to our research, the issue is most probably with the control board, part number PS16555373. The control board controls the settings of the cycles of the washer. We hope this sorts out your problem!
No water is coming in and I replace the valves and still no water is coming and does that ohm be different for different ones?
Hello Andre, thank you for contacting us. Based on our research, you may need to replace the water level pressure switch, part number PS2349296. Before replacing the part, we would recommend checking whether the inlet hose is collaged or not. We hope this solves your problem!
See how others fixed this model. Time, tools, difficulty, and steps that lead to victory!View More
Search repair tips from other customers using simple keywords like "replace", "fit", "remove", "inspect". DIY doesn't mean you have to do it alone!
Search filter:
Clear Filter
Your search term must have 3 or more characters.
Broken Door Catch
574 of 593 peoplefound this instruction helpful.
Joy from Columbia, MO
Really Easy
Less than 15 mins
Screw drivers
This was one of the simpliest repairs I have ever done taking less than 5 minutes to complete. On the inner door I removed the two screws that hold the plastic catch in place. I then removed the broken catch and put the new catch in place. Finally I replaced the two screws that hold the catch in place and it was done.
Was this helpful?
Thank you for voting!
Door on washer wouldn't lock or start
477 of 565 peoplefound this instruction helpful.
DOUG from KING FERRY, NY
Really Easy
Less than 15 mins
Screw drivers
1. Unplug unit. 2. Unscrew 2 nuts holding top in place in rear of unit using phillips head screwdriver. 3.Slide top back and remove. 4. Open door of washer and unscrew 2 screws holding in door lock unit. 5.Pull out unit from the top and install new unit reconnecting the 3 wire connections.
Was this helpful?
Thank you for voting!
Old Bellow Ripped
251 of 346 peoplefound this instruction helpful.
Peggy from New Castle, PA
A Bit Difficult
30 - 60 mins
Nutdriver, Screw drivers
remove top of machine by removing 3 screws along the top edge in the back of your machine and then sliding the top back and up. Then loosen the screws holding on the control panel enough to get to the 2 screws at the top of the door panel. Next remove bottom panel by removing 2 screws along bottom edge then pulling it free from snaps. The
... Read moren along the outside lip of the bellow, just inside the door, is a wire clip that is easily removed by prying it past rubber lip with a screw driver and lifting it away. Remove the door panel by removing the 2 screws you exposed by loosening the control panel and 2 more along the bottom that were exposed when removing bottom panel. After the door panel is removed and the bellow is completely exposed, you will find that it is held in place by a circular spring which wraps the whole way around the drum opening. Again it can be removed by prying it out away from the groove in which it sits with a screw driver. Now your machine is broken down as far as it needs to be. From here you can follow the directions included in your new bellow kit and put it back together by following these instructions in reverse.



 My Orders