



 My Orders




CFU2046GRW Maytag Freezer - Overview
Diagrams for CFU2046GRW
See every part. Know exactly what you need.


Enter a part description. DIY Heroes keep it simple, eg. "belt" or "pump".
Search filter:
Clear Filter
Your search term must have 3 or more characters.

$30.53
In Stock

$19.69
In Stock
Light Bulb - 120V 25W
Part #WPA3073101
This light bulb is a 120 volt, 25 watt incandescent appliance light bulb with a small base screw-in that fits in a variety of appliances such as microwaves, refrigerators, freezers, cooktops, or stoves. Its purpose is to light up the appliance when the door is open. This is a genuine OEM part. You may need to replace the light bulb if the...Read more existing bulb is burnt out or broken. This light bulb is sold individually and is a common wear part, it is recommended to order a spare.
Read less

$21.45
In Stock
Screw
Part #W11233072
This is a multi-use and multi-appliance screw. It can be used on a microwave, refrigerator, range/oven, air conditioner, dehumidifier, washer, or dryer. The measurements of this screw are 8 x 1/2 inch. It has 6 threads. Refer to the manual provided by the manufacturer for further information on repair and accurate guidance. Remember to wear work gloves as a safety precaution.

$7.47
In Stock

$7.47
In Stock

$174.72
In Stock
Freezer Door Gasket (White)
Part #WP4-81049-001
This white door gasket is used to make an air-tight seal for the cabinet when the door is closed.

$8.55
In Stock

$17.15
Special Order
Refrigerator Leveler
Part #W11117769
This is an OEM part that is made of metal and sold individually. The leveling leg is generally used with refrigerators, dryers, freezers, ranges, cooktops, and microwaves. The leveling leg is meant to keep your appliance steady and level to the floor. If you notice your appliance is uneven to the floor it may need to have the leveling leg...Read more replaced. You will notice that the bottom of the leveling leg has a smooth surface to ensure moving your appliance does not require as much effort. This part screws into a pre-drilled hole underneath the appliance.
Read less

$7.47
In Stock

$7.47
Special Order

$104.33
In Stock
Defrost Timer
Part #WP3-81329
This device acts like a clock. It continually advances and alternates between activating the cooling cycle and the defrost heater.

No Longer Available
Freezer Door Key
Part #WP61859-1
This metal freezer door key fits upright freezers. It has a cross shape and is approximately 2 inches long. If your freezer door will not stay shut, you can lock the door to keep it closed. If your key will not lock, or unlock the freezer door; check to see if it has been damaged or bent. If the key is damaged, you should look to replace ...Read moreit to avoid damaging the lock. The key should engage the locking mechanism with ease. If the lock sticks when you turn the key, use penetrating fluid to loosen the mechanism. These keys are sold individually, and should be stored somewhere safe and not next to the unit.
Read less
Common Symptoms of the CFU2046GRW
How this model fails, and the parts that fix it.
Light not working
Fixed by
these parts
these parts

Show All
Frost buildup
Fixed by
these parts
these parts


Show All
Door latch failure
Fixed by
these parts
these parts

Show All
Noisy
Fixed by
these parts
these parts

Show All
Watch our pros, then fix it yourself.

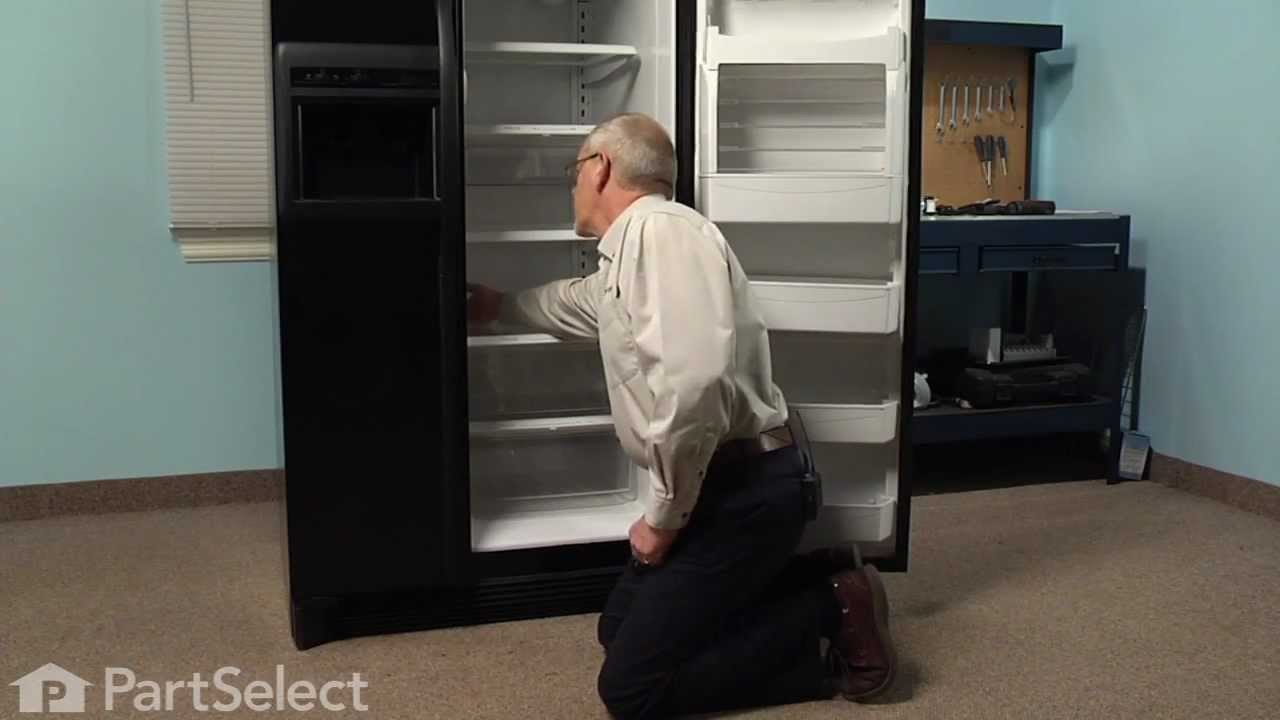
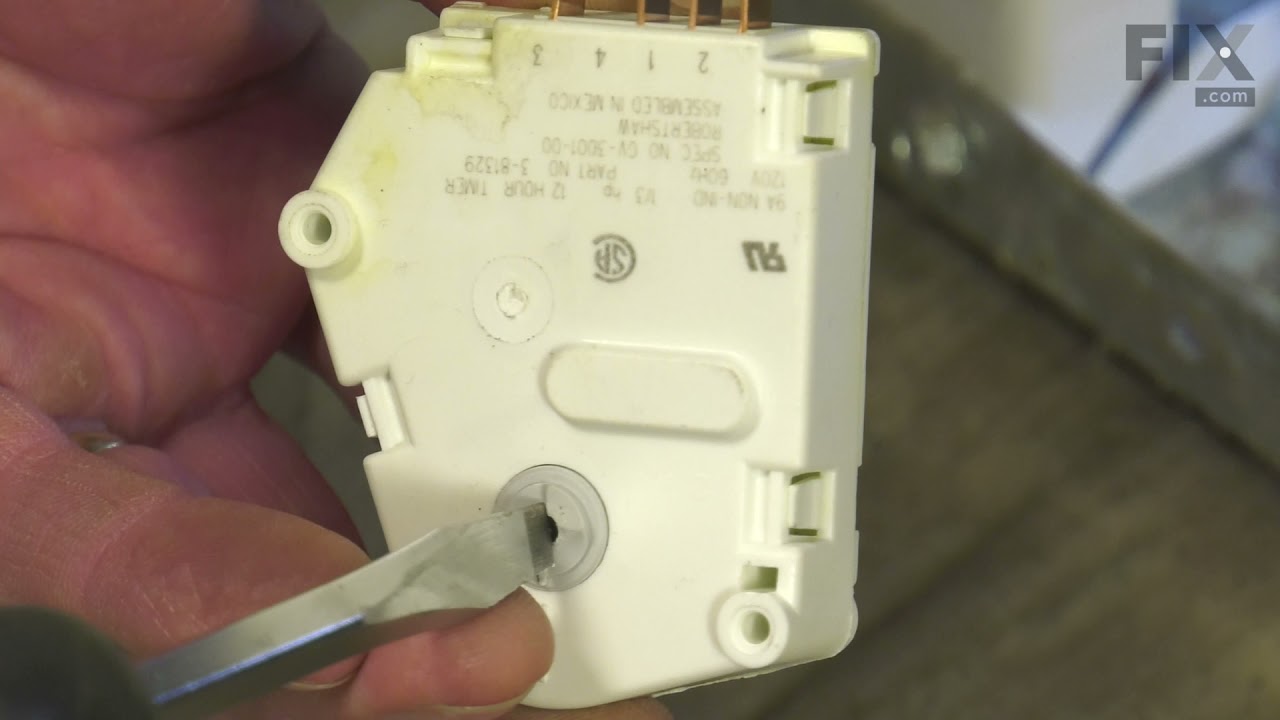
See how others fixed this model. Time, tools, difficulty, and steps that lead to victory!
View More