


 My Orders




CFES3025LW3 Frigidaire Wall Oven - Overview
Diagrams for CFES3025LW3
See every part. Know exactly what you need.


Enter a part description. DIY Heroes keep it simple, eg. "belt" or "pump".
Search filter:
Clear Filter
Your search term must have 3 or more characters.

$27.45
In Stock
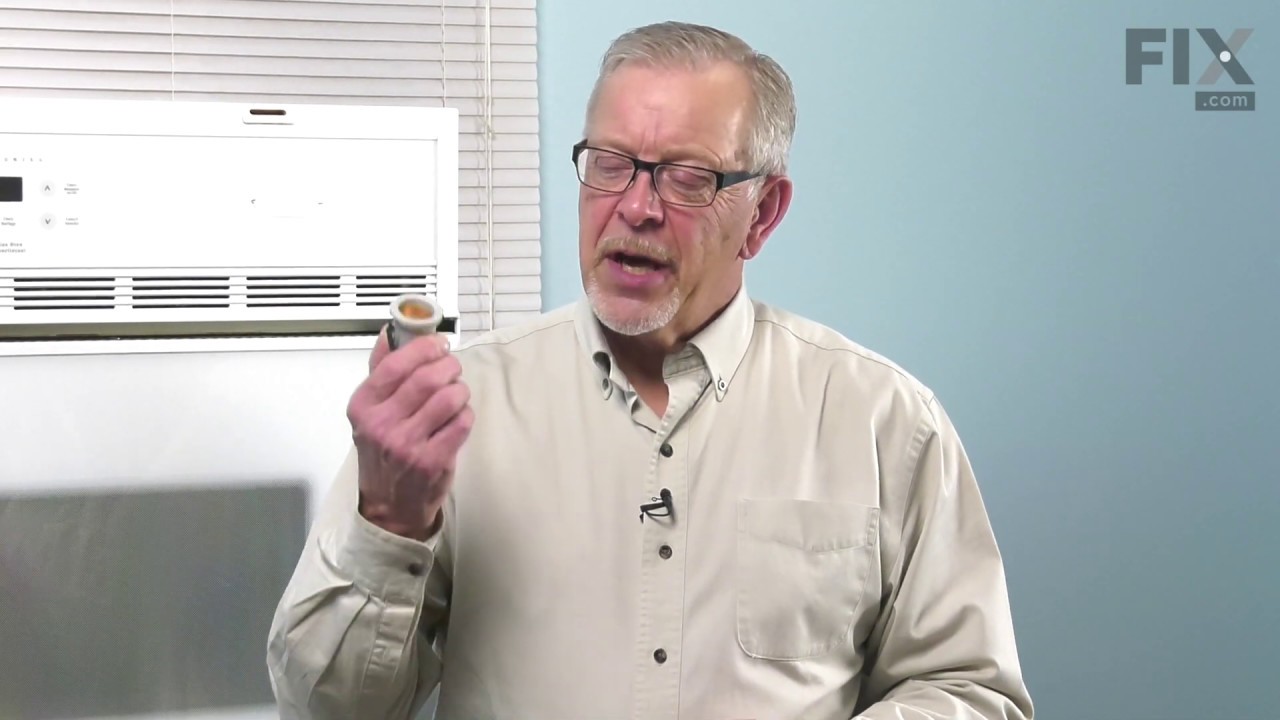
Light Bulb
Part #316538904
This OEM 40 watt appliance light bulb is used for some ranges, refrigerators, freezers, and microwaves. Simply locate the existing bulb, unscrew it from its socket, and replace with new light bulb. If the existing bulb is broken in the socket, disconnect the power to the refrigerator and use a pair of needle nose pliers to grip the intern...Read moreal fragments of the bulb to unscrew. Replace with the new bulb and reconnect the power to the refrigerator. These bulbs are sold individually and are a commonly replaced part; consider ordering a spare.
Read less

$40.60
In Stock
Main Terminal Block Kit
Part #5304409888
Terminal block kits are also known as terminal boards, or terminal strips, and they are found in a wide variety of household appliances. Most often in ranges, wall ovens, and dryers. This kit attaches the power cord to the inner wiring of your appliance. If the terminal block is faulty, your appliance will not get the power it needs to op...Read moreerate properly. When removing the old block pay close attention to the wire placement, this will make installing your new part much easier. If you notice any of the wires or wire terminals are corroded or damaged they will also need to be replaced.
Read less

$26.37
In Stock
LENS
Part #5304524341
The Frigidaire light bulb lens covers the interior light bulb in an oven. No tools are necessary to replace this item. After unplugging the appliance, slide off the wire bracket to remove the existing light bulb lens. Be sure to remove all broken glass, if applicable, before installing the new lens. It is recommended to check the state of...Read more the light bulb while the lens is off. This part is made of glass. The lens is a genuine Frigidaire part, sourced directly from the manufacturer, and is sold individually.
Read less

$95.93
In Stock
GLASS
Part #5304503232
This tempered glass is supplied by the original manufacturer and measures 20 inches by 13 inches. It is an inner door glass, designed for use in ranges/ovens and has several purposes which include providing heat insulation, acting as protective barrier, and providing an opening to monitor the cooking/heating process. Over time the glass c...Read morean break or break from impact, thermal shock, or improper installation. If the glass is defective, it needs to be replaced promptly to avoid leaking, loss of insulation and potential harm to the user. Remove any fasteners or clips that secure the glass and carefully dispose of it. Position the new glass in the same position and secure it appropriately.
Read less

$74.75
On Order
Radiant Surface Element
Part #316135401
This part is the heatsource. This surface element is for ranges.
Surface element supplies the heat to a cooking area on top of the range.
Unplug the range or shut off the house circuit breaker for the range before installing this part. Wear work gloves to protect your hands.

$96.75
In Stock
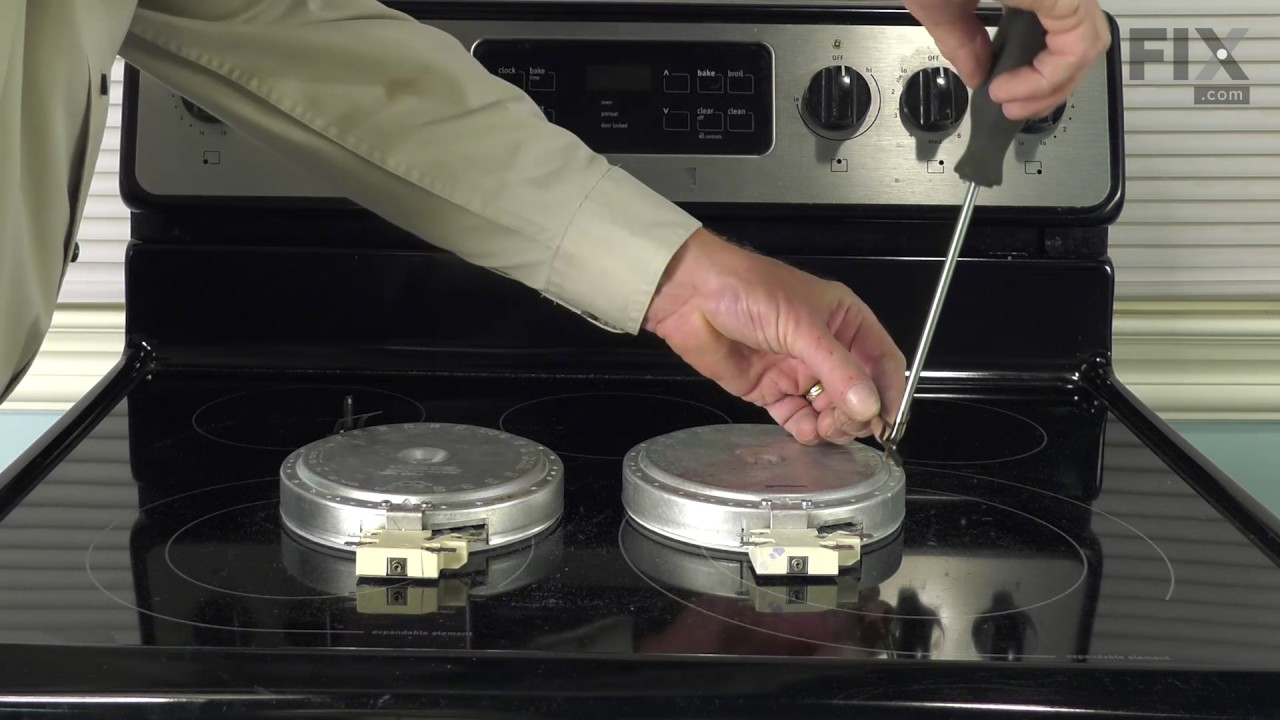
Radiant Element with Limiter - 1200W
Part #318178110
This is a six-inch radiant element with limiter. It works in conjunction with your stove top range. The purpose of this part is to heat up the cooking area that is located on top of the range, also known as your stove top. If you suspect that your surface element is not properly heating then you may want to test the element for continuity...Read more. This model is sold individually and is 1200 watts. The tools you will need for this installation include a Phillips screwdriver and a 14-inch nut driver.
Read less

$53.85
In Stock
Temperature Sensor
Part #5304504897
The temperature sensor, also known as an oven probe, helps measure the temperature within the oven cavity. If your oven is too hot, not heating evenly, has little to no heat when baking, or flashing F3/F4 error messages on your control board, you may need to replace this part. This part measures 6" long and is made of metal. Please make s...Read moreure to disconnect the power to your oven range before starting this repair. This temperature sensor is a genuine OEM part.
Read less

$93.35
In Stock
Door Handle - White
Part #316545301
This oven door handle is a genuine OEM replacement part designed for select Frigidaire, Electrolux, White Westinghouse, Kenmore, and Tappan ranges. Engineered to meet exact specifications, it provides a secure and heat-resistant grip for opening and closing the oven door. Typically finished in white, this handle is constructed from durabl...Read moree materials to withstand high temperatures and daily use. It may also be referred to as a drawer handle in some documentation. Ideal for replacing worn, cracked, or discolored handles, this part ensures smooth operation and restores the appliance’s original appearance. Always verify compatibility using your model number before installation.
Read less

No Longer Available
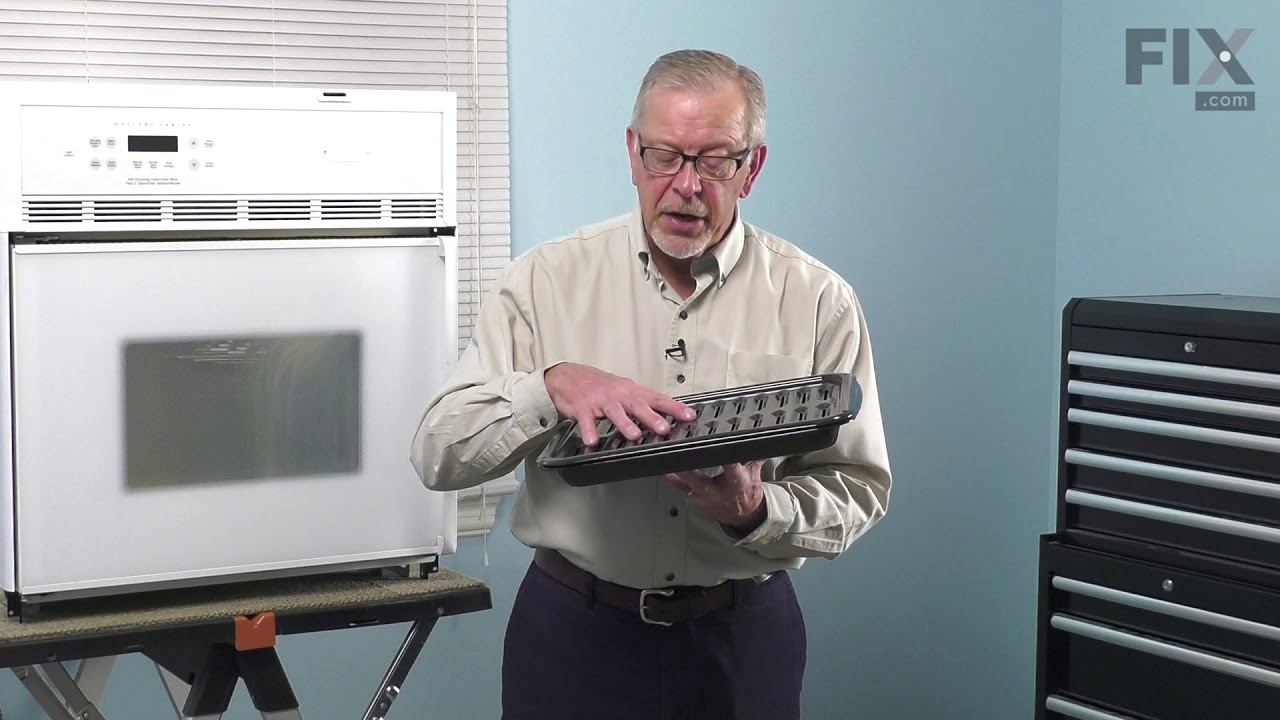
Broiler Pan Grate Insert
Part #5304494997
This OEM broiler pan and grate insert are cooking accessories used in your oven to broil food. The pan catches drippings and prevents them from falling into the appliance, while the grate insert ensures the food is cooked evenly. You can usually find them at the bottom of your appliance. If your broiler pan and grate insert are broken, yo...Read moreur food may not cook evenly and the drippings may fall into your appliance. Additionally, it can be difficult to clean a damaged pan or grate. These authentic accessories come together when you purchase them, ensuring that you can enjoy evenly-cooked food without any mess.
Read less

$63.59
In Stock
Oven Light Socket
Part #316116400
The oven light socket allows you to screw in a light bulb so that you can see the inside of your oven. The light socket is located in the back of your oven, so you will need to remove the back panel to access the socket for the repair. You will also need to remove the current light bulb and the light lens cover so that the old socket can ...Read morebe removed. As you will be working around electrical circuits for this repair, be sure to disconnect the power source from the oven before you begin work on the oven.
Read less

$53.85
In Stock
Door Switch
Part #318394803
The door lock switch, or simply door switch, is used in ranges and ovens. The switch activates signals to the oven control board about the state of the door lock. If the light in the oven is not turning on or off, or the self-cleaning option is not working, it is best to replace the switch to solve your issues. The tools needed for this i...Read morenstallation project are a flat-head screwdriver, Phillips-head screwdriver, and pliers. To repair, first remove the screws from upper rear access panel, then open oven door to disconnect the door switch wire connecter. Next, remove switch assembly through the access hole and unhook the old hook from the actuator rod. Now you can install the new switch by hooking it on to the rod and back into place. Refer to the manual provided by the manufacturer for further installation instructions and guidance.
Read less

$20.68
In Stock
SWITCH ROCKER
Part #5304527842
Are you struggling with your Samsung range? Our genuine Samsung Touchpad Control Panel Assembly is here to help. We understand that a malfunctioning range disrupts your meals and adds stress to your day. This replacement part is like giving your appliance a life-saving transplant that returns it back to top-shape. This is no cheap knock-...Read moreoff - it's an authentic, high-grade Samsung part. Designed meticulously by Samsung, it's been thoroughly tested for both quality and safety, so you can trust it to deliver a stellar, reliable performance. What this assembly does is simple, but very important. It's the brain of your range?controlling and displaying the settings. With it, you'll smoothly set your required cooking time and temperature, returning the joy and convenience to your meal preparation. Before installing it, make sure your range's power and gas supply are switched off and always remember to wear protective gloves to ensure your safety. If your Samsung range needs a bit of TLC, then our Touchpad Control Panel Assembly is exactly what you need. It's your key to reactivating that seamless efficiency you miss. Let's get your range running like new again.
Read less
Manuals & Care Guides for CFES3025LW3
Click to downloadInstall
Installation Instructions
(8.34MB)
Install
Installation Instructions
(3.08MB)
Manual
Owner's Manuals
(1.13MB)
Manual
Owner's Manuals
(14.35MB)
Specs
Product Specifications Sheet
(0.28MB)
Wiring
Wiring Diagram
(0.37MB)
Common Symptoms of the CFES3025LW3
How this model fails, and the parts that fix it.
Element will not heat
Fixed by
these parts
these parts


Show All
Little to no heat when baking
Fixed by
these parts
these parts


Show All
Will Not Start
Fixed by
these parts
these parts

Show All
Oven is too hot
Fixed by
these parts
these parts
Show All
Oven not heating evenly
Fixed by
these parts
these parts
Show All
Door won’t close
Fixed by
these parts
these parts


Show All
Little to no heat when broiling
Fixed by
these parts
these parts
Show All
Watch our pros, then fix it yourself.




See how others fixed this model. Time, tools, difficulty, and steps that lead to victory!
View More