The Oven Bake Element is a black, metal part which supplies heat to the oven. This element is 19-1/2" wide x 18-1/2" long and has 3-1/2" inserts. It is rated as "Easy" to install by users, and attaches to the bottom of the oven. If you notice visible damage, or that your oven is not receiving heat properly then it may be a problem with th...Read moreis part. Check your model number and user manual to see if this is the right part for you. It is important for you to disconnect your appliance from the power source before performing this repair. After disconnecting your appliance, remove the two screws/nuts connecting the old element, pull it out, and discard if faulty. Simply connect the new element prongs where the old element fit, and screw it back in. You may need a flashlight when making this repair.
If you are having trouble opening your drawer easily or it has been damaged/broken, replacing the rear drawer glide could be the solution. The glide attaches to the rear of the oven drawer and supports the sides of the drawer. This allows the drawer to slide in and out of range without difficulty. Only one tool is needed for this repair, ...Read morea flat blade screw driver. Make sure to unplug the oven and wear gloves before repair to protect hands in case range is not cooled before repairing. This an OEM part sourced directly from the manufacturer.
The front drawer glide is designed to help the bottom drawer on your range slide in and out smoothly. If the drawer is not operating as intended, or the drawer will not close all the way, the front drawer glide may require changing. Luckily this is a very easy repair, all you need is a flat head screwdriver. Simply snap the old drawer gli...Read morede out, and snap the new one in. Use the flat head screwdriver to pop out a stubborn old drawer glide. The front door glide differs in shape from the rear drawer glide, so ensure you have the correct part prior to installation. This product is sold individually.
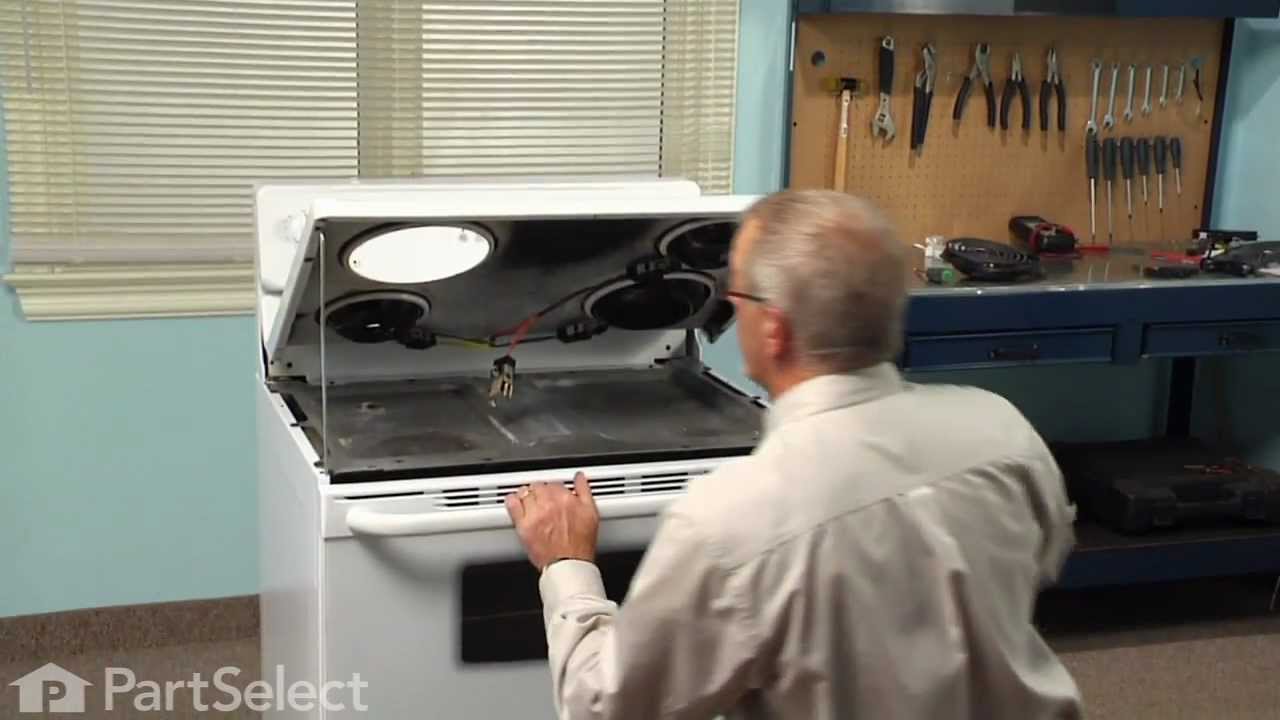
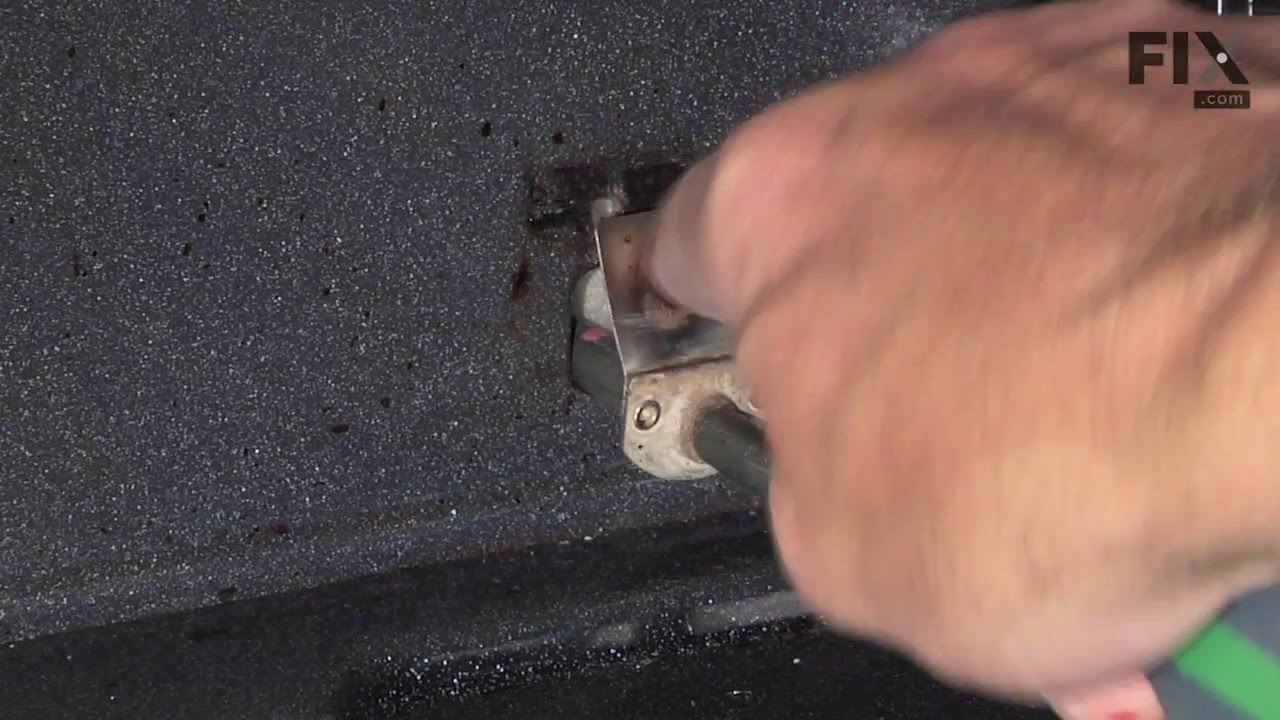
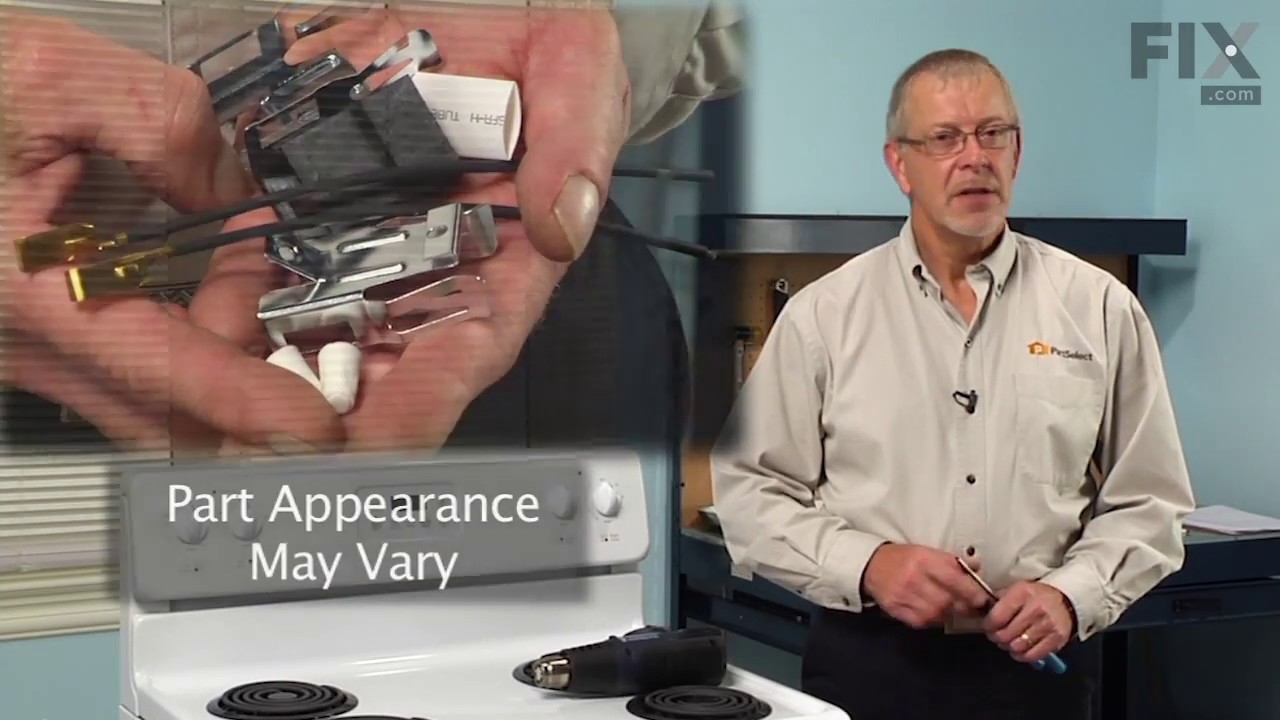
This part connects the wire harness to the surface element and is used for ranges. The kit includes interchangeable mounting brackets, ceramic wire nuts, heat shrink protective tubing, and wires. If your range/oven is having symptoms such as burner not heating, heating elements not working, burning smell, or if the oven is making a buzzin...Read moreg noise then this could be the solution. The tools needed to replace the kit are wire strippers, a heat gun or hair dryer, and #1 square heard screw driver. Refer to the installation/instructional video for further guidance to accurately replace the element.
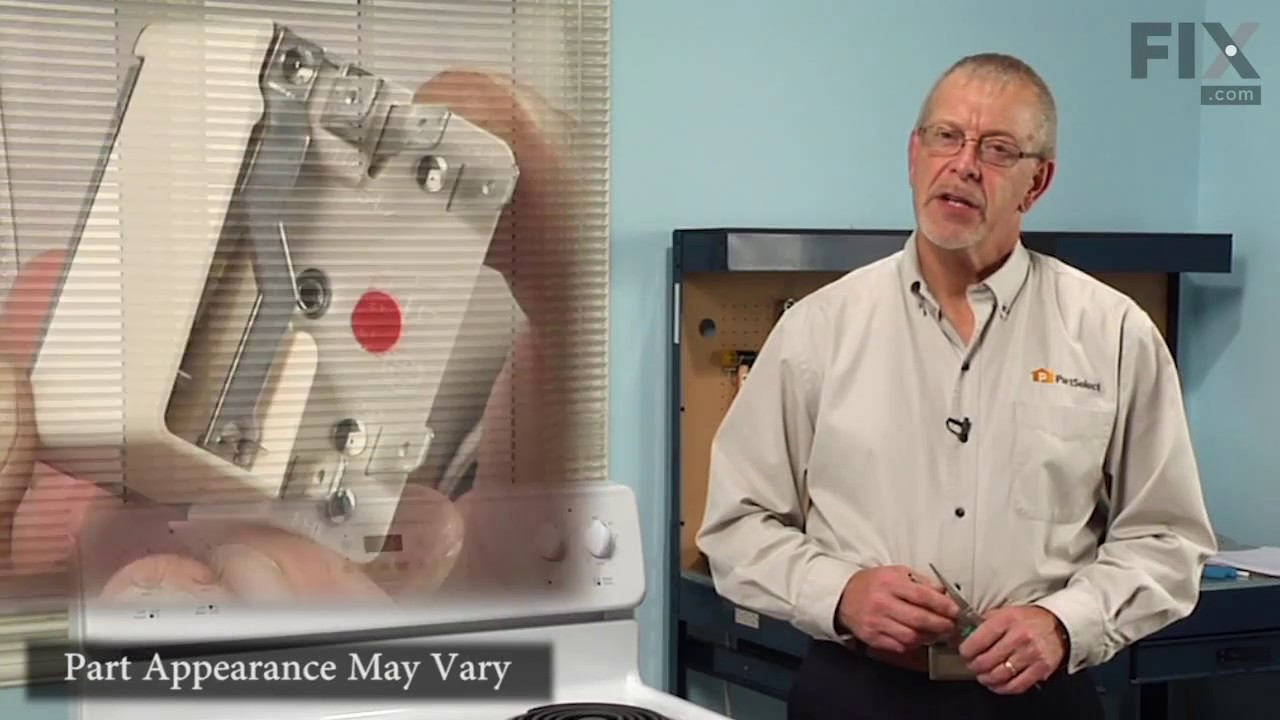
The infinite burner switch controls the stove top eight-inch surface burner, which is the large surface element. If your surface element is not warming up, the element can be tested to determine whether or not it is defective. If your element is not defective, then it is more than likely that the infinite burner switch is the issue. Befor...Read moree you install the infinite burner switch you will need to unplug your range from the power supply, or shut off the home circuit breaker. The tools you will need to do this repair include a number one square head screwdriver and a pair of needle nose pliers.
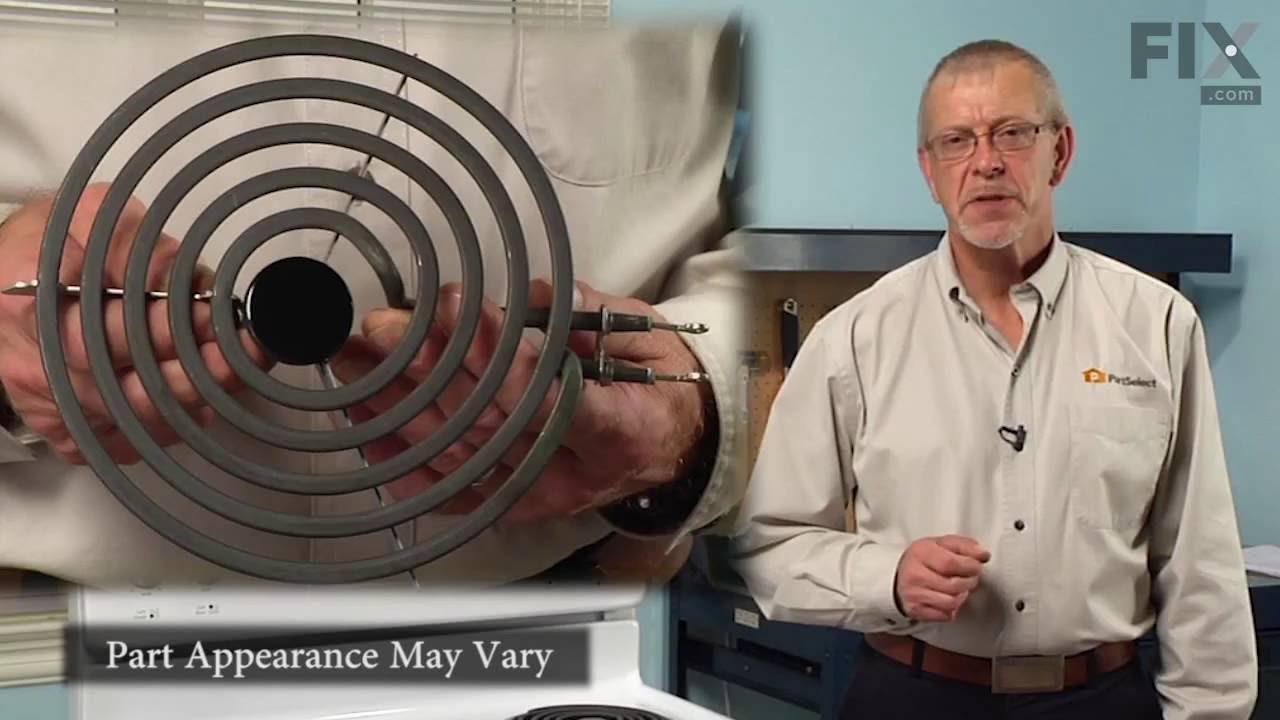
The range surface element provides heat to the cooking surface on top of the range. The element has a universal plug, is 8 inches in diameter, spans 5 coils in width and reaches 2600 watts. Before you begin your repair, ensure that the elements are turned off and have had time to cool. Once you have removed the element this is a good time...Read more to ensure the terminal is in good condition (they can wear over time) which may need to be replaced as well. This quick repair requires no tools except gloves for safety, and a small amount of time.
This element is a genuine OEM replacement part, has looped terminal ends, comes with a black medallion center, and fits most electric ranges. All burners are made of a heating wire that produces heat from electricity. Remove the non-functional burner element from the terminal block (or receptacle). Use a multi-meter to check for continuit...Read morey. Check the end of the terminals for corrosion or heat damage. If there is corrosion or heat damage, replace the whole terminal block or receptacle at the same time you replace the damaged coil. Before you start this repair, make sure that the element is turned off and cool to the touch.
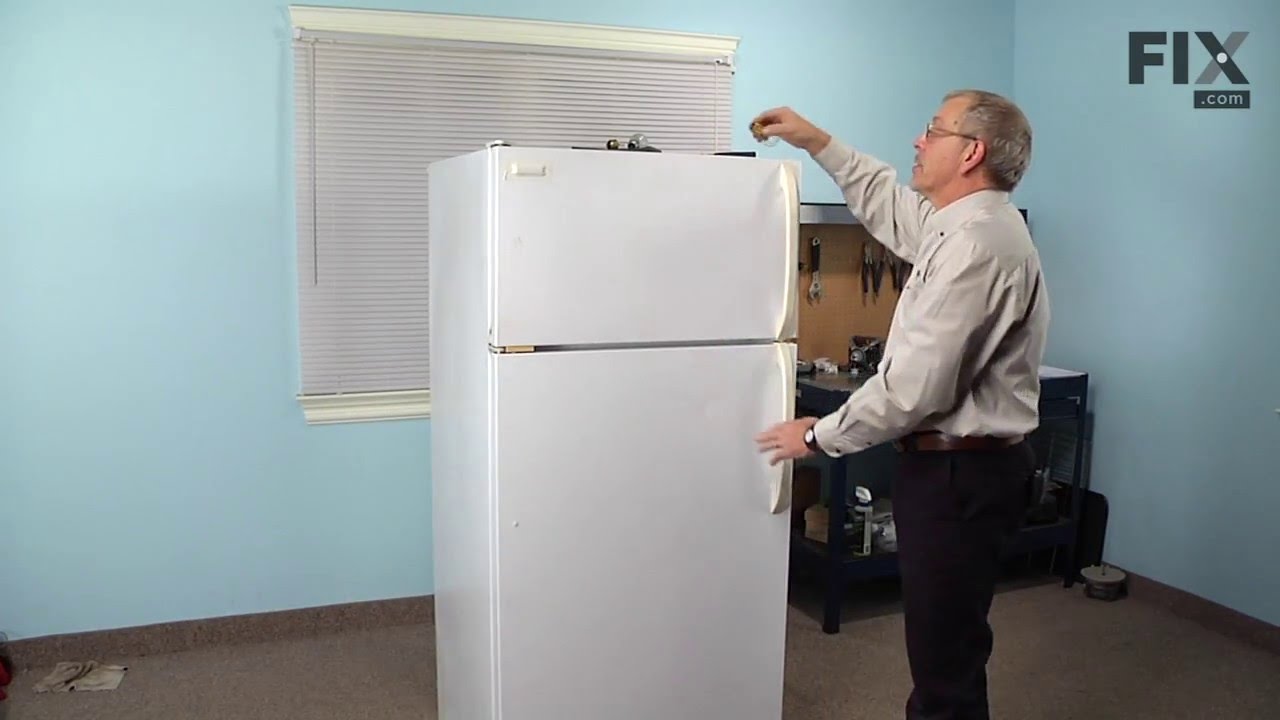
This OEM 40 watt appliance light bulb is used for some ranges, refrigerators, freezers, and microwaves. Simply locate the existing bulb, unscrew it from its socket, and replace with new light bulb. If the existing bulb is broken in the socket, disconnect the power to the refrigerator and use a pair of needle nose pliers to grip the intern...Read moreal fragments of the bulb to unscrew. Replace with the new bulb and reconnect the power to the refrigerator. These bulbs are sold individually and are a commonly replaced part; consider ordering a spare.
This is the electronic clock timer mechanism only. The overlay or touch pad is NOT included. To get the overlay, please use the model# of your appliance to search.
This is a part for your range. This switch controls the stovetop surface burner. If you notice that your stove top is not turning on or is not adjusting to the corresponding desired heat, it is mostly likely due to the burner switch needing to be replaced. You will need a #1 square-head screwdriver and needle-nose pliers. Disconnect the p...Read moreower from the range. You will need to move the range out from the wall to remove the upper back panel to access to this part. This is an OEM genuine part.
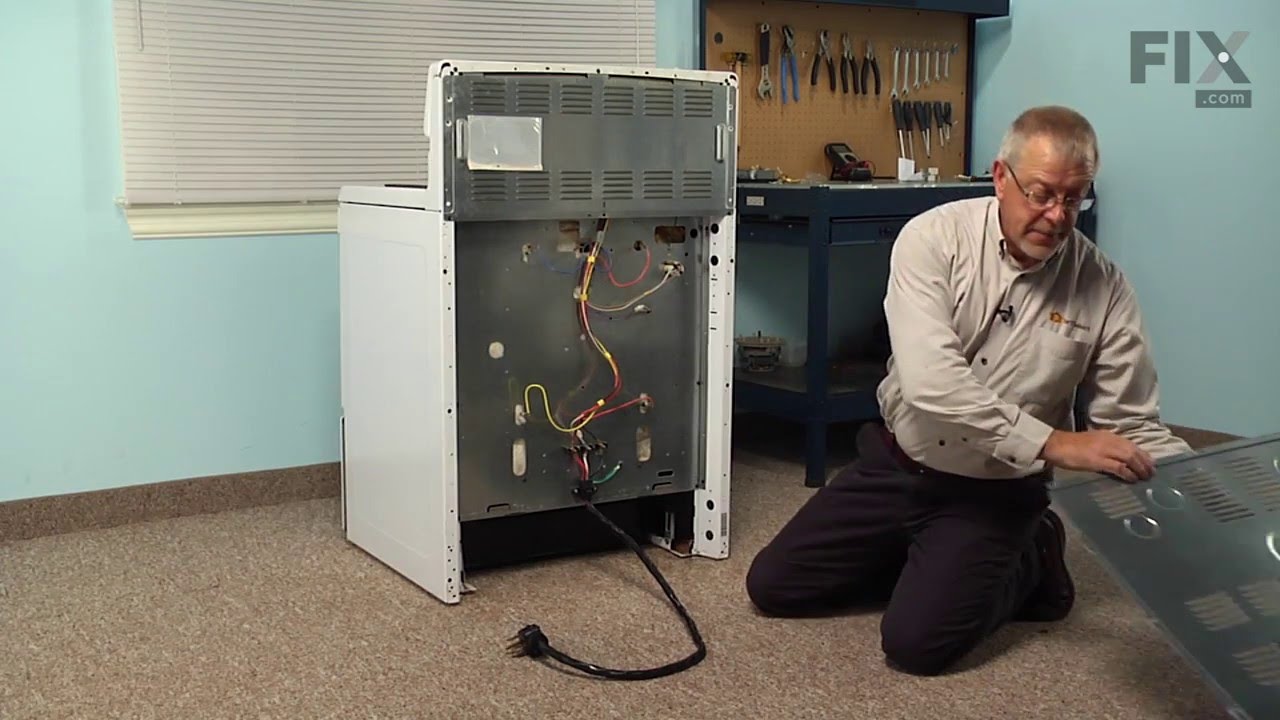
Terminal block kits are also known as terminal boards, or terminal strips, and they are found in a wide variety of household appliances. Most often in ranges, wall ovens, and dryers. This kit attaches the power cord to the inner wiring of your appliance. If the terminal block is faulty, your appliance will not get the power it needs to op...Read moreerate properly. When removing the old block pay close attention to the wire placement, this will make installing your new part much easier. If you notice any of the wires or wire terminals are corroded or damaged they will also need to be replaced.
Ask our experts a question about this model and we'll get back to you as soon as possible!
We may have answered a similar question already! Search questions and answers left by others using simple keywords like "fit", "broken", "easy", or "quality" to find questions that match.
Search filter:
Clear Filter
Your search term must have 3 or more characters.
Sort by:
Prev
1
Next
Sorry, we couldn't find any existing answers that matched.Try using some different or simpler keywords, or submit your new question by using the "Ask a Question" button above!
Gordon - For model number CFEF312GSA
April 20, 2025
Purchased this used model for baking cookies in the oven, at a small golf course. Was told that, for some odd reason, all 4 burner elements were not in use / hooked up. The cook now wants to use the top elements for making soups. I took the top rear panel off & confirmed that all 8 wires (2 BR, 2 BL, 2 Y and 2 O) were disconnected. How do I now reconnect to ensure proper electrical flow?
Hi Gordon,
Thank you for your question. Here is a link to one of our YouTube videos that you may reference for information on how to install the wires to the range terminal block. The range in the video may not be the same as yours, but it will give you a general idea on how to install the wiring. We hope this helps!
How do you remove front oven door?. Is there a screw you remove?. Tried to push pull turn twist the hinges like other ovens put only the right side came out, now can,t even put that side back in. Worked on it for more than an hour. Any advice is appreciated.... Mitchell
Hello Mitchell, thank you for reaching out. To remove the oven door, the following steps need to be followed:
1. Open the oven door completely.
2. Remove two screws located on the inside of the oven door liner.
3. Insert the two screws into the door hinge holes located on the side of the hinge arm, one into each hinge.
4. Close the oven door until the door stops; the placement of these screws should keep the door open in about a 45-degree position.
5. Grasp the oven door firmly on both sides and slide the door up and off the hinges at the same angle.
However, to put the right side back in, make sure the hinge arm is in the 45-degree position and the screws are still locking the hinge arm from moving. Insert the door channels at the bottom of the door over the door hinge. We hope this helps, good luck with this repair!
Was this helpful?
Thank you for voting!
James - For model number CFEF312GSA
December 21, 2023
I am looking for the oven control panel which is number 20 and the faceplate is 20a. How do I put this order in to purchase it ?
Hi James,
Thank you for your question. The part number for the control panel or overlay is PS1149579, and the part number for the electronic control board is PS12728848. We hope this helps!
See how others fixed this model. Time, tools, difficulty, and steps that lead to victory!View More
Search repair tips from other customers using simple keywords like "replace", "fit", "remove", "inspect". DIY doesn't mean you have to do it alone!
Search filter:
Clear Filter
Your search term must have 3 or more characters.
Oven woudn't heat
1298 of 1511 peoplefound this instruction helpful.
David from Shawnee, KS
Really Easy
Less than 15 mins
Screw drivers
1. Removed two screws, pulled out the element, voltage tested the element and determined it was an open circuit (bad element). 2. Ordered the part from partselect.com 3. Disconnected element, connected the new one, and screwed it back in.
Was this helpful?
Thank you for voting!
Element cracked in two pieces
821 of 928 peoplefound this instruction helpful.
Michael from Green Bay, WI
Really Easy
Less than 15 mins
Nutdriver
Shut off circuit breaker to stove and collected the tool from the basement. Turned on flashlight. Unscrewed the two hex nuts from the old element/back of the oven. Slid the old element prongs out of the back, exposing the connecting wires. Pulled the connecting wires off of the old element, carefully, so that the connections wouldn
... Read more't come off of the wires. Threw the old element pieces in the garbage. Connected the new element to the connecting wires and re-fastened the hex nuts. My husband had wanted to call the repair man, but it didn't look too difficult, so I decided to try it on my own. Boy was he surprised when I fixed it, and for a fraction of the cost of hiring a repairman! Ladies, we can do this ourselves!!! :) Thank you for being there for us to order our part from, Parts Select, we had our new part in less than 24 hours, so the shipping was blazing fast!!! Keep up the good work!!! :)
Read less
Was this helpful?
Thank you for voting!
drawer glides were broke on front and back
576 of 600 peoplefound this instruction helpful.
bryan from sparta, WI
Really Easy
Less than 15 mins
Screw drivers
used a screwdriver pushed the old ones out put the new in. the video instructions were great.



 My Orders